Introduction
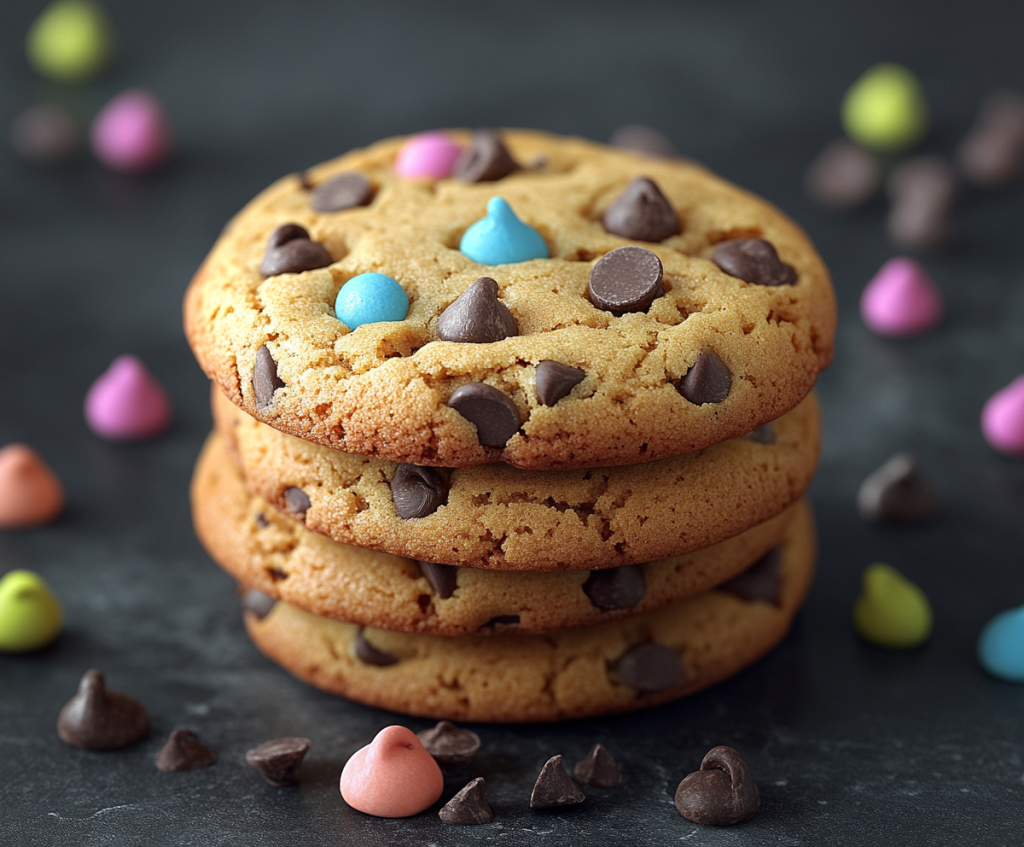
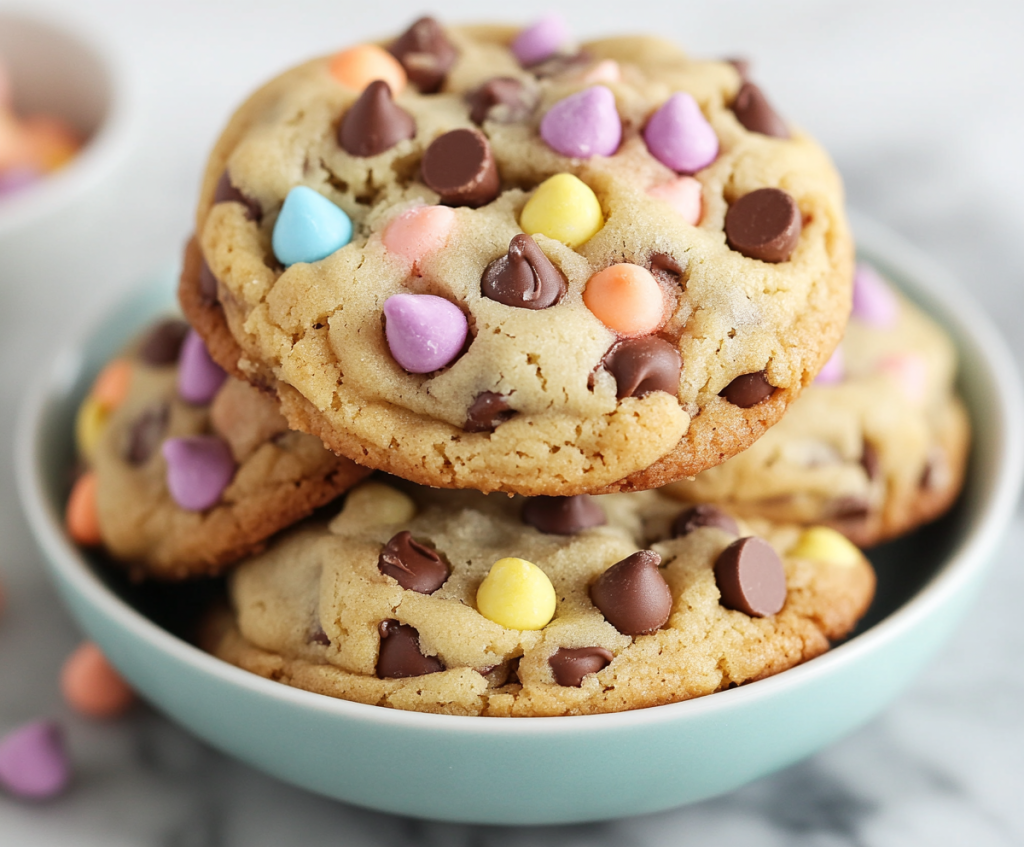
Easter is one of the most joyful holidays of the year. It brings families together, sparks creativity, and fills kitchens with the comforting aroma of home baking. When it comes to festive treats, you really can’t go wrong with something that is both charming and delicious. That is exactly what Easter Egg Chocolate Chip Cookie Cups are. These delightful little desserts combine soft, chewy chocolate chip cookies with the colorful crunch of candy-coated Easter eggs. Each cookie cup is shaped like a tiny nest and filled with mini eggs, making it not only a treat to eat but a treat to look at.
Whether you’re hosting an Easter brunch, organizing a family get-together, or simply want to surprise the kids with a sweet seasonal snack, these cookie cups are the perfect choice. They are fun to make, easy enough for beginners, and versatile enough to customize in your own way. Plus, they can be baked ahead of time and stored for later, making them a stress-free addition to your holiday spread.
These cookie cups are also a wonderful way to get children involved in the kitchen. From scooping the dough into the muffin tins to placing the little candy eggs on top, there are plenty of kid-friendly steps that turn this recipe into a fun family activity. If you love baking and enjoy creating memorable experiences around food, this recipe is just what your Easter celebrations need.
Ingredients Needed

Before you begin baking, you will need to gather all your ingredients. This recipe uses everyday pantry staples along with your favorite Easter candy. You might already have most of what you need at home, which makes this an easy last-minute dessert option too. Below is a detailed ingredient list along with a calorie breakdown for each serving so you can keep track of what you’re enjoying.
Ingredients
1 cup unsalted butter, softened
3/4 cup granulated sugar
3/4 cup brown sugar, packed
2 large eggs
2 teaspoons vanilla extract
2 and 1/4 cups all-purpose flour
1 teaspoon baking soda
1/2 teaspoon salt
2 cups semi-sweet chocolate chips
1 cup candy-coated Easter eggs such as Cadbury Mini Eggs or pastel M&Ms
Non-stick spray or cupcake liners for the muffin tin
Ingredients Table With Calorie Count
| Ingredient | Amount per Serving | Approximate Calories |
|---|---|---|
| Unsalted butter | 2 teaspoons | 68 |
| Granulated sugar | 1.5 teaspoons | 25 |
| Brown sugar | 1.5 teaspoons | 27 |
| Egg | 1/12 egg | 6 |
| Vanilla extract | 1/4 teaspoon | 3 |
| All-purpose flour | 1.5 tablespoons | 41 |
| Baking soda and salt | Trace | Less than 1 |
| Semi-sweet chocolate chips | 1.5 tablespoons | 105 |
| Candy-coated mini eggs | 2 to 3 pieces | 45 |
| Total | — | 320 per cup |
Step-by-Step Cooking Instructions
Making Easter Egg Chocolate Chip Cookie Cups is a simple process. You don’t need any fancy equipment, and the results are always impressive. Here’s how to create these little edible Easter nests step by step.
Start by preheating your oven to 350 degrees Fahrenheit. Prepare a standard 12-cup muffin tin by lightly greasing each cavity or lining them with paper cupcake liners. This will help the cookie cups pop out easily once they are baked.
In a large mixing bowl, cream together the softened butter, granulated sugar, and brown sugar. Use a hand mixer or a stand mixer to beat the mixture until it becomes light and fluffy. This usually takes about two minutes.
Add the eggs one at a time. Mix well after each addition, then stir in the vanilla extract. In another bowl, combine the flour, baking soda, and salt. Gradually add this dry mixture to the wet ingredients, mixing just until everything is combined.
Now fold in the chocolate chips using a spatula. This helps keep the dough thick and evenly mixed.
Scoop about two tablespoons of dough into each muffin tin cavity. Press the dough gently into the bottom and slightly up the sides to create a small well in the center. This is where your Easter eggs will go after baking.
Bake the cookie cups for about 10 to 12 minutes, or until the edges are golden brown and the centers look slightly underbaked. Remove from the oven and immediately press two or three mini Easter eggs into the center of each cookie cup while they are still warm. This helps them stay in place and melt just a little, adding a wonderful texture.
Let the cookie cups cool in the tin for about 10 minutes, then carefully transfer them to a wire rack to cool completely.
Tips for Customizing the Recipe
One of the best things about this recipe is how easy it is to customize. You can make small changes that reflect your taste or dietary preferences.
For example, if you prefer white chocolate or dark chocolate chips, feel free to use those instead of semi-sweet. You can also add chopped nuts like pecans or walnuts for a bit of crunch.
Want something even more festive? Try mixing in some pastel sprinkles or shredded coconut to give the cookie cups a colorful or textured twist. Coconut also works great for mimicking the look of a real bird’s nest.
If you need a gluten-free version, use a gluten-free all-purpose flour blend that substitutes 1 to 1 for regular flour. The results are just as tasty and great for those with dietary restrictions.
You can also swap out the candy eggs for jelly beans, chocolate truffles, or any small Easter-themed candy your family enjoys.
Nutritional Information
Here’s a closer look at the estimated nutritional content of each cookie cup. Keep in mind that this can vary slightly depending on the brands you use and the exact size of each serving.
| Nutrient | Amount |
|---|---|
| Calories | 320 |
| Total Fat | 16 grams |
| Saturated Fat | 9 grams |
| Carbohydrates | 42 grams |
| Sugar | 28 grams |
| Protein | 3 grams |
| Fiber | 1 gram |
| Sodium | 140 milligrams |
These are indulgent treats, meant to be enjoyed in moderation, but they’re a great way to celebrate a special occasion and share joy with loved ones.
Serving Suggestions

These Easter Egg Cookie Cups are perfect as a centerpiece on your holiday dessert table. Their festive look adds color and charm to any Easter setup. You can also place each cookie cup in a mini cupcake holder and arrange them on a tray for easy serving.
For parties or gatherings, wrap each cup in clear plastic wrap and tie with a pastel ribbon. This makes a lovely party favor or small gift for guests to take home.
If you’re serving these to children, consider setting up a mini decorating station where they can top their own cookie cups with different candies, sprinkles, or icing.
To enjoy them warm, microwave for about 10 seconds before serving. This makes the chocolate chips gooey and the center extra soft.
Conclusion
Easter Egg Chocolate Chip Cookie Cups are more than just a dessert. They are a celebration of the season, full of color, sweetness, and creativity. From their soft and chewy cookie base to their playful candy egg topping, each bite is a reminder of what makes this holiday so special. Whether you’re baking for your family, hosting friends, or just treating yourself to something festive, these cookie cups will bring a smile to everyone’s face.
They are easy to make, fun to decorate, and totally customizable. You can make them your own with a few simple tweaks, and the results will always be beautiful and delicious. So this Easter, gather your ingredients, warm up the oven, and let the joy of baking fill your home.