Introduction
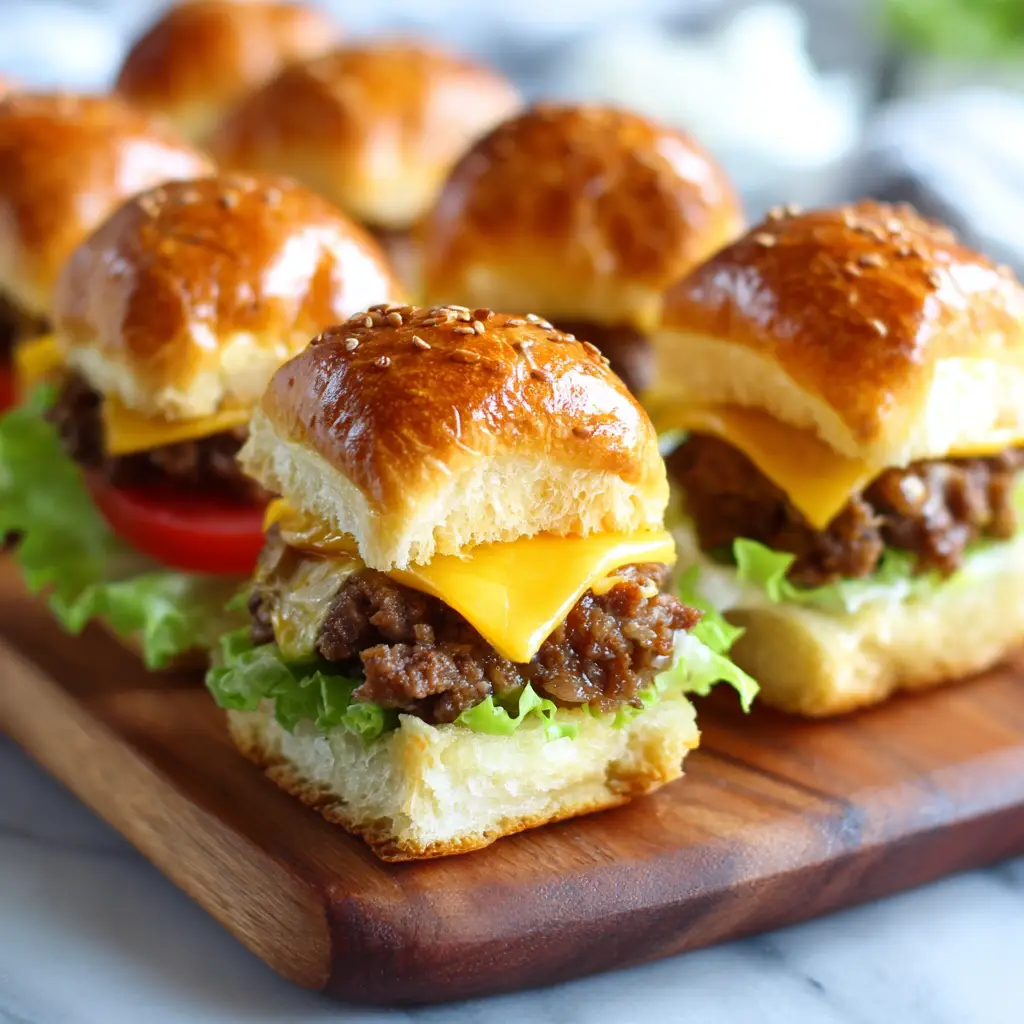
Pull apart cheeseburger sliders have a way of bringing people together. They take the classic comfort of a juicy cheeseburger and transform it into a fun, shareable meal that everyone loves. Each slider is filled with savory beef, melted cheese, and soft golden buns brushed with buttery seasoning. Whether served for game nights, family dinners, or parties, these sliders disappear faster than anything else on the table.
What makes these sliders so irresistible is the perfect blend of textures and flavors in every bite. The soft rolls soak up the savory juices from the beef while the cheese melts beautifully between the layers. Each slider pulls apart easily, making them ideal for casual gatherings or a quick dinner that feels special without being complicated.
Cooking them all together on one tray makes preparation simple and cleanup even easier. The aroma of sizzling beef, buttery buns, and melted cheese fills the kitchen with a sense of comfort that never fails to impress. Pull apart cheeseburger sliders are proof that great food does not have to be fancy. Sometimes, all it takes is a few simple ingredients and the right balance of flavor to create something truly satisfying.
Ingredients Needed
Below is a complete list of ingredients you will need along with their approximate calorie counts. The values may vary slightly depending on the ingredients used.
| Ingredient | Quantity | Calories |
|---|---|---|
| Ground beef (80/20) | 1 pound | 880 |
| Slider rolls or Hawaiian rolls | 12 pieces | 960 |
| Cheddar cheese slices | 6 slices | 420 |
| Onion (finely diced) | 1 small | 40 |
| Garlic powder | ½ teaspoon | 5 |
| Salt | ½ teaspoon | 0 |
| Black pepper | ¼ teaspoon | 2 |
| Butter (melted) | 3 tablespoons | 300 |
| Sesame seeds (optional) | 1 teaspoon | 15 |
| Pickles (sliced) | 6 to 8 pieces | 10 |
| Ketchup | 2 tablespoons | 40 |
| Mustard | 1 tablespoon | 10 |
Total estimated calories per batch: around 2700
Calories per slider: approximately 225
Step-by-Step Cooking Instructions
Step 1: Prepare the Beef Mixture
Place the ground beef in a large skillet over medium heat. Add the diced onion, garlic powder, salt, and pepper. Cook while stirring frequently until the beef is browned and the onions are soft. Once cooked, drain off any excess grease to keep the sliders from becoming soggy.
Step 2: Assemble the Base Layer
Preheat your oven to 350°F (175°C). Slice the rolls horizontally through the middle, keeping the top and bottom halves connected. Place the bottom halves on a parchment-lined baking sheet.
Step 3: Add the Beef Mixture
Spread the cooked beef mixture evenly across the bottom layer of rolls. Make sure the beef reaches the edges so each slider gets a full, flavorful bite.
Step 4: Add Cheese Slices
Lay the cheese slices evenly over the warm beef. The heat from the meat will start melting the cheese slightly, helping it spread evenly once baked.
Step 5: Add Pickles and Condiments
Place pickle slices on top of the cheese layer. Drizzle ketchup and mustard lightly over the top for that true cheeseburger flavor.
Step 6: Add the Top Buns
Carefully place the top halves of the rolls back over the filling. Press gently to help the layers stick together without squashing them.
Step 7: Prepare the Butter Topping
In a small bowl, mix the melted butter with a pinch of garlic powder and brush it generously over the top of the rolls. If you like, sprinkle sesame seeds over the buttered tops for a classic burger look.
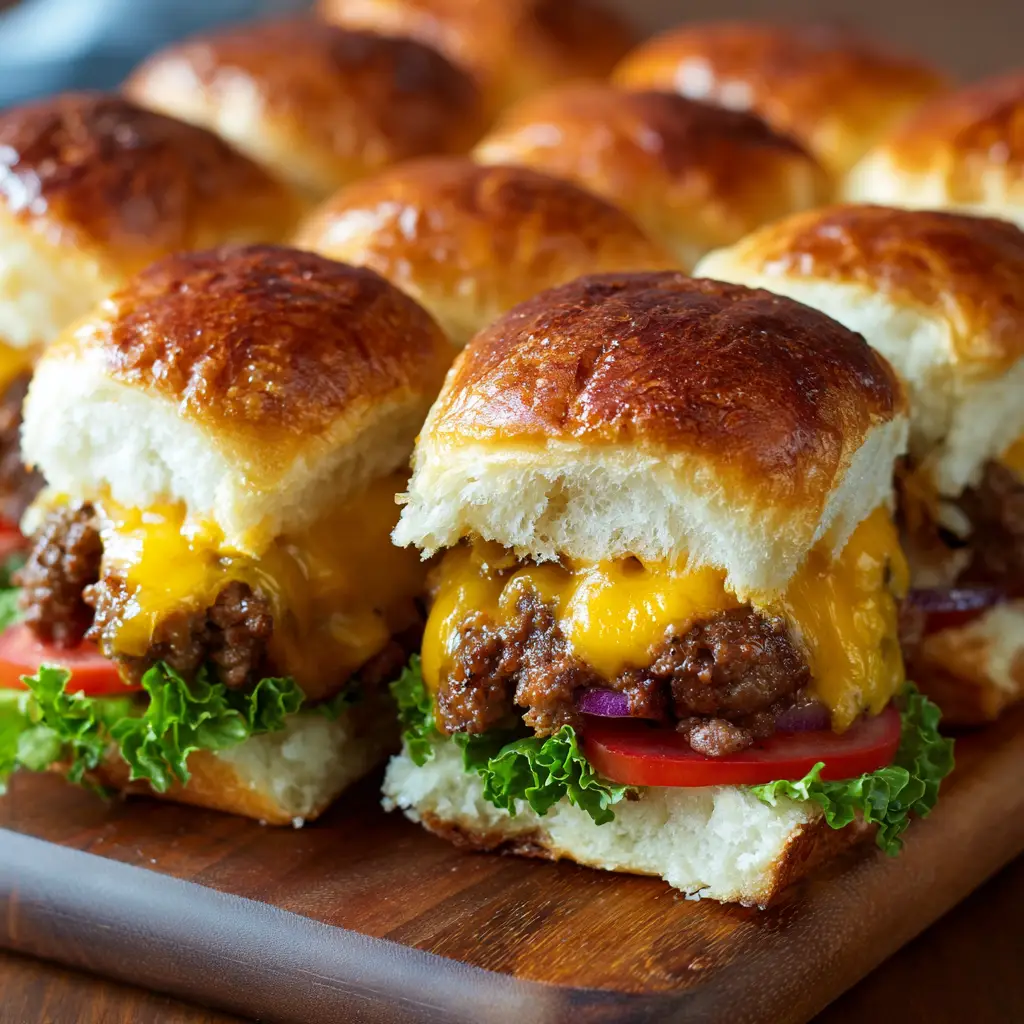
Step 8: Bake the Sliders
Place the baking sheet in the preheated oven and bake for about 15 minutes. The tops should turn golden brown, and the cheese should be fully melted.
Step 9: Cool and Slice
Remove the sliders from the oven and let them cool for a few minutes. Cooling slightly helps the filling set, making them easier to slice and pull apart.
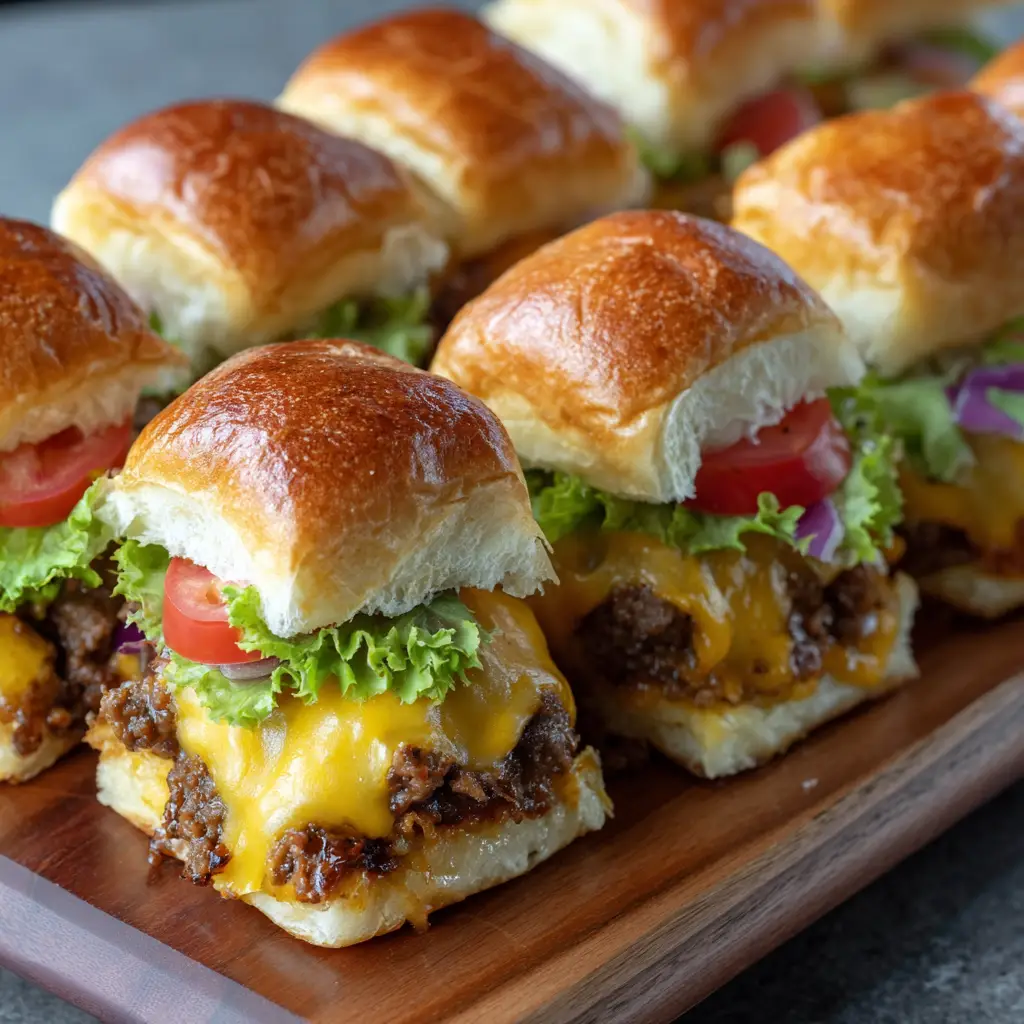
Step 10: Serve Warm
Cut along the individual slider sections using a sharp knife, then pull them apart and serve immediately while the cheese is still gooey and delicious.
Tips for Customizing the Recipe
Pull apart cheeseburger sliders are easy to customize. Add crispy bacon, sautéed mushrooms, or jalapeño slices for extra flavor. Swap the cheddar for mozzarella or pepper jack if you prefer a different cheese. You can also use barbecue sauce instead of ketchup and mustard for a smoky twist. For a lighter version, try ground turkey or chicken with reduced-fat cheese and whole wheat rolls. Every variation keeps the same pull apart appeal while allowing you to make the recipe your own.
Nutritional Information
Each slider contains around 225 calories and offers a balanced combination of protein, carbohydrates, and fats. The beef provides protein and iron, while the cheese adds calcium and flavor. The rolls bring the satisfying softness that makes these sliders so addictive. Despite being indulgent, they can fit into a balanced meal when served with a side of vegetables or salad.
Serving Suggestions
Pull apart cheeseburger sliders make a fantastic main dish for parties, family dinners, or casual gatherings. Serve them with crispy fries, onion rings, or a fresh coleslaw for a complete meal. They are also great for game nights or potlucks, as they stay warm and easy to serve straight from the baking tray. If you want to elevate the presentation, arrange them on a wooden board with dipping sauces like ranch, ketchup, or spicy mayo for guests to enjoy.
Conclusion
Pull apart cheeseburger sliders combine everything people love about burgers into a shareable and crowd-pleasing form. Each bite delivers juicy beef, melted cheese, and buttery rolls that pull apart perfectly. They are fun to make, easy to serve, and guaranteed to bring smiles to everyone around the table.
The beauty of this recipe lies in its simplicity. A few pantry staples turn into a warm, flavorful meal that feels comforting and festive at the same time. Whether enjoyed at a weekend gathering or as a quick dinner, pull apart cheeseburger sliders never fail to impress. They remind us that great food is meant to be shared, one cheesy, delicious bite at a time.