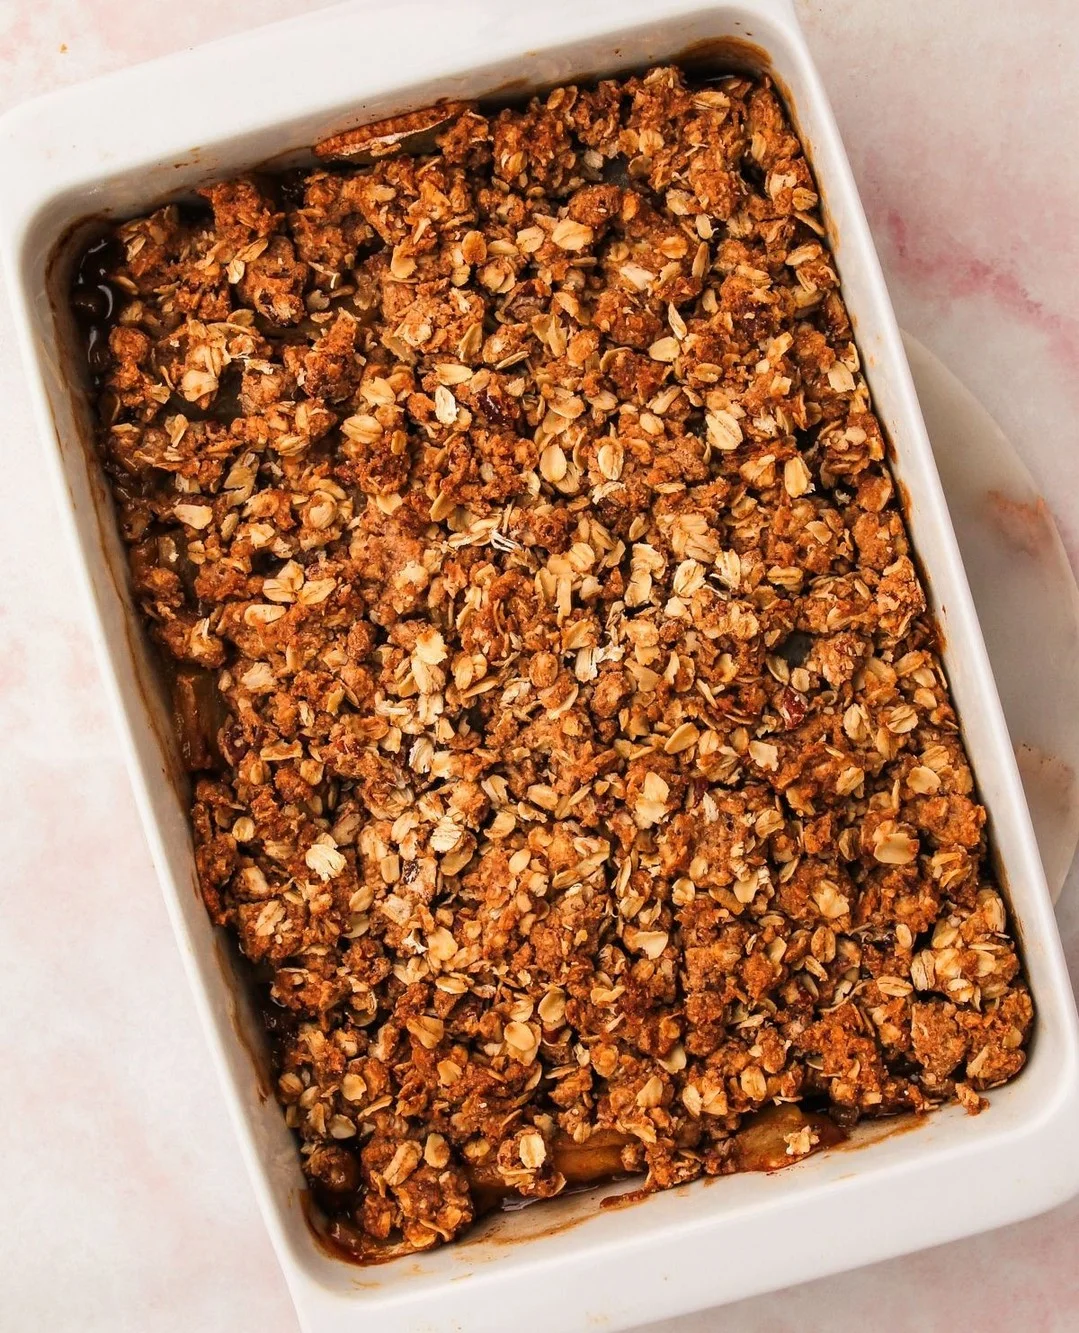
There’s a reason apple crisp has outlasted nearly every trendy dessert of the last decade: it delivers comfort without demanding much from the cook. No pie crust to fuss over, no water bath, no piping bag. Just tender, spiced apples under a blanket of golden, buttery oats.
The secret most home bakers miss is apple selection. A single variety, no matter how good, tends to either dissolve into mush or stay stubbornly firm. Blending tart Granny Smiths with a sweeter apple like Honeycrisp gives you structure and flavor in every bite.
The topping matters just as much. It should go onto the fruit cold and clumpy, straight from the fridge, never smoothed or pressed flat. Those uneven, craggy clusters are exactly what turn deeply golden and shatteringly crisp in the oven.
This is the kind of dessert that fills the kitchen with cinnamon and browned butter before it’s even done baking. Serve it warm, with vanilla ice cream melting into the crevices, and you’ll understand why easy apple desserts rarely get better than this one.
Ingredients You’ll Need
Great crisp isn’t about a long ingredient list — it’s about ratios, temperature, and a few smart choices that separate a soggy bake from one with real crunch.
One of the things I love about this recipe is that it uses simple pantry ingredients. You probably already have most of them in your kitchen.
Base Ingredients
- 6 cups apples, peeled and sliced (mix of Granny Smith and Honeycrisp)
- 2 tablespoons lemon juice
- 1/3 cup granulated sugar
- 1/4 cup brown sugar, packed
- 1 tablespoon all-purpose flour
- 1 teaspoon ground cinnamon
- 1/4 teaspoon ground nutmeg
- 1 cup old-fashioned rolled oats
- 1 cup all-purpose flour (for topping)
- 2/3 cup brown sugar, packed (for topping)
- 1/2 teaspoon ground cinnamon (for topping)
- 1/4 teaspoon salt
- 3/4 cup unsalted butter, cold and cubed
Optional Add-ins
- 1/2 cup chopped pecans or walnuts
- 1/4 cup rolled oats, extra for added texture
- 1 teaspoon vanilla extract
- 1/4 teaspoon ground cardamom
- 2 tablespoons dried cranberries
- 1 tablespoon maple syrup, drizzled over filling
Step-by-Step Instructions
Prepare the Apples
Peel, core, and slice your apples into even, half-inch pieces so they cook at the same rate. Toss them in a large bowl with lemon juice right away to stop browning and add a subtle brightness. Add granulated sugar, brown sugar, flour, cinnamon, and nutmeg, then mix thoroughly with your hands or a spatula until every slice is coated. Let the mixture sit for ten minutes so the sugars begin drawing out natural juices, which deepens the flavor of the finished filling.
Make the Oat Topping
In a separate bowl, whisk together the oats, flour, brown sugar, cinnamon, and salt until evenly combined. Add the cold, cubed butter and work it in using your fingertips or a pastry cutter, pressing until the mixture forms coarse, uneven clumps. Do not overwork it into a paste. Chill this topping in the refrigerator while you prepare your baking dish, since cold butter is essential for achieving a genuinely crisp, shattering texture once baked.
Assemble the Dish
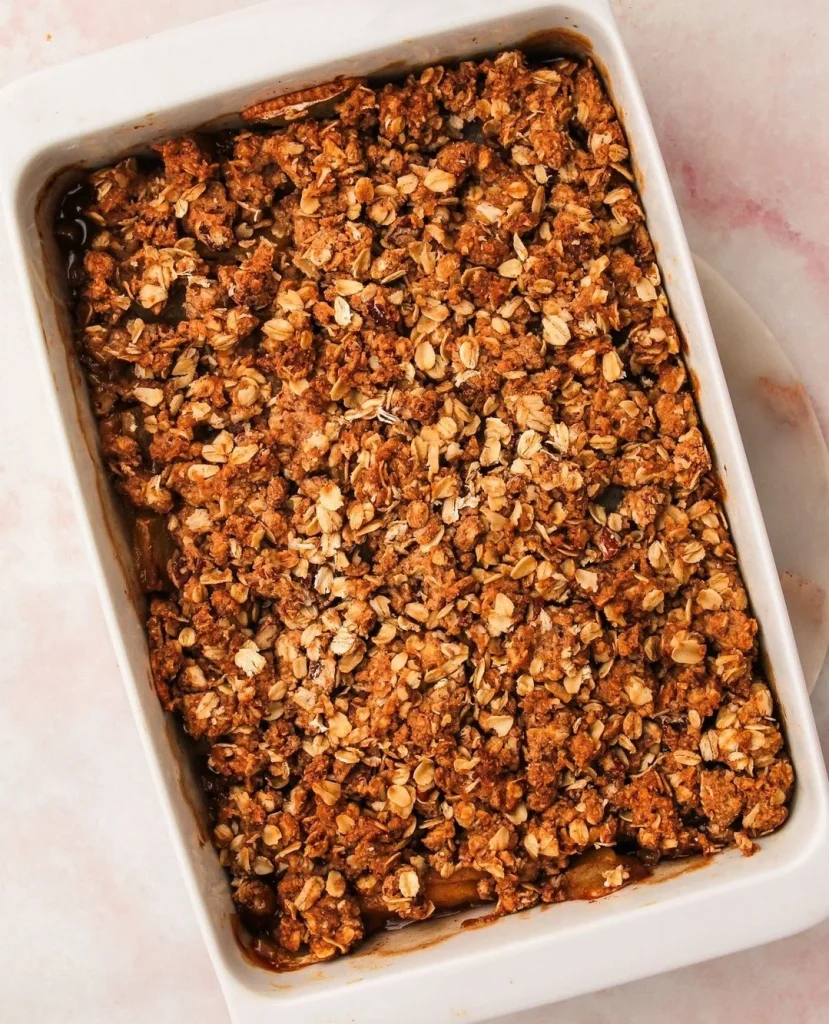
Preheat your oven to 350°F and lightly butter a 9×13-inch baking dish. Pour the apple mixture into the dish, spreading it into an even layer without pressing it down. Remove the chilled topping from the fridge and scatter it generously over the apples in loose, uneven clumps. Resist the urge to smooth or pack it flat — those irregular clusters are exactly what caramelize into golden, crunchy peaks during baking.
Bake to Golden Perfection
Place the dish on the middle oven rack and bake for 40 to 45 minutes, until the topping turns deep golden brown and the filling bubbles thickly at the edges. If the top browns too quickly, loosely tent it with foil for the final ten minutes. Let the crisp rest for at least fifteen minutes before serving, which allows the filling to set slightly and prevents a runny, soupy texture on the plate.
Cook Time
Total
1 hour 5 minutes
Prep
20 minutes
Bake
45 minutes
Servings
This recipe makes approximately 8 generous servings, making it ideal for family dinners, potlucks, or a weekend gathering where second helpings are inevitable. Each portion balances tender spiced apples with a substantial layer of crunchy topping, so no one is left with a thin, disappointing scoop.
If you’re serving a smaller household, the crisp keeps and reheats beautifully, meaning leftovers are never a downside. For larger gatherings, this recipe scales easily by doubling the ingredients and using a larger baking dish.
Portion sizes here assume a dessert course following a full meal, roughly a half-cup to three-quarter-cup scoop per person. Adjust up if serving as a standalone treat with ice cream.
Common Mistakes in This Recipe
The most frequent misstep is choosing only one apple variety, often something soft like McIntosh, which collapses into applesauce under heat. Without a firmer apple to hold structure, the filling turns watery and loses the distinct bite that makes crisp satisfying rather than mushy.
Another common error is slicing apples unevenly. Thick chunks stay hard while thin slivers turn to mush, leaving an inconsistent texture throughout the dish that no amount of baking time can fully correct.
Many bakers also skip chilling the topping, or worse, melt the butter beforehand. Warm butter blends into the flour rather than forming pockets, which prevents the topping from crisping and instead produces a dense, cakey layer.
Finally, overcrowding the baking dish or using one that’s too shallow causes the filling to bubble over and the topping to steam rather than bake, resulting in a soggy, unevenly cooked crisp.
Solutions to Common Mistakes
Always combine a tart, firm apple like Granny Smith with a sweeter, sturdier variety such as Honeycrisp or Braeburn. This combination holds its shape during baking while still delivering natural sweetness and moisture to the filling.
Slice apples to a consistent half-inch thickness using a sharp knife or mandoline. Uniform pieces cook evenly, giving you tender fruit with just enough resistance in every bite.
Keep your butter cold straight from the refrigerator, cutting it into the dry ingredients quickly with fingertips or a pastry cutter. Chilling the assembled topping for ten minutes before baking further guarantees crisp, golden clusters.
Use a wide, shallow baking dish rather than a deep one, and avoid doubling the recipe in the same pan. This allows heat to circulate properly and moisture to evaporate instead of pooling.
Nutritional Information (approx. per serving)
- Calories: 310 kcal
- Total Fat: 13g
- Saturated Fat: 7g
- Carbohydrates: 47g
- Fiber: 4g
- Sugars: 30g
- Protein: 3g
- Sodium: 65mg
Apples bring genuine nutritional value to this dessert, offering fiber and antioxidants that support digestion and help stabilize blood sugar even in a sweet dish like this one. Leaving the peel on, if you prefer, adds even more fiber and a subtle textural contrast.
Oats in the topping contribute beta-glucan, a soluble fiber linked to heart health, along with a slow-digesting energy source that makes this dessert feel a little more substantial than a typical sugary bake.
Using real butter rather than processed substitutes means the topping is free from artificial trans fats, and the moderate portion sizes here keep the treat satisfying without becoming excessive.
Cinnamon and nutmeg aren’t just flavor enhancers; both spices carry mild anti-inflammatory properties, making this a dessert that leans slightly more wholesome than most oven-baked sweets.
Storage Instructions
Store leftover apple crisp covered tightly with foil or in an airtight container at room temperature for up to two days if your kitchen stays cool. Beyond that window, refrigeration is the safer option to preserve both texture and food safety.
In the refrigerator, the crisp holds well for up to five days. The topping will soften slightly from moisture in the filling, but a quick reheat in the oven restores most of its original crunch far better than a microwave would.
For longer storage, this dessert freezes surprisingly well. Cool it completely, then wrap portions tightly in plastic wrap and foil, or use a freezer-safe container, for up to three months without significant flavor loss.
To reheat, place portions in a 350°F oven for 15 to 20 minutes if refrigerated, or slightly longer from frozen, until warmed through and the topping crisps back up nicely.
Suggestions
Serve this crisp warm, ideally within thirty minutes of coming out of the oven, when the contrast between hot filling and cool ice cream is most dramatic. A scoop of vanilla bean ice cream remains the classic pairing for good reason.
For a richer presentation, drizzle warm caramel sauce over the top just before serving, or add a dollop of lightly sweetened whipped cream if you prefer something lighter than ice cream.
This dessert also works beautifully as a breakfast repurpose. A smaller portion alongside plain Greek yogurt makes for a genuinely satisfying, not-too-sweet morning treat using yesterday’s leftovers.
If you’re feeding a crowd, consider baking it in individual ramekins instead of one large dish. Personal-sized portions bake faster and make for an elegant, restaurant-style presentation at dinner parties.
Seasonal Relevance
Apple crisp is fundamentally an autumn dessert, arriving just as orchards begin harvesting the season’s best baking apples and kitchens start craving warm, spiced flavors again after a summer of lighter fare.
That said, its appeal stretches well beyond fall. Thanksgiving and Christmas tables frequently feature apple crisp as a simpler, less fussy alternative to pie, especially for hosts managing multiple dishes at once.
Because good baking apples are available well into winter thanks to cold storage, this recipe remains reliable from September through February, making it a dependable go-to for holiday gatherings and cozy weeknights alike.
Even outside peak apple season, the recipe adapts well; using slightly firmer supermarket apples in spring or summer still produces a satisfying result, ensuring this dessert never really has an off-season.
Final Words
Apple crisp earns its place as a timeless dessert because it asks so little while giving back so much: minimal technique, forgiving ingredients, and a result that feels genuinely homemade every single time.
The details matter more than people expect. Mixing apple varieties, keeping the butter cold, and letting the topping stay clumpy are small choices that separate an average crisp from one people ask you to make again.
This is a recipe worth keeping in permanent rotation, not just for fall gatherings but anytime you want something warm and comforting without spending an entire afternoon in the kitchen.
Make it once with real attention to these details, and it quickly becomes the dessert you’re known for, the one people expect to see on your table every single year.
Frequently Asked Questions
Can I make apple crisp ahead of time and bake it later?
Yes. Assemble the filling and topping separately, refrigerate both covered for up to 24 hours, then combine and bake fresh. This keeps the topping crisp and prevents the apples from releasing excess liquid beforehand.
Why did my apple crisp turn out soggy on top?
Soggy topping usually means the butter was too warm when mixed in, or the dish was covered while still hot. Always use cold butter and let steam escape by cooling the crisp uncovered.
Can I use gluten-free flour and oats in this recipe?
Absolutely. Substitute a 1:1 gluten-free flour blend and certified gluten-free oats. The texture remains nearly identical, since the topping relies more on cold butter technique than the specific flour used.
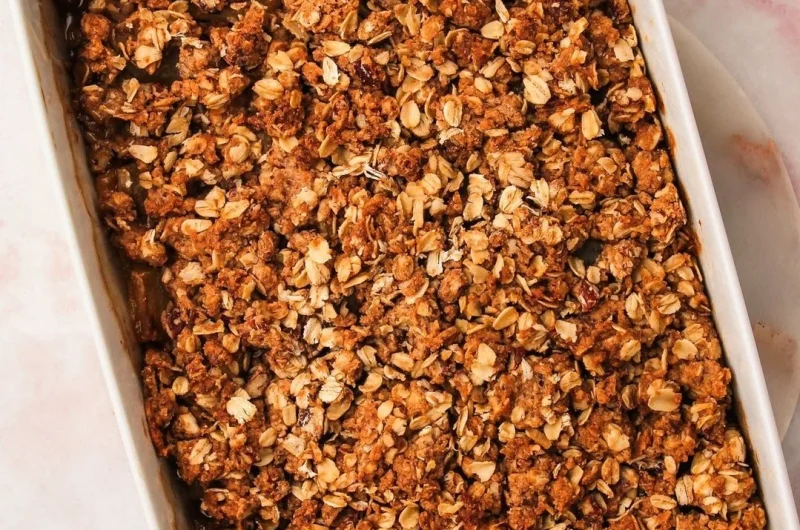
Warm Apple Crisp with a Buttery Oat Topping
8
servings20
minutes45
minutes310
kcalA cozy fall classic layering tart-and-sweet apples under a buttery, clumpy oat crumble. Baked until golden and bubbling, it’s best served warm with a melting scoop of vanilla ice cream on top.
Ingredients
Base Ingredients:
6 cups apples, peeled and sliced (mix of Granny Smith and Honeycrisp)
2 tablespoons lemon juice
1/3 cup granulated sugar
1/4 cup brown sugar, packed
1 tablespoon all-purpose flour
1 teaspoon ground cinnamon
1/4 teaspoon ground nutmeg
1 cup old-fashioned rolled oats
1 cup all-purpose flour (for topping)
2/3 cup brown sugar, packed (for topping)
1/2 teaspoon ground cinnamon (for topping)
1/4 teaspoon salt
3/4 cup unsalted butter, cold and cubed
Optional Add-ins:
1/2 cup chopped pecans or walnuts
1/4 cup rolled oats, extra for added texture
1 teaspoon vanilla extract
1/4 teaspoon ground cardamom
2 tablespoons dried cranberries
1 tablespoon maple syrup, drizzled over filling
Directions
- Peel, core, and slice apples into even half-inch pieces.
- Toss apples with lemon juice immediately to prevent browning.
- Add sugars, flour, cinnamon, and nutmeg; mix until coated. Let sit 10 minutes.
- Whisk oats, flour, brown sugar, cinnamon, and salt for the topping.
- Cut in cold, cubed butter until coarse, uneven clumps form.
- Chill the topping while preparing the baking dish.
- Preheat oven to 350°F and butter a 9×13-inch dish.
- Spread apple mixture evenly in the dish without pressing down.
- Scatter chilled topping over apples in loose, uneven clumps.
- Bake 40–45 minutes until golden and bubbling at the edges.
- Tent with foil if browning too fast in the last 10 minutes.
- Rest 15 minutes before serving.
Recipe Video
Notes
- Mix a tart apple (Granny Smith) with a sweeter apple (Honeycrisp) so the filling holds its shape.
- Keep butter cold and don’t overwork the topping into a paste.
- Don’t smooth the topping — uneven clumps crisp up best.
- Store covered in the fridge up to 5 days, or freeze up to 3 months.
- Reheat in a 350°F oven, not the microwave, to restore crunch.