Cold butter, cold water, and a light hand. Those three things stand between a pie crust that shatters into golden layers and one that bakes up tough and flat. Most home bakers overwork the dough or let the butter warm up, and that single mistake changes everything about the final texture.
A truly flaky butter pie crust needs visible sheets of butter running through the dough, not a uniform sandy mixture. Those streaks of fat create steam pockets in the oven, and steam is what pushes the layers apart into that shattering, tender bite everyone wants from a proper crust.
This recipe comes together in one bowl, chills while you prepare your filling, and rolls out without cracking or fighting back. There is no stand mixer required and no special pastry training needed, just a few technique details that actually matter.
Master this crust once and every pie on your holiday table gets noticeably better. Apple, pumpkin, pecan, quiche, it does not matter what goes inside. The crust underneath will finally hold its own.
Ingredients You’ll Need
Great pie starts long before the filling touches the pan, and this dough is the quiet workhorse behind it. The ingredient list is short, but each item plays a specific role in building structure, flavor, and that signature flake.
One of the things I love about this recipe is that it uses simple pantry ingredients. You probably already have most of them in your kitchen.
Base Ingredients
- 2½ cups all-purpose flour
- 1 teaspoon fine salt
- 1 teaspoon granulated sugar
- 1 cup unsalted butter, cold and cubed
- ½ cup ice water
- 1 tablespoon apple cider vinegar
Optional Add-ins
- 1 tablespoon vodka (in place of some ice water, for extra flakiness)
- 1 teaspoon lemon zest (for fruit pies)
- 2 tablespoons vegetable shortening (for extra tenderness)
- 1 egg, beaten (for an egg wash finish)
- 1 tablespoon coarse sugar (for topping sweet pies)
Step-by-Step Instructions
Cube and Chill the Butter
Cut the butter into small cubes and return it to the refrigerator for at least fifteen minutes before you begin. Cold butter is non-negotiable here. If it softens even slightly while you measure other ingredients, the dough will lose its ability to form distinct layers. Some bakers freeze the cubes for ten minutes instead, which works even better in warm kitchens. Keep everything else cold too, including the mixing bowl if your kitchen runs warm. This single step controls the entire outcome of your crust.
Combine the Dry Ingredients
In a large bowl, whisk together the flour, salt, and sugar until evenly distributed. This ensures the salt and sugar season the dough uniformly rather than clumping in one bite. Whisking also aerates the flour slightly, which helps it absorb fat more evenly in the next step. Use a light hand and do not overmix at this stage, since there is nothing to overwork yet. This is simply about building an even foundation before the butter enters the picture.
Cut in the Cold Butter
Add the cold, cubed butter to the flour mixture. Using a pastry cutter, two forks, or your fingertips, work the butter into the flour until you see pea-sized and larger flat pieces of butter throughout. Do not aim for a fine, sandy texture. Those visible chunks are exactly what create flaky layers once they melt in the oven. Work quickly so the butter stays cold, pausing to chill the bowl briefly if needed. Speed and cold temperature matter more than perfect uniformity here.
Add the Liquid Gradually
Stir the vinegar into the ice water, then drizzle it over the flour mixture a tablespoon at a time. Toss gently with a fork after each addition rather than stirring continuously. Stop adding water as soon as the dough holds together when pressed between your fingers, even if it looks slightly shaggy. Overhydrating leads to a tough, dense crust. The dough should look rough, not smooth, and definitely not wet or sticky to the touch.
Shape, Wrap, and Chill
Turn the dough onto a lightly floured surface and divide it into two equal portions. Shape each into a flat disc about one inch thick, since discs chill faster and roll out more evenly than balls. Wrap each disc tightly in plastic wrap and refrigerate for at least one hour, or overnight for the best flavor development. This resting period relaxes the gluten and firms the butter back up, both essential for a crust that rolls smoothly without shrinking later.
Roll and Fit the Crust
On a floured surface, roll one disc from the center outward, turning it a quarter turn after each pass to maintain an even circle. Roll to about one-eighth inch thickness, roughly twelve inches across for a standard pie pan. Transfer gently to the pan, easing it into the corners without stretching the dough. Trim the excess, leaving a small overhang for crimping. Repeat with the second disc for a top crust, or reserve it for another pie entirely.
Blind Bake or Fill
For custard or cream pies, blind bake the crust first. Line it with parchment, fill with pie weights or dried beans, and bake at 425°F for fifteen minutes before removing the weights and baking another eight to ten minutes until lightly golden. For fruit pies, skip this step and fill the raw crust directly, then bake according to your filling recipe. Either way, chill the shaped crust for fifteen minutes before it goes into the oven to help it hold its shape.
Cook Time
Total: 2 hours 20 minutes (includes chilling)
Prep: 20 minutes
Bake: 15 to 25 minutes (depending on filling)
Servings
This recipe makes approximately 2 pie crusts, enough for one standard double-crust nine-inch pie or two single-crust pies. Each disc rolls out to fit a nine to nine-and-a-half inch pie pan comfortably, with a little extra dough left over for decorative edges or lattice strips.
If you only need one crust today, the second disc freezes beautifully for up to three months, wrapped tightly in plastic and placed inside a freezer bag. This makes future pie baking significantly faster since half the work is already done.
For deep-dish pans or larger gatherings, consider increasing the recipe by half to ensure enough dough for thicker edges and more generous crimping without stretching the dough thin.
Common Mistakes in This Recipe
The most frequent error is letting the butter warm up before or during mixing. Warm butter blends into the flour instead of staying in distinct pieces, which eliminates the flaky layers entirely and produces a dense, biscuit-like texture instead. Another common issue is overworking the dough once the water is added, which develops excess gluten and results in a tough, chewy crust rather than a tender one.
Adding too much water is another frequent misstep, especially when bakers try to force the dough into a smooth ball. A shaggy, slightly rough dough is actually correct at this stage. Skipping the chilling step entirely, or chilling for only a few minutes, also causes problems, since the gluten never relaxes and the butter never firms back up before rolling. Rolling the dough too thin or too aggressively can tear it and cause shrinkage during baking as well.
Solutions to Common Mistakes
Keep every ingredient cold, including the flour and mixing bowl if your kitchen tends to run warm, and work in short bursts rather than continuously. If the butter starts to soften while cutting it in, pause and refrigerate the bowl for ten minutes before continuing. Add water in small increments and stop the moment the dough holds together when pinched, resisting the urge to add more for a smoother appearance.
Always chill the shaped discs for a full hour minimum, and preferably longer, since this step cannot be rushed without consequences. When rolling, use firm but gentle pressure and rotate the dough frequently rather than pressing hard in one direction. If cracks appear at the edges, pinch them closed rather than adding water, which keeps the dough’s structure intact and prevents toughness.
Nutritional Information (approx. per serving)
- Calories: 210 kcal
- Total Fat: 14g
- Saturated Fat: 9g
- Carbohydrates: 19g
- Protein: 2g
- Sodium: 190mg
- Fiber: 1g
This crust delivers a moderate calorie count per slice while remaining far more transparent than most store-bought versions, which often contain preservatives, stabilizers, and hydrogenated oils. Making it at home means full control over the type and quality of fat used, including the option to swap in cultured butter for added flavor depth.
The recipe contains no artificial additives, and portioning it into eight slices per pie keeps individual servings reasonable even for richer fillings. Using real butter instead of shortening also means the fat source is more recognizable and easier to account for within a balanced diet.
For those managing sodium intake, the salt content can be adjusted slightly without affecting the dough’s structure, since salt here is primarily for flavor rather than chemical function. This gives home bakers more flexibility than most packaged crusts allow.
Pairing this crust with fruit-forward or vegetable-based fillings helps balance the richness of the butter, creating a more well-rounded slice overall when nutrition is a consideration alongside taste.
Storage Instructions
Unbaked dough discs keep well in the refrigerator for up to three days when wrapped tightly in plastic wrap. This makes the recipe ideal for preparing a day or two ahead of a holiday or gathering, spreading out the workload without sacrificing quality.
For longer storage, wrap each disc in plastic and place it inside a freezer-safe bag, where it will keep for up to three months. Thaw overnight in the refrigerator before rolling, since thawing at room temperature can cause uneven softening of the butter.
Baked, empty pie shells can be stored at room temperature for up to two days if kept loosely covered, or frozen for up to a month. Reheat briefly in a low oven to restore crispness before filling if the shell has softened.
Filled and baked pies should generally be stored according to their specific filling, though the crust itself holds its texture best when the pie is kept uncovered or loosely tented rather than sealed tightly, which traps moisture and softens the layers.
Suggestions
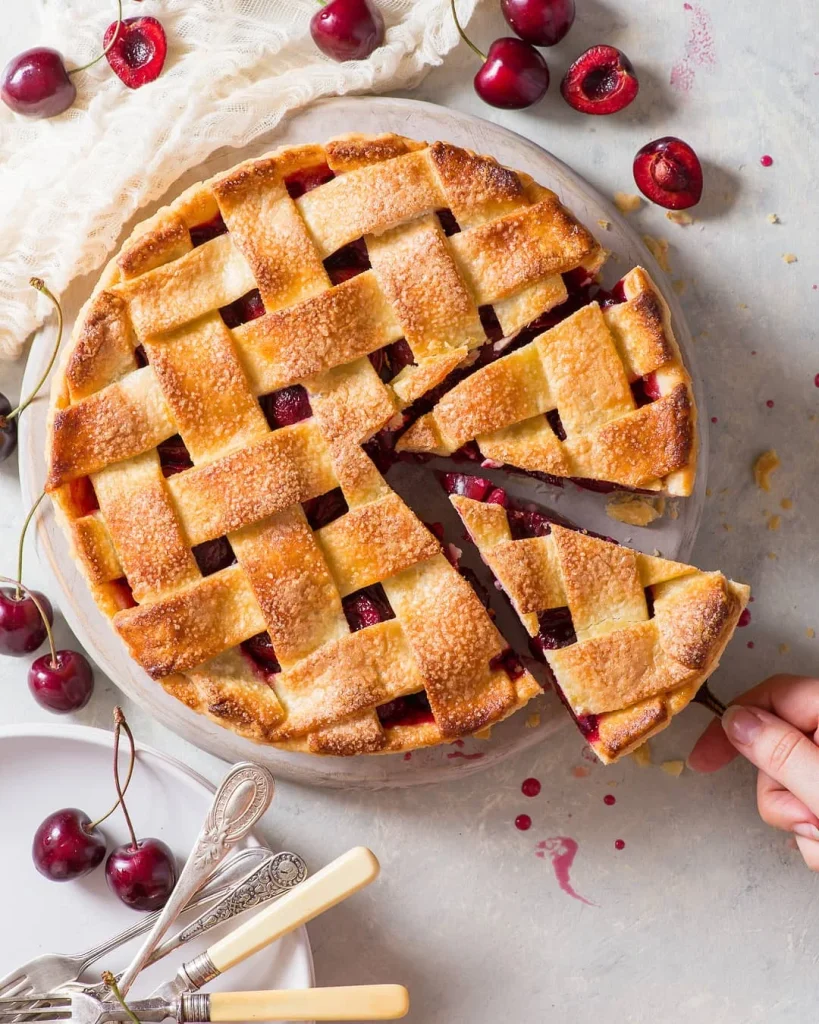
For an extra golden and glossy finish, brush the top crust with an egg wash before baking and sprinkle with coarse sugar for sweet pies. This small step adds noticeable visual appeal and a subtle crunch to the finished product.
If you prefer an even flakier result, try replacing a tablespoon of the ice water with cold vodka, since alcohol inhibits gluten development without adding extra moisture that could toughen the dough. The alcohol bakes off completely in the oven.
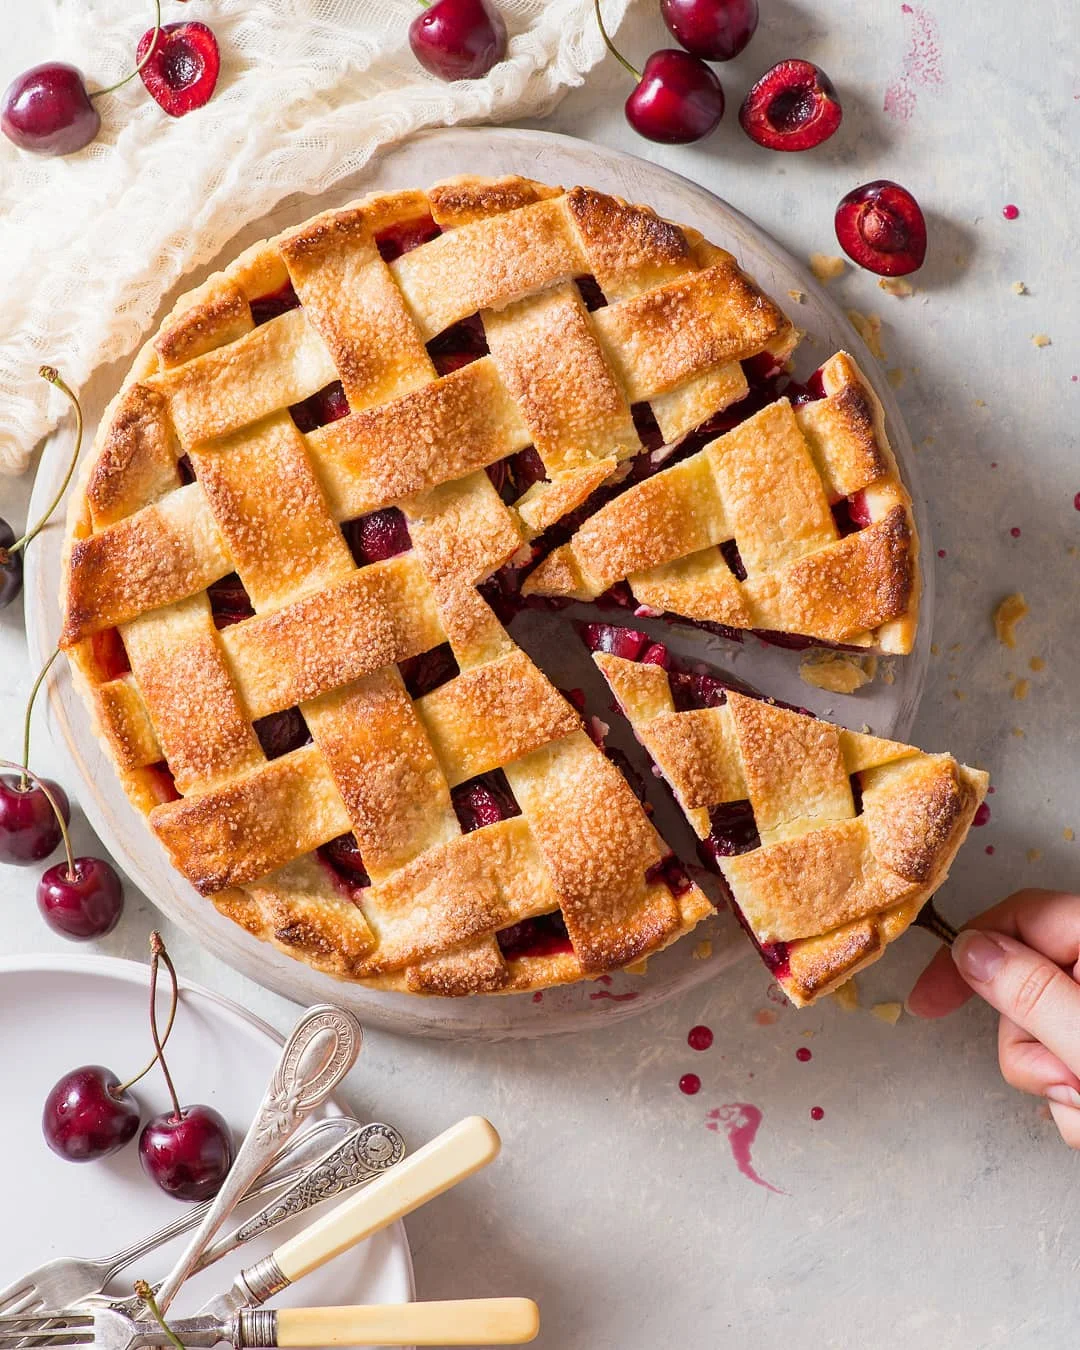
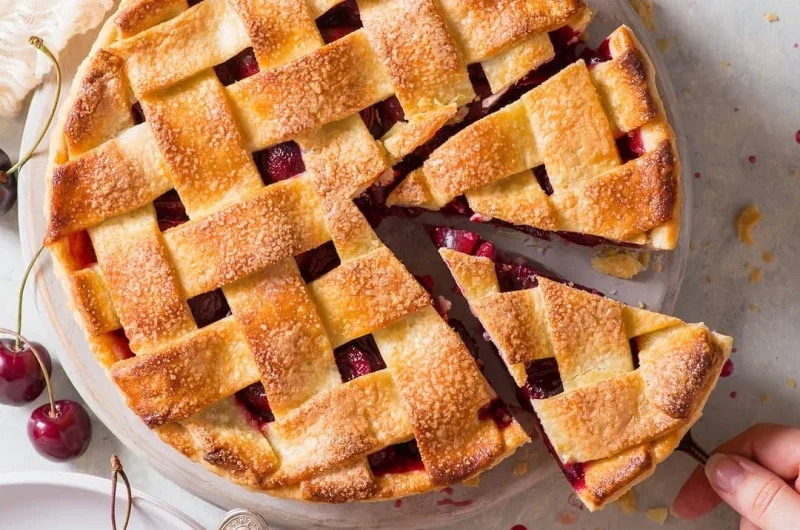
Consider adding lattice cuts or decorative crimping for special occasions, which not only looks impressive but also allows steam to escape properly from fruit fillings, preventing soggy bottoms and overflow during baking.
For savory pies and quiches, reduce the sugar to a pinch and consider adding a teaspoon of dried herbs directly into the flour mixture for a subtle flavor boost that complements egg or vegetable fillings well.
Seasonal Relevance
This crust recipe becomes especially valuable during autumn and winter holiday seasons, when pumpkin, pecan, and apple pies dominate dessert tables across Thanksgiving and Christmas gatherings. A reliable, flaky base elevates every one of these classic fillings.
In spring and summer, the same dough works beautifully for fresh fruit pies featuring strawberries, peaches, or cherries, where a tender, buttery crust contrasts nicely against juicy, sweet fillings without overpowering them.
Because the dough freezes so well, many bakers prepare a batch during quieter months and store it for busy holiday weeks ahead, cutting down on last-minute kitchen stress considerably during peak entertaining season.
Quiches and savory hand pies made from this same crust also make it relevant year-round for brunches, potlucks, and make-ahead meals, proving this is not just a seasonal specialty but a genuinely versatile kitchen staple.
Final Words
A great pie crust is less about complicated technique and more about respecting temperature and restraint. Keeping ingredients cold and handling the dough minimally will consistently outperform fancier methods that ignore these basics.
Once this crust becomes second nature, it opens the door to endless pie possibilities without the usual anxiety around soggy bottoms, tough bites, or shrinking edges. The confidence gained here transfers to nearly every other pastry project as well.
Take the time to chill properly and resist the urge to rush the process, since patience is genuinely the secret ingredient in this recipe rather than any unusual technique or tool.
Whether this crust ends up under a holiday pumpkin pie or wrapped around a weeknight quiche, mastering it once means better pies, consistently, for years of baking ahead.
Frequently Asked Questions
Can I make this pie crust without a food processor?
Yes, a pastry cutter, two forks, or even your fingertips work well for cutting the butter into the flour. The key is speed and keeping the butter cold throughout, regardless of which tool you choose for this step.
Why does my crust shrink after baking?
Shrinkage usually happens when the dough was stretched while fitting it into the pan, or when it wasn’t chilled long enough before baking. Always ease the dough gently into corners and chill the shaped crust for fifteen minutes before it enters the oven.
Can I use only butter without any shortening?
Absolutely, an all-butter crust delivers the best flavor and is what this recipe is built around. Shortening is optional and only recommended if you specifically want a slightly more tender, less flaky texture in the final result.
Flaky Homemade Pie Crust That Turns Out Perfect Every Time
2
servings20
minutes15
minutes210
kcalA foolproof, all-butter pie crust with visible sheets of cold butter for maximum flakiness. Comes together in one bowl, chills while you prep your filling, and rolls out smoothly every single time.
Ingredients
Base Ingredients:
2½ cups all-purpose flour
1 teaspoon fine salt
1 teaspoon granulated sugar
1 cup unsalted butter, cold and cubed
½ cup ice water
1 tablespoon apple cider vinegar
Optional Add-ins:
1 tablespoon vodka (in place of some ice water)
1 teaspoon lemon zest (for fruit pies)
2 tablespoons vegetable shortening (for extra tenderness)
1 egg, beaten (for egg wash)
1 tablespoon coarse sugar (for topping)
Directions
- Cube the butter and chill it for at least 15 minutes before starting.
- Whisk together flour, salt, and sugar in a large bowl.
- Cut the cold butter into the flour until pea-sized and larger flat pieces remain visible.
- Stir vinegar into ice water, then drizzle over the flour mixture a tablespoon at a time, tossing gently.
- Stop adding water once the dough holds together when pressed, even if shaggy.
- Divide dough into two portions and shape into flat, one-inch-thick discs.
- Wrap discs tightly in plastic and refrigerate for at least 1 hour, or overnight.
- Roll one disc from the center outward on a floured surface to about ⅛-inch thickness.
- Transfer to the pie pan, ease into corners, and trim excess, leaving a small overhang.
- For custard or cream pies, blind bake at 425°F for 15 minutes with pie weights, then 8 to 10 minutes without.
- For fruit pies, fill the raw crust directly and bake per the filling recipe.
- Chill the shaped crust for 15 minutes before baking to help it hold its shape.
Recipe Video
Notes
- Keep all ingredients cold, including the mixing bowl, especially in warm kitchens.
- Do not overmix once water is added; a rough, shaggy dough is correct.
- Chill discs for a minimum of 1 hour; do not skip or shorten this step.
- Unbaked discs keep 3 days refrigerated or 3 months frozen.
- Pinch cracked edges closed instead of adding extra water.
- Brush with egg wash and coarse sugar for a golden, glossy finish.