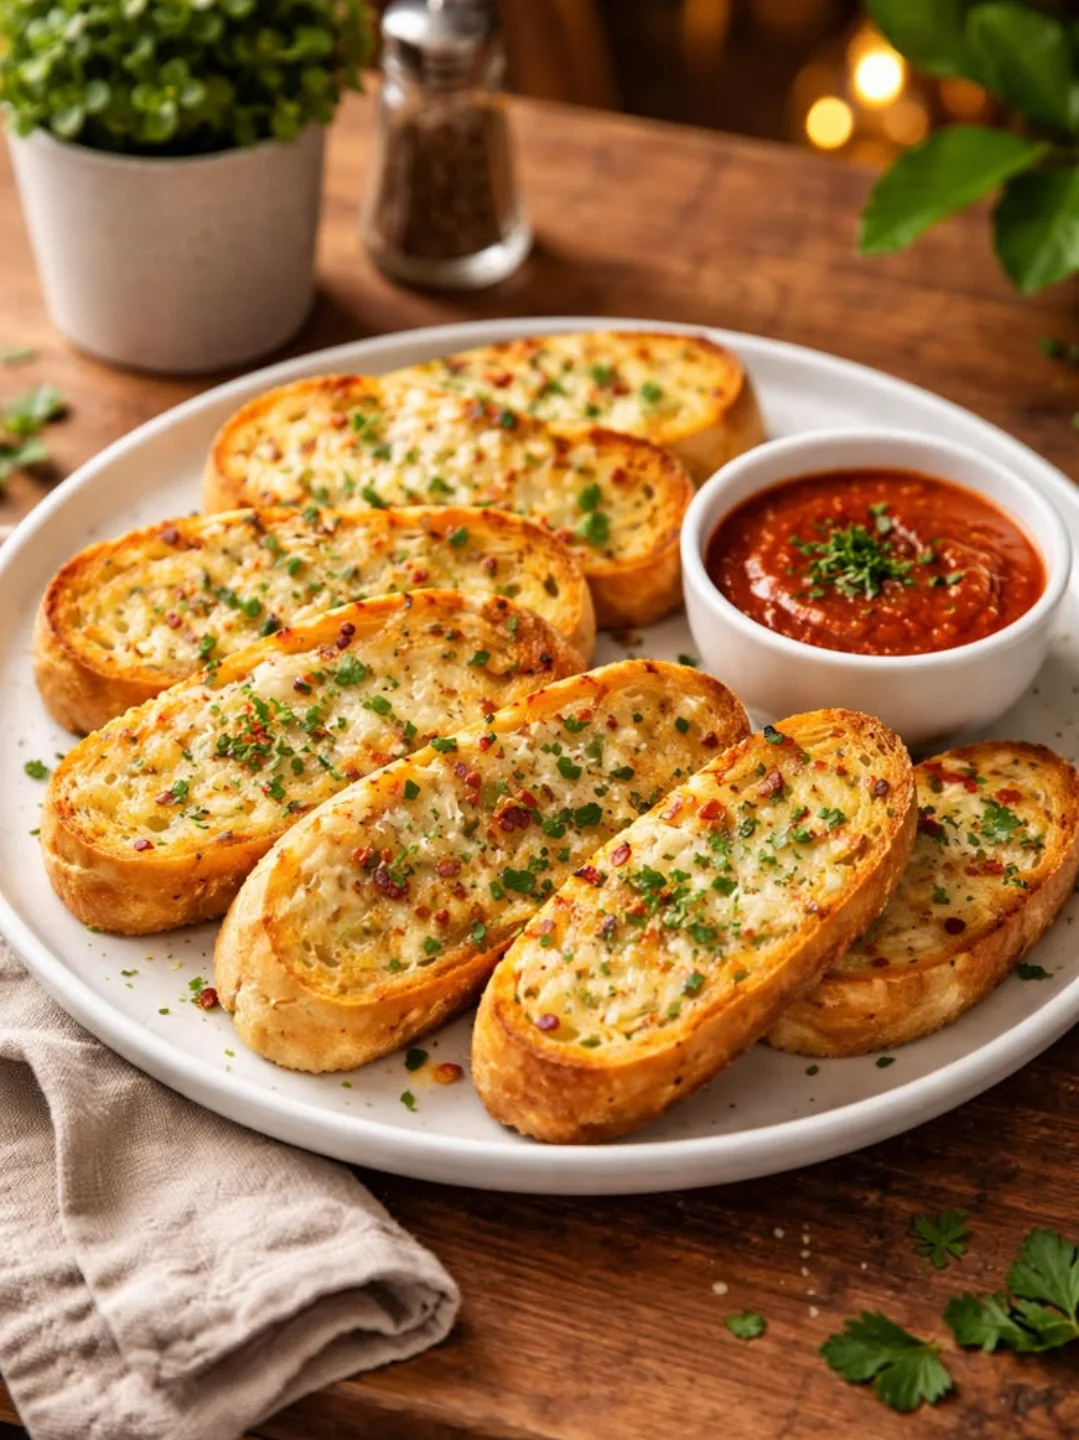
Garlic bread has a reputation problem. Most versions are either soggy in the middle, burnt at the edges, or so drenched in butter that the bread turns to mush before it hits the plate. That is not what you want, and it is not what this recipe delivers.
The secret sits in one small detail that most recipes skip entirely: temperature. Melted butter behaves differently than softened butter once it meets hot bread, and that difference decides whether your crust actually crisps or just steams itself soft.
This recipe fixes that. Whipped garlic butter, spread cold-soft rather than poured molten, sits on the surface and caramelizes into a shattering golden crust while the interior stays pillowy. No sogginess, no guesswork.
Whether you are feeding a crowd alongside pasta, serving it as a starter, or turning it into a cheesy pull-apart centerpiece, this method holds up. It is fast, forgiving, and works with whatever bread is already in your kitchen.
Ingredients You’ll Need
Great garlic bread does not hide behind fancy ingredients, it earns its flavor from ratio and technique, and that is exactly what this list is built around. One of the things I love about this recipe is that it uses simple pantry ingredients. You probably already have most of them in your kitchen.
Base Ingredients
- 1 loaf French or Italian bread, split lengthwise
- 6 tablespoons unsalted butter, softened
- 4 cloves garlic, finely minced
- 2 tablespoons fresh parsley, chopped
- 1/4 teaspoon sea salt
- 1/4 teaspoon black pepper, freshly cracked
- 1 tablespoon olive oil
Optional Add-ins
- 1 cup mozzarella cheese, shredded
- 1/4 cup Parmesan cheese, grated
- 1/2 teaspoon red pepper flakes
- 1 teaspoon lemon zest
- 1 tablespoon chives, finely chopped
Step-by-Step Instructions
Prepare the Garlic Butter
Bring the butter to true room temperature before you start, it should give easily when pressed but not look shiny or oily. Combine it in a bowl with the minced garlic, parsley, salt, and pepper. Mash everything together with a fork until fully blended and slightly fluffy. This whipped texture is what allows the butter to sit on the bread’s surface rather than sink into it, which is the entire point of getting a crackling, golden crust instead of a soft, greasy one.
Split and Score the Loaf
Slice your loaf horizontally through the middle, keeping the two halves intact rather than cutting all the way through the crust. If you are making pull-apart garlic bread, score the top in a diagonal crosshatch pattern about an inch apart, cutting almost to the base. This creates pockets that catch butter and cheese as they melt, giving you more crisp surface area and easier tearing once it comes out of the oven.
Butter Generously and Evenly
Spread the whipped garlic butter across both cut sides of the loaf, working it into every corner and edge. Do not skimp near the crust, that area dries out fastest and needs the extra fat to crisp properly. If scoring for pull-apart bread, press butter down into each cut so it reaches the interior. Finish with a light drizzle of olive oil across the surface, which helps the exterior brown more evenly under heat.
Add Cheese If Using
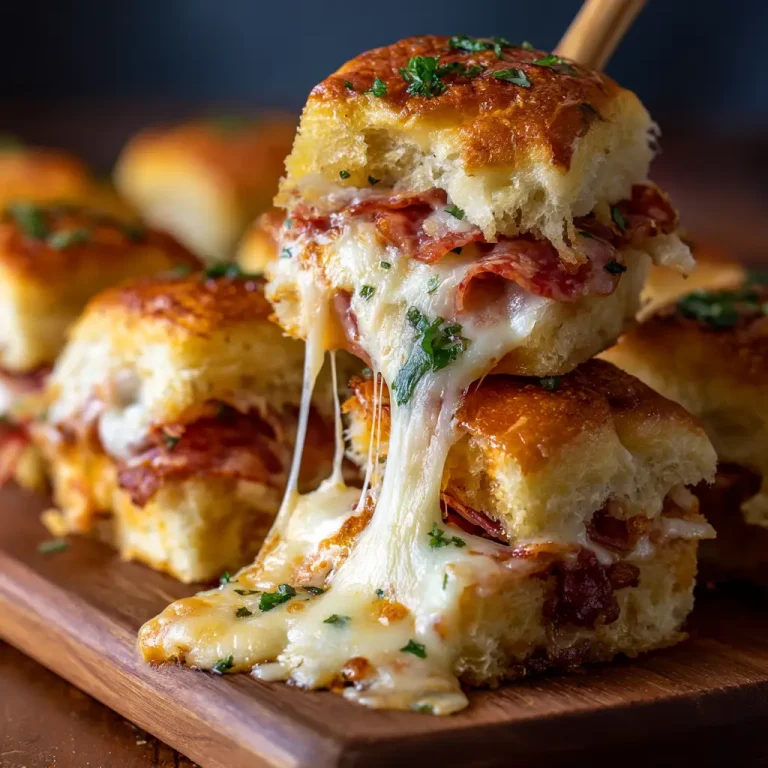
For a cheesy pull-apart version, tuck shredded mozzarella into the scored gaps and press gently so it settles rather than sits on top. Scatter grated Parmesan across the whole surface for a sharper, nuttier finish once baked. Cheese placement matters here, buried cheese melts into gooey pockets while surface cheese browns and crisps, so use both if you want contrast in texture across a single loaf.
Bake Until Golden
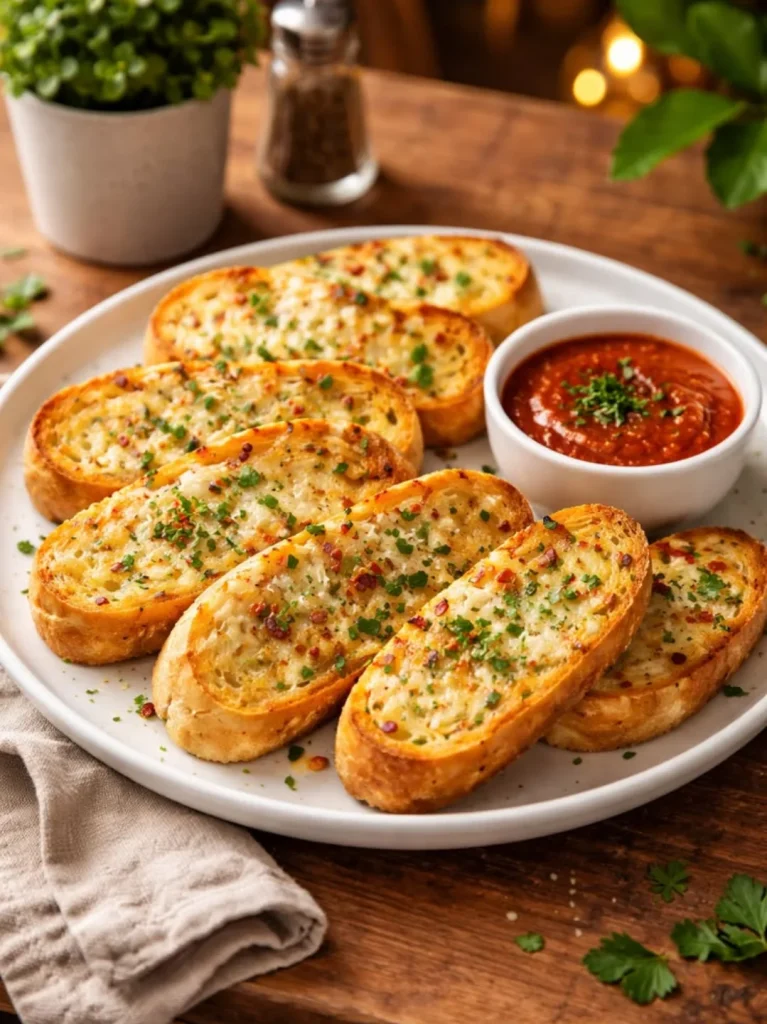
Place the loaf on a baking sheet and bake at 400°F for 12 to 15 minutes, until the edges turn deep gold and the butter has fully absorbed into the crust. Watch closely rather than relying only on the timer, ovens vary and garlic burns fast once it starts browning.
Broil for Final Crispness
Switch the oven to broil for the final 60 to 90 seconds, keeping the loaf on a middle rack and watching constantly. This short blast is what pushes the crust from golden to genuinely crisp, with slightly charred high points on the cheese or butter. Pull it the moment you see color, broilers turn bread from perfect to burnt in seconds, and there is no recovering it once that happens.
Cook Time
Total
25 minutes
Prep
10 minutes
Bake
15 minutes
Servings
This recipe makes approximately 8 generous slices from one standard loaf, enough to serve as a side for four to six people at a full dinner, or as a shared starter for a slightly larger group. Portion size really depends on what else is on the table.
If garlic bread is the main event, alongside a salad or soup, plan for two slices per person. Paired with a heavier pasta or protein dish, one slice usually satisfies, since the butter and cheese make it richer than it looks.
For gatherings, doubling the recipe across two loaves is easier than stretching one, since it keeps the butter-to-bread ratio consistent and every slice equally crisp rather than thinning out the topping to cover more surface area.
Common Mistakes in This Recipe
The most frequent mistake is using melted butter instead of softened. Melted butter is thin enough to seep straight into the crumb, leaving the interior greasy and the surface pale rather than crisped, since there is nothing left on top to caramelize.
A close second is skipping fresh garlic for the jarred or powdered version. Pre-minced garlic often carries excess moisture and a flatter, slightly bitter flavor once baked, while garlic powder burns easily and tastes dusty rather than aromatic against the butter.
Overcrowding the oven or baking at too low a temperature is another common issue. Bread baked much below 400°F dries out before it browns, leaving a tough, leathery crust instead of a genuinely crisp one with contrast against the soft center underneath.
Finally, many home cooks walk away during the broiling step. Broilers work fast, and thirty seconds of distraction is often the difference between a beautifully charred crust and a blackened, bitter one that has to be scraped or discarded entirely.
Solutions to Common Mistakes
Always soften butter on the counter for 30 to 45 minutes before starting, or use short bursts in the microwave, checking every five seconds so it never fully liquefies. This keeps the fat structured enough to sit on the surface.
Mince garlic fresh with a knife or press just before mixing it into the butter. The stronger, cleaner flavor holds up far better through baking, and the reduced moisture content helps the crust crisp rather than steam.
Keep your oven at a true 400°F, verified with an oven thermometer if yours runs cool, and bake on the top-middle rack for even heat exposure. This ensures the crust browns fully within the recommended window.
Stay at the oven door during the broiling stage without exception. Keep the loaf on a middle rather than top rack, and pull it the instant you see the color you want, since there is no gradual warning before it turns.
Nutritional Information (approx. per serving)
- Calories: 210 kcal
- Total Fat: 13g
- Saturated Fat: 7g
- Carbohydrates: 19g
- Protein: 4g
- Sodium: 280mg
- Fiber: 1g
Garlic itself brings more to the table than flavor. It contains allicin, a compound studied for its role in supporting cardiovascular health and immune function, which means this indulgent side dish carries a genuine nutritional upside beyond simple comfort food.
Parsley adds a meaningful dose of vitamin K and vitamin C in a small, easy-to-overlook garnish, while also helping balance the richness of the butter with a clean, herbaceous note that keeps each bite from feeling heavy.
Using good olive oil alongside butter introduces monounsaturated fats, which are generally considered a heart-healthier fat source compared to butter alone, without compromising the crisp texture the recipe depends on.
Portion control matters more than restriction here. Enjoyed as a side rather than the main component of a meal, this bread fits comfortably into a balanced plate without requiring any changes to the recipe itself.
Storage Instructions
Let any leftover garlic bread cool completely to room temperature before storing, since trapping heat in a container creates condensation that will soften the crust and undo the crispness you worked for.
Store cooled slices in an airtight container or wrapped tightly in foil at room temperature for up to two days. Refrigeration is not necessary for short-term storage and can actually dry the bread out faster than the counter.
For longer storage, wrap individual slices in foil and freeze for up to two months. Freezing in single portions makes reheating easier later, since you only take out what you plan to eat.
To reheat, skip the microwave entirely, as it turns the crust soft and chewy. Instead, warm slices in a 350°F oven for 8 to 10 minutes, or straight from frozen for closer to 15, until the crust re-crisps.
Suggestions
This garlic bread pairs naturally with tomato-based pasta dishes, where its crisp texture and buttery garlic flavor contrast nicely against a saucy plate of spaghetti or lasagna without competing with the main flavors.
It also works well alongside soups and stews, particularly tomato basil, minestrone, or a hearty beef stew, where the bread doubles as a built-in tool for scooping up the last bits of broth.
For a heartier version, try adding a thin layer of ricotta or a few slices of fresh mozzarella before the final bake, turning the side dish into something closer to a light appetizer or shareable starter.
If you want a flavor variation, swap the parsley for fresh basil or add a touch of smoked paprika to the butter. Both additions shift the profile noticeably while keeping the core method identical.
Seasonal Relevance
Garlic bread earns its place at the table year-round, but it has particular strengths depending on the season, largely tied to what it is served alongside rather than the bread itself.
In colder months, it becomes a natural companion to slow-cooked stews, braises, and baked pasta dishes, where its crisp texture and warm garlic aroma add contrast to heavier, longer-cooked meals during fall and winter gatherings.
During spring and summer, it works just as well alongside lighter dishes like grilled vegetables, fresh pasta salads, or barbecued proteins, where a crisp, buttery slice balances out cooler, fresher sides on the plate.
Holiday tables and casual weeknight dinners alike benefit from having this recipe on hand, since it scales easily, requires no special equipment, and adapts to whatever main dish defines the season you are cooking in.
Final Words
Garlic bread does not need reinvention, it needs precision. The difference between an average version and a genuinely great one comes down to butter temperature, ingredient quality, and paying attention during those final, fast-moving minutes under the broiler.
This method respects that. It is simple enough for a weeknight side dish but reliable enough to serve guests without hesitation, since the technique produces consistent, crisp results every time you follow it.
Once you make it this way, with soft butter properly worked into the crust rather than melted through it, it becomes difficult to go back to the soggier, less deliberate versions most recipes settle for.
Keep this one in rotation. It is fast, forgiving, and flexible enough to sit beside almost anything on your table, which is exactly what a reliable side dish is supposed to do.
Frequently Asked Questions
Can I make this garlic bread ahead of time and bake it later? Yes. Assemble the buttered loaf, wrap it tightly in foil, and refrigerate for up to a day before baking. Add a few extra minutes to the bake time since you are starting from cold rather than room temperature.
What type of bread works best for this recipe? A sturdy French or Italian loaf with a firm crust holds up best, since it crisps evenly without collapsing. Softer sandwich breads work for a quick version but will not develop the same shattering texture.
Can I make this recipe dairy-free? Yes, substitute the butter with a quality plant-based butter alternative that softens similarly at room temperature. Skip the cheese or use a dairy-free version, and expect a slightly less rich but still crisp result.
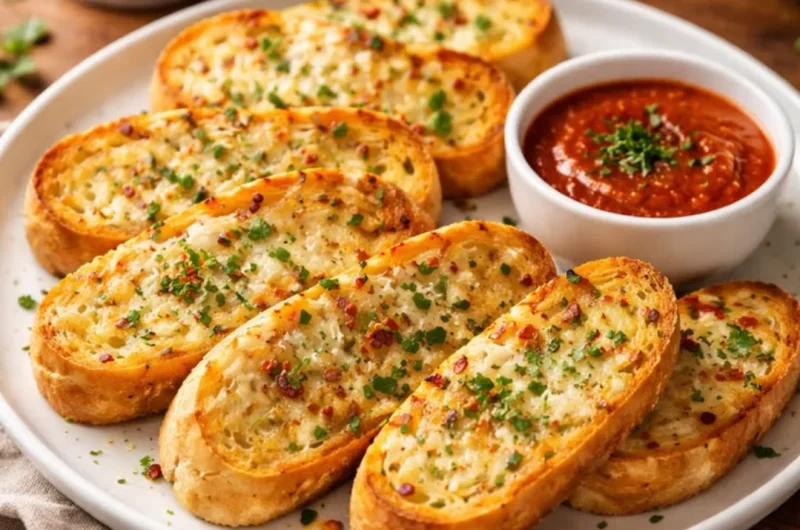
Crispy Garlic Bread That Goes with Everything
8
servings10
minutes15
minutes210
kcalGolden, crackling garlic bread made with whipped garlic butter instead of melted. Crisps into a buttery crust on the outside while staying soft in the middle. Finished under the broiler for that perfect final crunch.
Ingredients
Base:
1 loaf French or Italian bread, split lengthwise
6 tablespoons unsalted butter, softened
4 cloves garlic, finely minced
2 tablespoons fresh parsley, chopped
1/4 teaspoon sea salt
1/4 teaspoon black pepper, freshly cracked
1 tablespoon olive oil
Optional Add-ins:
1 cup mozzarella cheese, shredded
1/4 cup Parmesan cheese, grated
1/2 teaspoon red pepper flakes
1 teaspoon lemon zest
1 tablespoon chives, finely chopped
Directions
- Soften butter to room temperature and mash with garlic, parsley, salt, and pepper until fluffy.
- Slice the loaf horizontally, keeping halves intact; score in a crosshatch for pull-apart style.
- Spread garlic butter evenly over both cut sides, working into edges and corners.
- Drizzle with olive oil for even browning.
- Add mozzarella and Parmesan if using, pressing cheese into scored gaps.
- Bake at 400°F for 12–15 minutes until edges turn golden.
- Broil for 60–90 seconds, watching closely, until crisp and lightly charred.
- Slice and serve immediately.
Recipe Video
Notes
- Use softened, not melted, butter — this is the key to a crisp crust.
- Fresh garlic works far better than jarred or powdered.
- Stay near the oven during broiling; it browns in seconds.
- Store leftovers wrapped in foil at room temperature for up to 2 days, or freeze for up to 2 months.
- Reheat in the oven, not the microwave, to restore crispness.