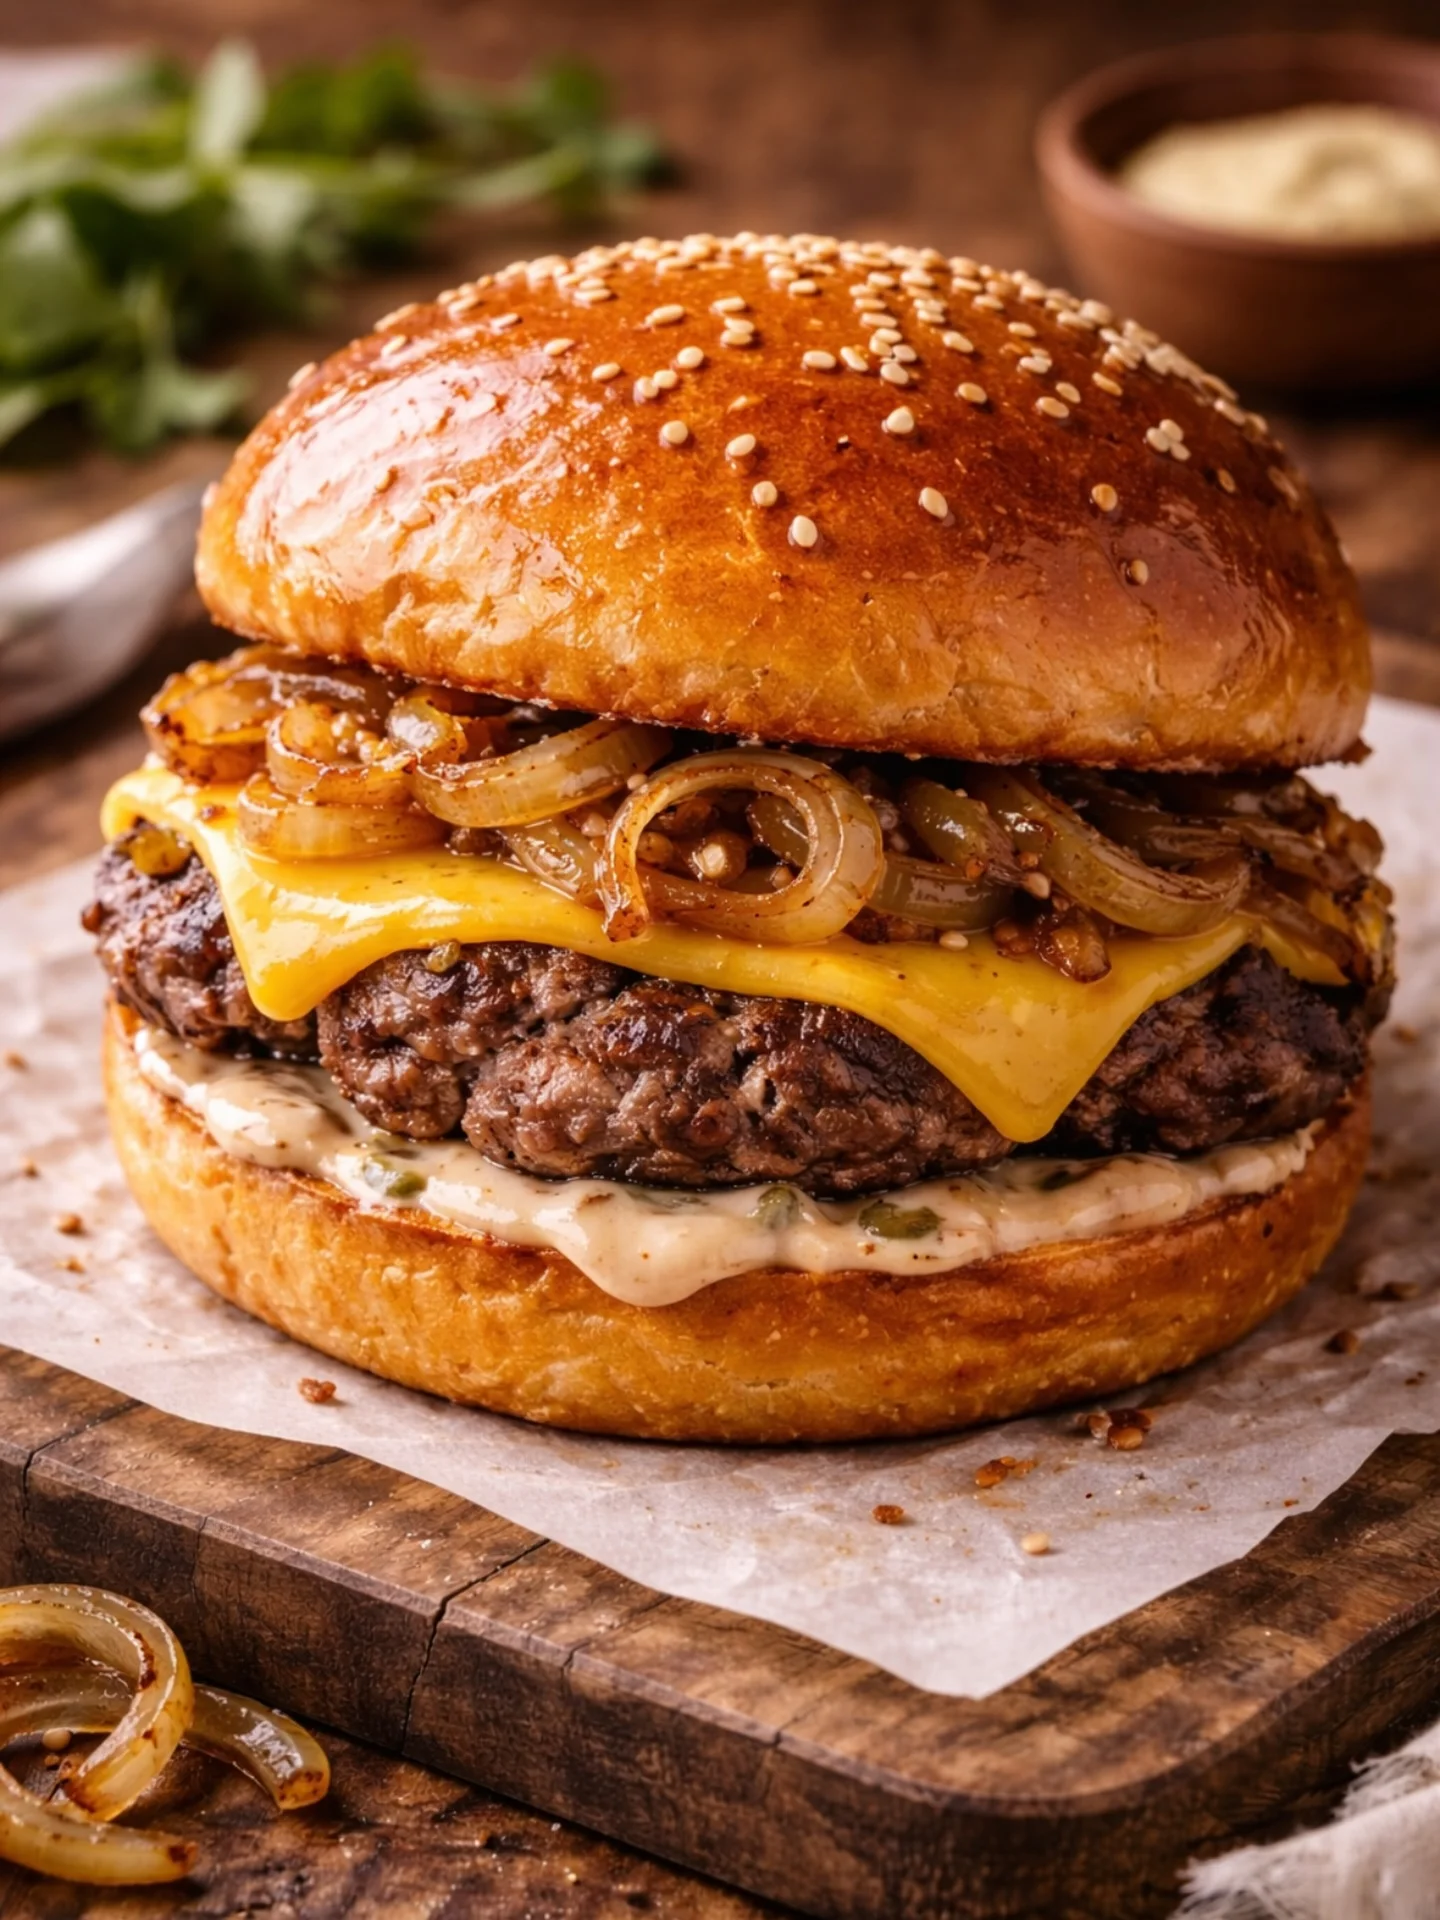
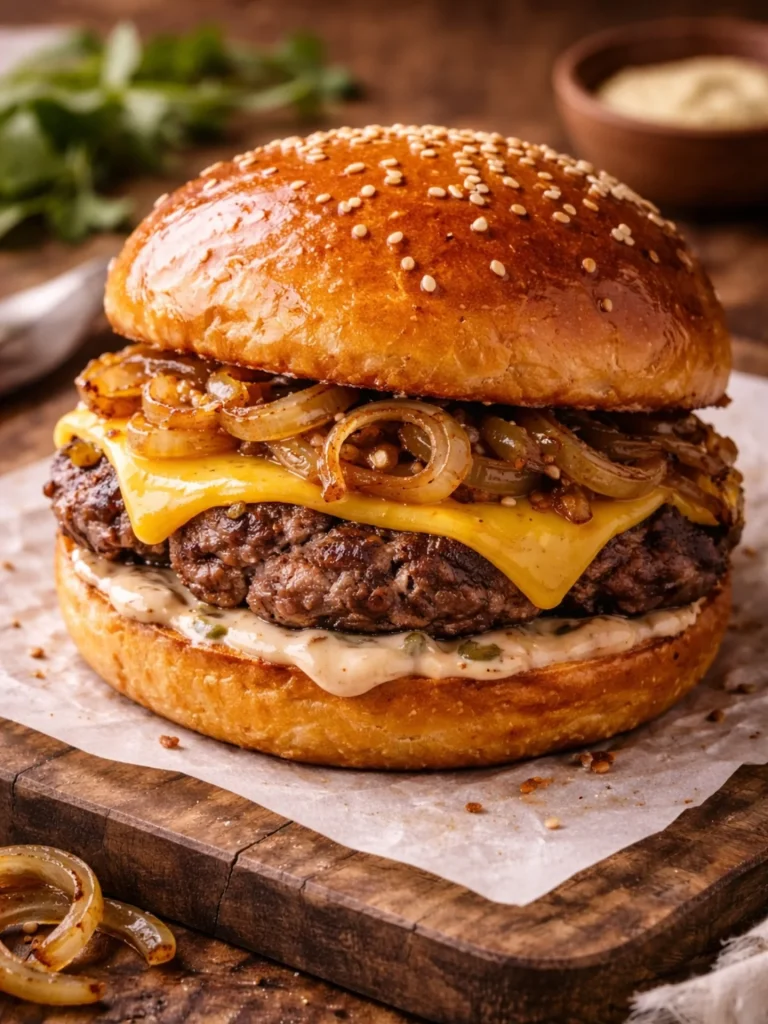
Get the pan screaming hot, smash once and hard, then leave it alone. Those lacy crispy edges come from full contact with the surface in the first 30 seconds. Season after the smash, never before. Add a spoonful of tangy smash burger sauce and a slice of American cheese and you’ve got homemade smash burgers better than the drive-thru.
Some recipes reward patience. This one rewards speed, heat, and confidence. A smash burger isn’t a delicate technique you ease into gently — it’s a fast, aggressive sear that transforms an ordinary ball of ground beef into something with texture, contrast, and deeply caramelized flavor in under three minutes per patty.
Most home cooks overthink burgers. They reach for thick patties, fancy grinds, and slow cooking, when the real secret is the opposite. Thin, wide contact with a blistering hot surface is what builds that craggy, almost lace-like crust that snaps under your teeth before giving way to a juicy center.
This recipe strips the process down to what actually matters: heat control, timing, and a sauce that ties every bite together. No smoker, no grill required — just a heavy pan, a sturdy spatula, and a little nerve.
By the end of this guide, you’ll understand exactly why restaurants charge $15 for something you can make better, faster, and cheaper in your own kitchen tonight.
Ingredients You’ll Need
Great smash burgers don’t hide behind a long ingredient list — they earn their flavor through technique, so what you’re buying matters more than how much of it there is.
One of the things I love about this recipe is that it uses simple pantry ingredients. You probably already have most of them in your kitchen.
Base Ingredients
- 1 pound ground beef (80/20 blend)
- 1 teaspoon kosher salt
- 1/2 teaspoon black pepper, freshly cracked
- 4 slices American cheese
- 4 hamburger buns, soft potato or brioche
- 1 tablespoon neutral oil (avocado or vegetable)
- 2 tablespoons unsalted butter, for toasting buns
Optional Add-ins
- 1/4 cup mayonnaise
- 1 tablespoon ketchup
- 1 teaspoon yellow mustard
- 1 tablespoon dill pickle juice
- 4 dill pickle slices
- 1/4 cup white onion, thinly sliced
- 1/2 teaspoon garlic powder
- 1 teaspoon smoked paprika
Step-by-Step Instructions
Portion the Beef Loosely
Divide the ground beef into four equal portions, roughly 4 ounces each. Roll each into a loose ball — do not pack it tightly. A loosely formed ball smashes into a craggier, more textured patty with more surface area for browning. Keep the beef cold until the moment it hits the pan; warm fat spreads unevenly and produces a greasier, less crisp result. Set the portions on a tray near your stovetop so everything is within reach once the pan is ready.
Heat the Pan Until It Smokes Slightly
Place a heavy cast iron or carbon steel skillet over high heat for a full four to five minutes. Add the neutral oil and swirl to coat. The pan is ready when the oil shimmers and just barely starts to smoke. This intense heat is non-negotiable — it’s the entire reason smash burgers develop their signature crust. A pan that’s only moderately hot will steam the beef instead of searing it, leaving you with a pale, flabby patty.
Smash Hard and Immediately
Place a beef ball onto the hot surface and press down firmly with a sturdy spatula for five to seven seconds, using a bacon press or the back of a second spatula for even pressure. Work fast — the goal is maximum contact before the beef has a chance to seize up. You should hear an aggressive sizzle immediately. Repeat with each portion, giving enough space between patties so they don’t steam each other.
Season the Moment It Hits the Pan
Immediately after smashing, sprinkle each patty generously with kosher salt and black pepper. Seasoning after smashing, not before, prevents moisture from being drawn out early, which would interfere with browning. If using garlic powder or smoked paprika, add it now as well. Resist the urge to move or peek at the patty for the next 90 seconds — disturbing it too early tears the crust that’s forming underneath.
Flip Once and Add Cheese
After about two minutes, the edges will look deeply browned and lacy. Slide your spatula fully underneath and flip in one confident motion. Immediately top with a slice of American cheese so it melts fully during the final 60 to 90 seconds of cooking. Do not press the patty down again after flipping — you’ll only squeeze out the juices you worked to lock in.
Toast the Buns and Build the Burger
While the second side finishes, melt butter in a separate pan or on the skillet’s edge and toast the buns cut-side down until golden. Mix mayonnaise, ketchup, mustard, and pickle juice for a quick smash burger sauce. Spread sauce on both bun halves, layer pickles and onion on the bottom, stack the cheesy patty on top, and close. Serve immediately while the crust is still audibly crisp.
Cook Time
Total: 20 minutes
Prep: 10 minutes
Bake: 10 minutes (stovetop cook time)
Servings
This recipe makes approximately 4 individual smash burgers, each built from a single smashed patty, a slice of melted cheese, and a toasted bun. It’s sized perfectly for a weeknight dinner for two with leftovers, or a quick lunch for the whole family without a mountain of dishes afterward.
If you’re feeding a crowd, the recipe scales cleanly. Simply multiply the beef, cheese, and buns proportionally, and cook the patties in batches of two or three so the pan never loses its high heat, which is essential for that signature crust.
Pair each burger with crispy fries, a simple side salad, or kettle chips to round out the plate. The patties themselves are compact enough that most people comfortably eat one, though double-stacking two patties per bun is a popular and satisfying variation.
Common Mistakes in This Recipe
The single biggest mistake is using a pan that isn’t hot enough before the beef goes in. A lukewarm surface steams the meat instead of searing it, and you lose the crispy, lacy edges that define a proper smash burger entirely. Many home cooks rush this step, impatient to start cooking, and the payoff never fully arrives.
The second common error is packing the beef too tightly when forming portions. Dense, compact balls smash into uniform discs rather than the craggy, textured patties that catch and hold a deep sear across their surface.
Seasoning too early is another frequent misstep. Salting raw beef before it hits the pan draws out moisture prematurely, softening the exterior and working directly against the crust you’re trying to build.
Finally, over-handling the patty — flipping too soon, pressing it down again after the flip, or moving it around the pan — releases juices you cannot get back, leaving the final burger drier than it should be.
Solutions to Common Mistakes
Preheat your pan for a full four to five minutes over high heat, and test it with a drop of water — it should skitter and evaporate almost instantly. This patience upfront pays off directly in crust quality.
Form beef portions loosely, almost like you’re barely touching them, and let the smash itself do the compacting. This preserves the ragged edges that turn golden and crisp during cooking.
Hold off on salt and pepper until the patty is already smashed flat on the hot surface. Season immediately in that window, and the beef will brown beautifully instead of steaming.
Set a timer for each side and trust it. Flip exactly once, resist pressing down afterward, and let the residual heat finish the job gently while the cheese melts on top.
Nutritional Information (approx. per serving)
- Calories: 480 kcal
- Protein: 26g
- Total Fat: 32g
- Saturated Fat: 13g
- Carbohydrates: 22g
- Fiber: 1g
- Sugar: 4g
- Sodium: 780mg
Ground beef at an 80/20 ratio delivers a substantial dose of protein and iron per serving, both important for muscle maintenance and healthy oxygen transport through the bloodstream. This makes the smash burger a genuinely satiating meal rather than an empty indulgence.
The B-vitamins naturally present in beef, particularly B12 and niacin, support energy metabolism and nervous system function, which is a benefit that often gets overlooked in casual conversations about burgers.
Using a potato or brioche bun in moderation contributes quick-digesting carbohydrates that pair well with the protein and fat, giving you a balanced, energy-sustaining plate rather than a one-note meal.
Topping with fresh onion and pickles adds a small but meaningful contribution of fiber and antioxidants, rounding out the nutritional profile without diluting the indulgent character of the dish.
Storage Instructions
Cooked smash burger patties keep well in the refrigerator for up to three days when stored in an airtight container, separate from the buns to prevent sogginess. Let the patties cool to room temperature before sealing to avoid trapping excess steam.
For longer storage, wrap individual cooked patties tightly in plastic wrap, then place them in a freezer-safe bag. They’ll hold their quality for up to two months in the freezer without significant loss of texture or flavor.
Reheating is best done in a hot skillet for one to two minutes per side, which helps restore some of the original crispness. Microwaving works in a pinch but tends to soften the crust considerably.
Keep sauce, pickles, and onions stored separately in small sealed containers. Assembling the burger fresh at serving time, rather than storing it fully built, preserves both texture and overall bun integrity.
Suggestions
For an even richer bite, try a double-stack version using two smaller patties per burger instead of one larger one. This doubles the crispy-edge-to-meat ratio, which is where most of the flavor actually lives.
If you want a smokier profile, swap plain American cheese for a sharp smoked cheddar or pepper jack. Both melt beautifully and add a different dimension without overwhelming the beef itself.
Consider toasting the buns in the same rendered beef fat left in the pan after cooking the patties, rather than fresh butter. It ties the whole burger together with a deeper, more cohesive flavor.
For a spicier take, mix a few dashes of hot sauce or a spoonful of chopped pickled jalapeños directly into the smash burger sauce. It adds heat without requiring any changes to the cooking technique itself.
Seasonal Relevance
Smash burgers shine year-round, but they carry a particular appeal during the warmer months when quick, satisfying stovetop meals are preferable to long oven sessions that heat up the whole kitchen.
During summer cookouts, this recipe offers a faster, more consistent alternative to grilling whole patties, especially when you’re feeding a crowd and need multiple burgers ready in quick succession without babysitting a grill.
In colder months, the technique translates seamlessly indoors, letting you recreate that same charred, crispy-edge experience on the stovetop when outdoor grilling isn’t practical or the weather simply won’t cooperate.
Around game days, holidays, and casual gatherings, smash burgers work exceptionally well as a build-your-own station, letting guests customize toppings while you keep a steady rotation of patties coming off the pan.
Final Words
There’s a reason smash burgers have taken over menus at serious burger joints in recent years — the technique simply produces more flavor per bite than a standard thick patty ever could, and it does so in a fraction of the time.
What makes this recipe worth returning to isn’t complexity; it’s precision. Hot pan, confident smash, correctly timed seasoning, and a sauce that ties it all together. Master those four elements and you’ll rarely order a burger out again.
Don’t be afraid to experiment once you’ve nailed the base technique. Different cheeses, sauces, and toppings can all ride on top of this same reliable foundation without changing the core method at all.
Keep this one in regular rotation. It’s fast enough for a weeknight, impressive enough for guests, and consistent enough that you’ll get restaurant-quality results every single time you make it.
Frequently Asked Questions
Can I make smash burgers without a cast iron skillet?
Yes, a heavy stainless steel or carbon steel pan works well too. What matters most is that the pan retains high heat evenly, so avoid thin, lightweight pans that cool down quickly once the beef is added.
Why did my patty stick to the pan instead of releasing cleanly?
This usually means the crust hasn’t fully formed yet. A properly seared patty releases on its own; if it’s sticking, give it another 20 to 30 seconds before attempting to flip it again.
Can I use leaner ground beef for a healthier version?
You can use 85/15 beef, but expect slightly less juiciness and a drier crust. The higher fat content in 80/20 blends is largely responsible for both the flavor and the signature crispy texture.
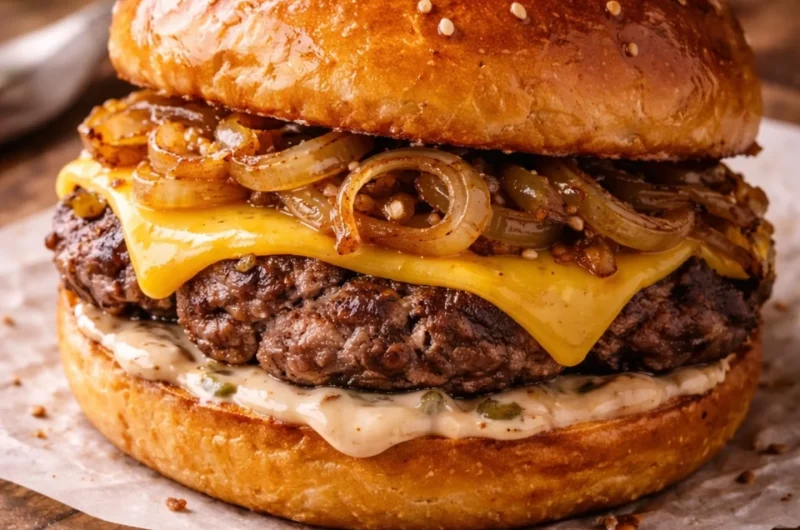
Juicy Smash Burgers with Crispy Edges
4
servings10
minutes10
minutes480
kcalScreaming-hot pan, one hard smash, and crispy lacy edges every time. These juicy smash burgers are topped with melty American cheese and a tangy homemade sauce — better than any drive-thru, ready in 20 minutes.
Ingredients
Base Ingredients
1 pound ground beef (80/20 blend)
1 teaspoon kosher salt
1/2 teaspoon black pepper, freshly cracked
4 slices American cheese
4 hamburger buns, soft potato or brioche
1 tablespoon neutral oil (avocado or vegetable)
2 tablespoons unsalted butter, for toasting buns
Optional Add-ins
1/4 cup mayonnaise
1 tablespoon ketchup
1 teaspoon yellow mustard
1 tablespoon dill pickle juice
4 dill pickle slices
1/4 cup white onion, thinly sliced
1/2 teaspoon garlic powder
1 teaspoon smoked paprika
Directions
- Divide ground beef into four loose 4-ounce balls; keep cold until cooking.
- Heat a heavy skillet over high heat for 4–5 minutes; add oil until shimmering.
- Place a beef ball on the pan and smash firmly for 5–7 seconds.
- Season immediately with salt, pepper, and optional spices right after smashing.
- Let cook undisturbed for about 2 minutes until deeply browned and crisp.
- Flip once, top with cheese, and cook 60–90 seconds until melted.
- Toast buns in butter, spread with sauce, and add pickles and onion.
- Stack patty on bun, close, and serve immediately while crust is crisp.
Recipe Video
Notes
- Use 80/20 ground beef for the best balance of juiciness and crust.
- Don’t press the patty after flipping — it squeezes out the juices.
- Work in batches if cooking more than 2–3 patties to keep pan heat high.
- Sauce, pickles, and onion can be prepped ahead and stored separately.