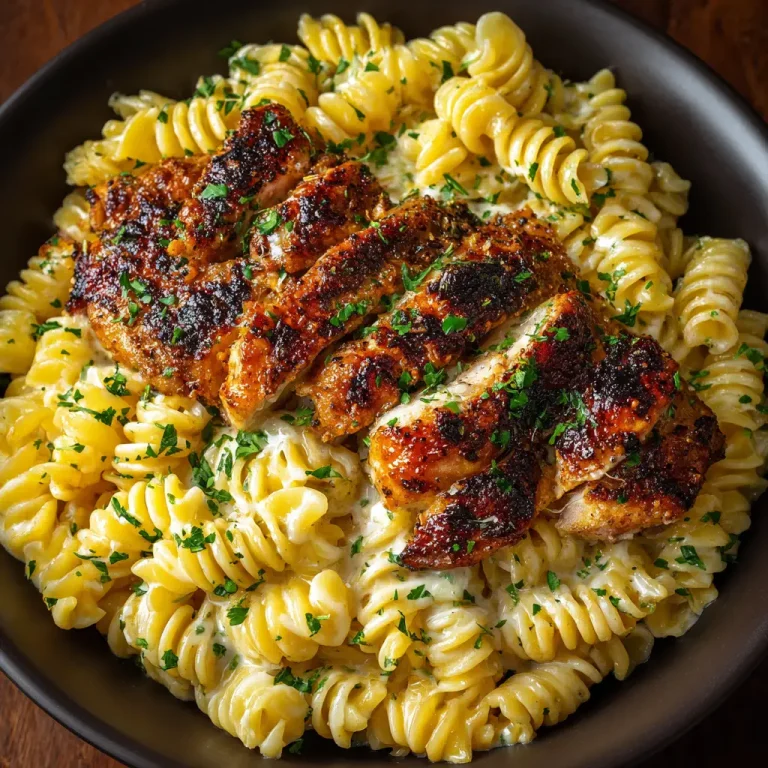
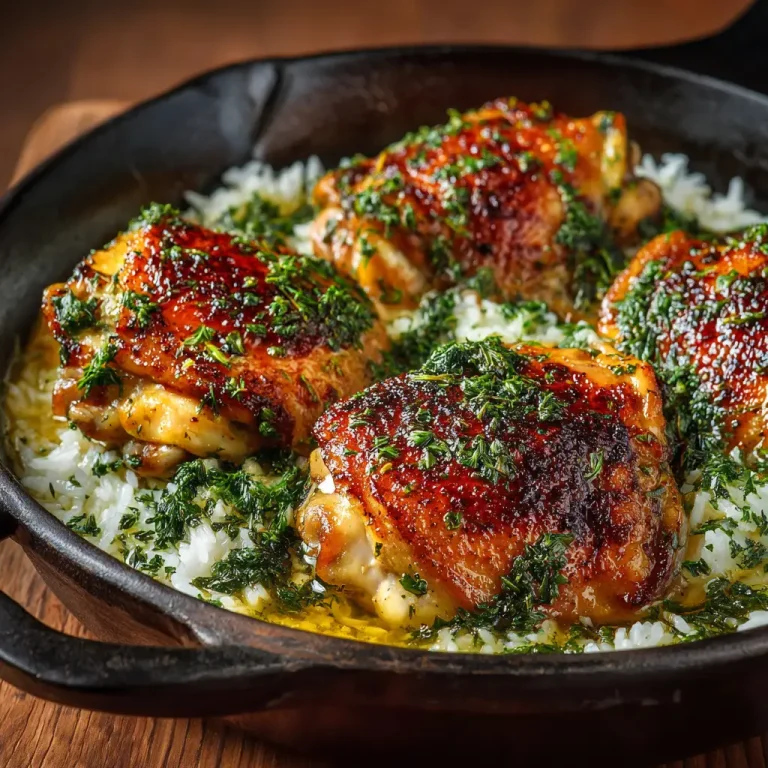
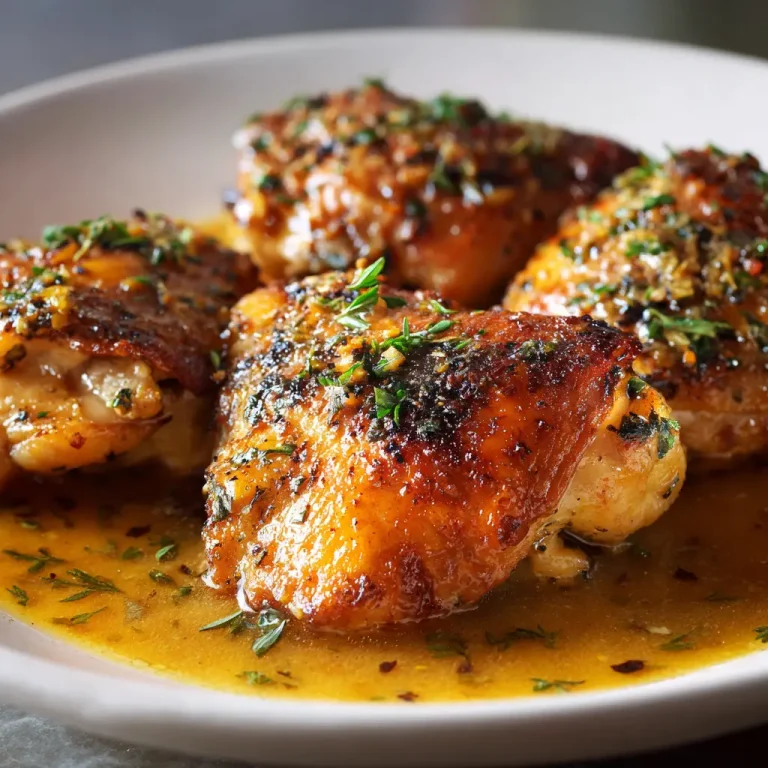
There’s a reason honey garlic chicken shows up on weeknight tables across the country more than almost any other skillet dinner. It hits every note you want from a quick meal: sticky, savory, slightly sweet, and deeply satisfying without demanding hours in the kitchen.
I’ve made this recipe more times than I can count, tweaking the ratio of honey to garlic until the sauce clings to the chicken instead of pooling in the pan. What you get is a glossy, restaurant-quality glaze built entirely from ingredients you likely already own.
This isn’t a recipe that asks for obscure sauces or a long ingredient list. It’s built on pantry staples working together at the right heat, at the right time, to create maximum flavor with minimal effort.
Whether you’re cooking for a busy family or meal-prepping for the week ahead, this honey garlic chicken delivers consistently. It’s forgiving, fast, and endlessly adaptable, which is exactly why it belongs in permanent dinner rotation.
Ingredients You’ll Need
Great honey garlic chicken lives and dies by balance, and every ingredient below earns its place by pulling double duty on flavor and texture. Here’s exactly what goes into building that irresistible sticky glaze.
One of the things I love about this recipe is that it uses simple pantry ingredients. You probably already have most of them in your kitchen.
Base Ingredients
- 1.5 lbs boneless, skinless chicken thighs
- 1/2 cup honey
- 4 cloves garlic, minced
- 1/4 cup soy sauce
- 2 tablespoons rice vinegar
- 1 tablespoon olive oil
- 1 teaspoon cornstarch
- 2 tablespoons water
- Salt, to taste
- Black pepper, to taste
Optional Add-ins
- 1/2 teaspoon red pepper flakes
- 1 teaspoon fresh ginger, grated
- 1 tablespoon sesame oil
- 1 teaspoon sesame seeds, for garnish
- 2 stalks green onion, sliced
- 1/4 teaspoon smoked paprika
Step-by-Step Instructions
Prepare the Chicken
Pat the chicken thighs completely dry with paper towels, then season both sides generously with salt and black pepper. Cutting the thighs into even, bite-sized pieces helps them cook uniformly and absorb the sauce more efficiently. Let the chicken rest at room temperature for about ten minutes before cooking. This small step prevents the pan from cooling down too quickly once the chicken hits the heat, which helps you get a proper sear rather than steamed, pale chicken.
Sear Until Golden
Heat olive oil in a large skillet over medium-high heat until it shimmers. Add the chicken in a single layer, avoiding overcrowding the pan. Sear for four to five minutes per side until deeply golden and mostly cooked through. Resist the urge to move the pieces too early; a proper crust needs contact time. Once both sides are browned, remove the chicken from the skillet and set it aside on a plate, leaving behind any flavorful browned bits.
Build the Sauce
Lower the heat to medium and add minced garlic directly into the same skillet, stirring for about thirty seconds until fragrant but not browned. Pour in honey, soy sauce, and rice vinegar, scraping up any browned bits from the pan. Whisk cornstarch with water separately, then stir it into the sauce to help it thicken. Simmer for two to three minutes until the mixture turns glossy and slightly reduced, coating the back of a spoon.
Combine and Finish
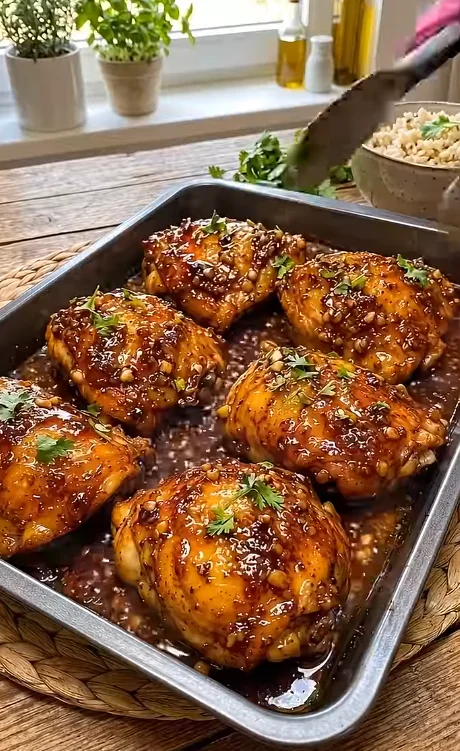
Return the seared chicken to the skillet, tossing it thoroughly in the sauce until every piece is coated. Reduce the heat to low and let everything simmer together for another three to four minutes, allowing the chicken to finish cooking and absorb the glaze fully. Spoon the sauce over the top continuously as it thickens. The chicken is ready once it’s sticky, glossy, and cooked through to an internal temperature of 165°F.
Garnish and Serve
Remove the skillet from heat and let the chicken rest for two minutes so the glaze sets slightly. Sprinkle with sesame seeds and sliced green onions for a fresh, colorful finish. Serve immediately over steamed rice, noodles, or alongside roasted vegetables. The sauce thickens further as it sits, so timing your serving right after resting captures the glaze at its glossiest, stickiest best.
Cook Time
Total
35 minutes
Prep
10 minutes
Bake
25 minutes
Servings
This recipe makes approximately 4 generous servings, making it ideal for a standard family dinner or a batch-cooked lunch setup for the week ahead. Each portion delivers a satisfying balance of protein and sauce without leaving anyone short-changed at the table.
If you’re cooking for a larger group, the recipe scales easily. Simply double the chicken and sauce ingredients, keeping the same cornstarch-to-liquid ratio so the glaze thickens properly regardless of batch size.
For meal preppers, this dish holds up beautifully divided into individual containers with rice and a vegetable side. Portioning it out right after cooking, while the sauce is still glossy, gives you the best texture once reheated later in the week.
Common Mistakes in This Recipe
The most frequent misstep is overcrowding the skillet during the searing stage. When too many chicken pieces go in at once, they release moisture and steam rather than sear, leaving you with pale, rubbery chicken instead of a golden crust that holds the sauce well.
Another common mistake is adding the honey and soy sauce too early, before the garlic has had a chance to bloom in the oil. This results in a flatter, less aromatic sauce that lacks the depth a properly toasted garlic base provides.
Many home cooks also skip whisking the cornstarch slurry separately, dumping it straight into the hot sauce instead. This causes clumping, leaving the glaze streaky and uneven rather than smooth and glossy throughout.
Finally, overcooking the chicken while waiting for the sauce to thicken is a frequent issue. This dries out the meat, even though the sauce itself may look perfect and ready to serve.
Solutions to Common Mistakes
To avoid overcrowding, sear the chicken in batches if your skillet is on the smaller side. Giving each piece enough space guarantees proper browning and a better final texture once the sauce is added back in.
For deeper flavor, always let the minced garlic cook briefly in the residual oil before introducing any liquid ingredients. Thirty seconds is enough to release its aroma without risking a bitter, burnt taste.
Whisk your cornstarch and water together in a separate small bowl first, then stream it into the simmering sauce while stirring continuously. This ensures a silky, lump-free glaze every time you make it.
Keep a close eye on internal temperature rather than cook time alone. Pull the chicken once it reaches 165°F, then let the sauce finish thickening around it off the direct heat if needed.
Nutritional Information (approx. per serving)
- Calories: 320
- Protein: 27g
- Carbohydrates: 28g
- Fat: 11g
- Sugar: 24g
- Sodium: 680mg
- Fiber: 0.5g
Beyond its flavor, this dish offers a genuinely solid protein source, with chicken thighs providing the amino acids needed for muscle repair and sustained energy throughout the day. Pairing it with vegetables or whole grains rounds out the meal nutritionally without much extra effort.
Garlic, a central ingredient here, has long been associated with immune support and cardiovascular benefits thanks to its natural compounds. Even in small quantities, it contributes more than just flavor to the overall dish.
Honey, while sweet, brings trace antioxidants and a lower glycemic impact compared to refined sugar alternatives, making it a marginally better choice for glazes and sauces like this one.
Because the recipe is portion-controlled and made from whole ingredients rather than processed shortcuts, it’s easier to fit into a balanced weekly diet without sacrificing satisfaction or flavor.
Storage Instructions
Leftover honey garlic chicken stores exceptionally well, making it a strong candidate for meal prep. Transfer cooled chicken and sauce into an airtight container and refrigerate for up to four days without any noticeable drop in quality.
For longer storage, this dish freezes nicely for up to two months. Lay the chicken flat in a freezer-safe bag with the sauce, removing as much air as possible before sealing to prevent freezer burn.
When reheating, use a skillet over low heat rather than a microwave whenever possible. This helps the sauce loosen back up gently without drying out the chicken, restoring much of its original glossy texture.
If reheating from frozen, thaw the chicken overnight in the refrigerator first. Reheating directly from frozen can cause uneven heating, leaving parts of the chicken cold while others overcook.
Suggestions
Serve this honey garlic chicken over steamed jasmine rice to soak up every bit of the glossy sauce. The neutral, fluffy texture of the rice complements the sticky sweetness without competing with it.
For a lower-carb option, spoon the chicken over cauliflower rice or alongside sautéed greens like bok choy or spinach. The sauce still shines while keeping the overall meal lighter.
Adding a side of roasted broccoli or steamed green beans brings a welcome crunch and balances the richness of the glaze with something fresh and slightly bitter.
If you enjoy heat, a drizzle of chili oil or a pinch of red pepper flakes at the table lets everyone customize their spice level without altering the core recipe.
Seasonal Relevance
Honey garlic chicken works remarkably well across all four seasons, which is part of why it remains a reliable staple. In colder months, it feels warm and comforting served over rice with a side of roasted root vegetables.
During spring and summer, the same dish pairs beautifully with lighter sides like a crisp cucumber salad or grilled asparagus, keeping the meal from feeling heavy in warmer weather.
Around the holidays, this recipe also doubles well for gatherings, served as sticky chicken bites with toothpicks for easy sharing at casual get-togethers or potlucks.
Its adaptability to different sides and portion sizes means it never feels out of place, regardless of the time of year or the occasion you’re cooking for.
Final Words
Honey garlic chicken earns its place as a go-to recipe because it delivers big flavor without demanding advanced technique or hard-to-find ingredients. It’s the kind of dish that rewards you every single time you make it.
What makes it especially valuable is its flexibility. You can dress it up for guests or keep it simple for a weeknight dinner, and it performs consistently well in both settings.
Once you’ve made the glaze a few times, you’ll start to understand exactly how it should look and feel at each stage, which makes future batches even faster and more intuitive.
I hope this recipe becomes a regular part of your rotation the way it has become part of mine. Few dishes offer this much payoff for so little effort.
Frequently Asked Questions
Can I use chicken breast instead of thighs?
Yes, chicken breast works fine, though thighs stay juicier due to higher fat content. If using breast, reduce cook time slightly and monitor internal temperature closely to avoid drying out the meat during searing or simmering.
Is this recipe gluten-free?
Not by default, since regular soy sauce contains wheat. Substitute tamari or a certified gluten-free soy sauce alternative, and the recipe becomes fully gluten-free without changing the flavor profile significantly.
Can I make this dish ahead of time for a party?
Yes, it reheats well. Prepare it a day ahead, refrigerate, then gently reheat in a skillet over low heat before serving to restore the sauce’s glossy, sticky consistency.
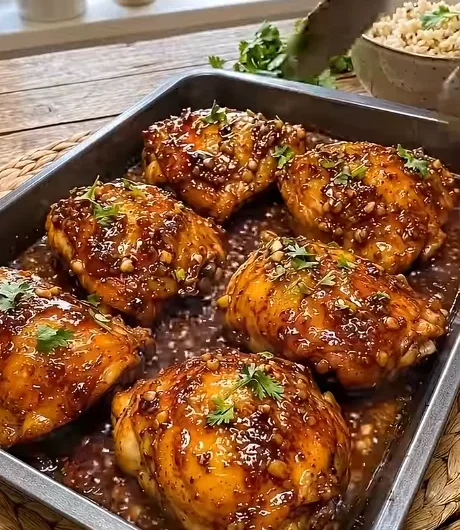
Easy Honey Garlic Chicken with the Best Flavor
4
servings10
minutes25
minutes320
kcalSticky, glossy honey garlic chicken made with pantry staples. Juicy seared chicken thighs coated in a savory-sweet garlic glaze, ready in just 35 minutes for an easy, flavor-packed weeknight dinner.
Ingredients
1.5 lbs boneless, skinless chicken thighs
1/2 cup honey
4 cloves garlic, minced
1/4 cup soy sauce
2 tablespoons rice vinegar
1 tablespoon olive oil
1 teaspoon cornstarch
2 tablespoons water
Salt, to taste
Black pepper, to taste
1/2 teaspoon red pepper flakes (optional)
1 teaspoon fresh ginger, grated (optional)
1 tablespoon sesame oil (optional)
1 teaspoon sesame seeds, for garnish (optional)
2 stalks green onion, sliced (optional)
1/4 teaspoon smoked paprika (optional)
Directions
- Pat chicken thighs dry, season with salt and pepper, and let rest at room temperature for 10 minutes.
- Heat olive oil in a skillet over medium-high heat; sear chicken 4–5 minutes per side until golden. Remove and set aside.
- Lower heat to medium; sauté minced garlic for 30 seconds until fragrant.
- Add honey, soy sauce, and rice vinegar; scrape up browned bits from the pan.
- Whisk cornstarch with water separately, then stir into the sauce to thicken.
- Simmer sauce 2–3 minutes until glossy and slightly reduced.
- Return chicken to the skillet; toss to coat fully in the sauce.
- Simmer on low 3–4 minutes until chicken reaches 165°F and sauce is sticky.
- Rest 2 minutes, garnish with sesame seeds and green onions, and serve immediately.
Recipe Video
Notes
- Sear chicken in batches if the skillet is small to avoid overcrowding.
- Always whisk the cornstarch slurry separately before adding to prevent clumps.
- Use a meat thermometer to avoid overcooking; pull chicken at 165°F.
- Store leftovers in an airtight container in the fridge for up to 4 days, or freeze for up to 2 months.
- Reheat gently in a skillet over low heat for the best texture.