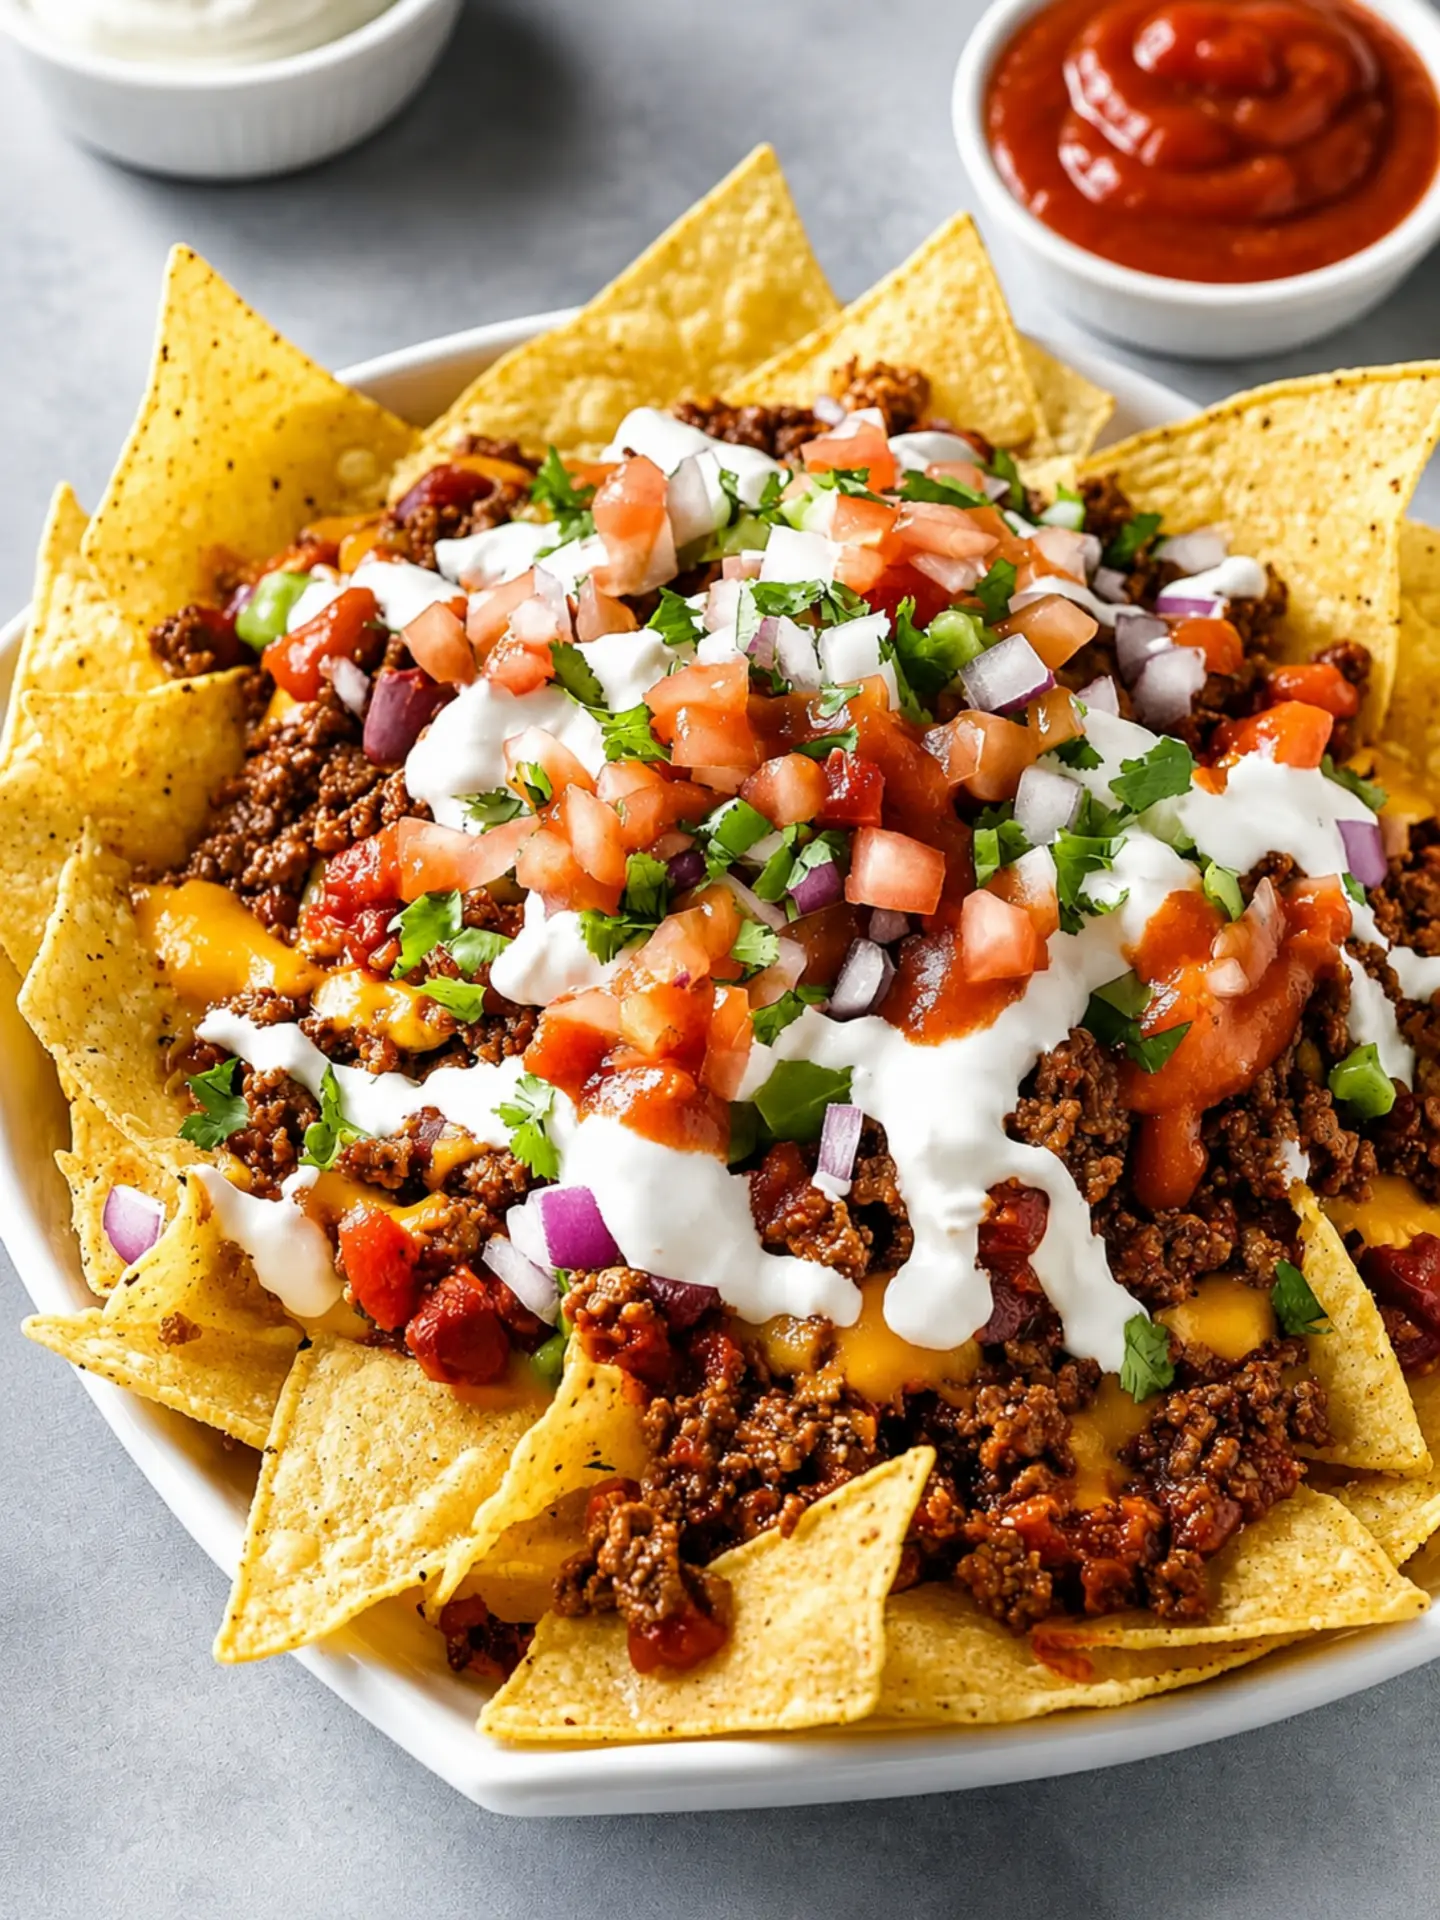
Some recipes ask for precision. Loaded nachos ask for generosity. This is the dish you make when you want a table full of people leaning in, grabbing chips, and arguing over who got the last piece with extra cheese. It rewards confidence, not caution.
The secret most home cooks miss isn’t the toppings, it’s the architecture. Nachos live or die on how they’re layered. A single dump of chips with toppings piled on top guarantees a sad, bare bottom layer and a soggy, overloaded top. That’s not how a good nacho platter works.
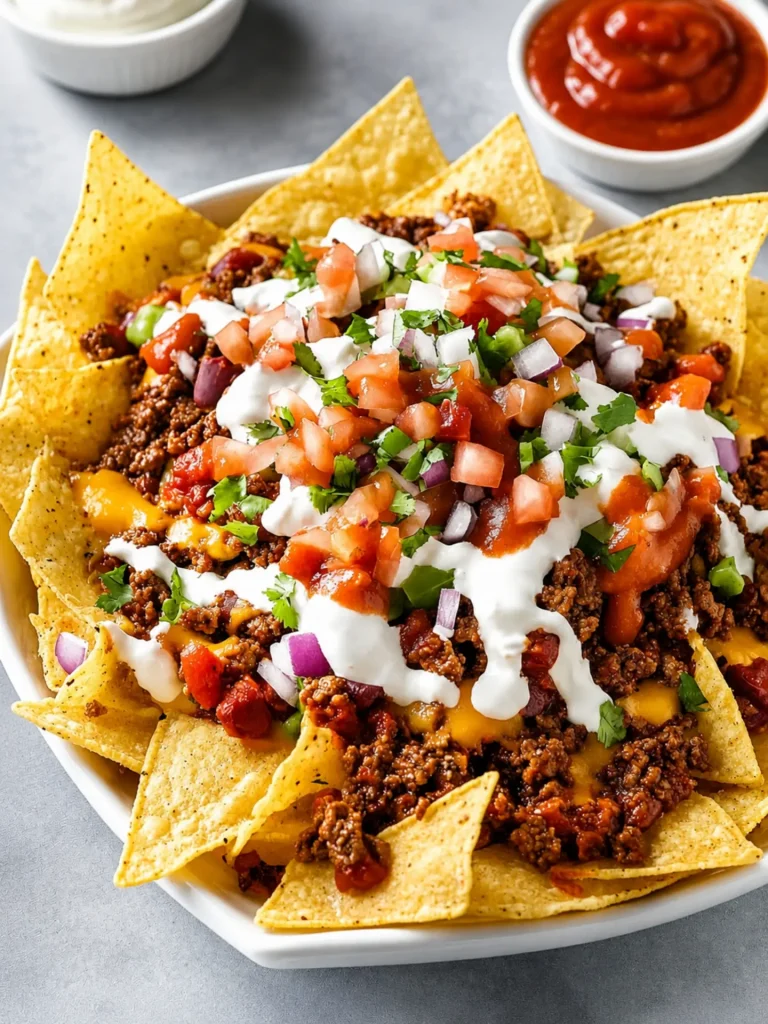
What we’re building here is a stacked, oven-baked tray where cheese melts into every crevice, beans and meat get distributed evenly, and the chips stay crisp under the weight of it all. Bake it just long enough, no longer, and you avoid the soft-chip problem entirely.
Then comes the fun part: fresh toppings added after baking. Sour cream, guacamole, pickled jalapeños, salsa, set out so everyone builds their own final bite. This is a recipe for sharing, for game nights, for using up odds and ends in your fridge. Let’s get into it.
Ingredients You’ll Need
Great nachos don’t require a grocery run or a fancy ingredient list, they require a smart combination of what’s already sitting in your kitchen, arranged with a little intention.
One of the things I love about this recipe is that it uses simple pantry ingredients. You probably already have most of them in your kitchen.
Base Ingredients
- 1 bag (13 oz) sturdy tortilla chips
- 2 cups shredded cheddar cheese
- 1 cup shredded Monterey Jack cheese
- 1 lb ground beef or shredded chicken
- 1 packet (1 oz) taco seasoning
- 1 can (15 oz) black beans, drained and rinsed
- 1/2 cup diced white onion
- 1/2 cup diced tomatoes
- 1/4 cup sliced black olives
- 1/4 cup fresh cilantro, chopped
- 1 lime, cut into wedges
Optional Add-ins
- 1/2 cup pickled jalapeños
- 1/2 cup sour cream
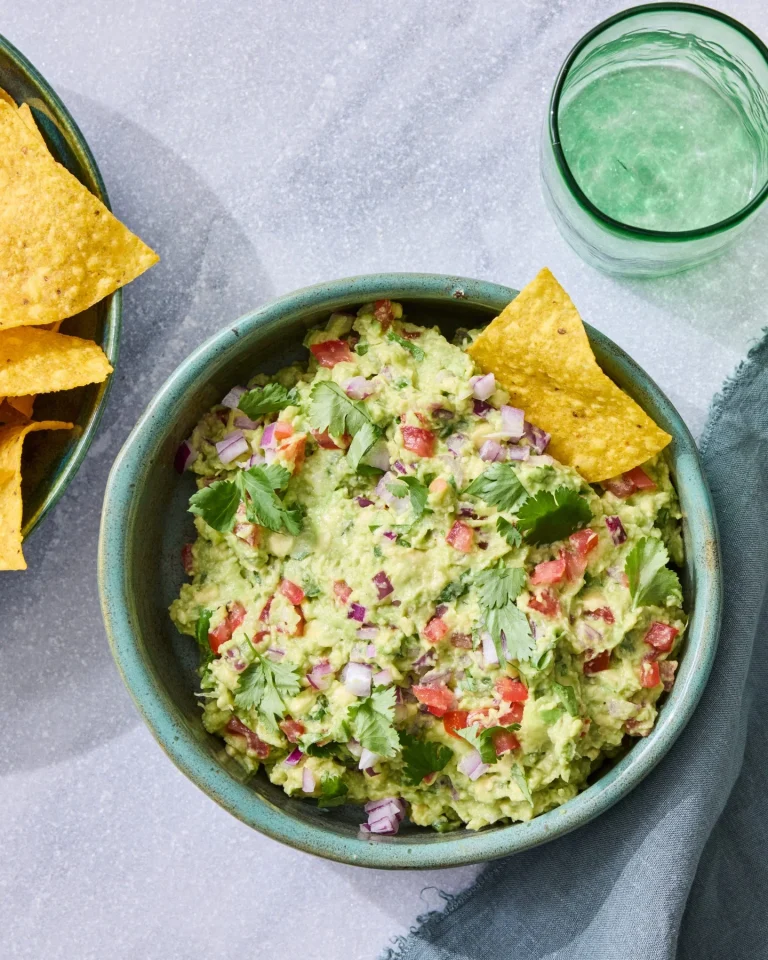
- 1/2 cup guacamole
- 1/2 cup salsa or pico de gallo
- 1/4 cup crumbled cotija cheese
- 1/4 cup sliced green onions
- 1 diced avocado
- 1/2 cup corn kernels
Step-by-Step Instructions
Brown the Protein
Heat a skillet over medium-high heat and add your ground beef or chicken. Cook until browned and fully cooked through, breaking it apart as it goes. Drain excess fat. Stir in the taco seasoning along with a splash of water, following the packet’s instructions. Let it simmer for two to three minutes until the mixture thickens slightly and the seasoning clings to the meat. Set aside and keep warm while you prep the rest of your components.
Preheat and Prep the Tray
Preheat your oven to 400°F. Line a large, rimmed baking sheet with parchment paper or foil for easier cleanup. This step matters more than people realize, a flat, wide tray gives chips room to breathe instead of steaming under a crowded pile. Have your cheese, beans, onions, and cooked meat all prepped and within reach before you start layering, since this recipe moves quickly once assembly begins.
Build the First Layer
Spread half of the tortilla chips in a single, even layer across the tray. Sprinkle half of the meat, half of the black beans, and a third of both cheeses evenly over the chips. Scatter some diced onion across this layer too. This first pass is your foundation, so resist the urge to rush, every chip deserves some topping so nothing bakes bare.
Repeat the Layering
Add the second layer of chips directly on top, then repeat with the remaining meat, beans, and another third of the cheese. This double-layer method is what separates loaded nachos from a lazy cheese-covered chip pile. Finish with the last of your cheese blend spread generously over the very top, since this final layer is what melts into that golden, bubbling crust everyone reaches for first.
Bake Until Melted
Slide the tray into the oven and bake for 8 to 10 minutes, watching closely after the 7-minute mark. You’re looking for fully melted, slightly bubbling cheese, not browned or crisped chips underneath. Ovens vary, so check early rather than late. Pulling it out at the right moment is the single biggest factor in keeping the bottom layer crisp instead of chewy.
Add Fresh Toppings and Serve
Remove the tray and immediately scatter diced tomatoes, black olives, and cilantro over the hot cheese. Serve straight away with bowls of sour cream, guacamole, salsa, and pickled jalapeños on the side so everyone can customize their portion. Add lime wedges for squeezing over the top. Serve on the tray itself for a casual, shareable presentation that keeps the crunch intact until the last chip.
Cook Time
Total: 30 minutes
Prep: 15 minutes
Bake: 10 minutes
Servings
This recipe makes approximately 6 to 8 servings as a shared appetizer, or 4 servings if you’re treating it as a full meal. The exact yield depends on how generously you layer your chips and how many toppings make it onto the tray before it disappears.
Nachos scale beautifully for a crowd. Doubling the recipe onto two trays works better than piling everything onto one oversized sheet, since overcrowding is the fastest way to end up with soggy centers and cheese that never quite melts evenly across the surface.
For smaller households, this recipe also halves well without losing its layered structure. Whether you’re feeding a game-day crowd or just two people on a Friday night, the method stays exactly the same, only the quantities shift.
Common Mistakes in This Recipe
The most frequent mistake is using thin, flimsy tortilla chips that can’t hold up under toppings. They snap, crumble, and turn to mush the moment cheese and beans land on them, leaving you with a tray of nacho debris instead of clean, scoopable bites.
Another common issue is dumping all the toppings on in one layer instead of distributing them across two. This leaves the bottom half of the chips completely bare, so every other bite is either overloaded or totally plain.
Overbaking is a quieter problem that ruins texture without anyone realizing why. Leaving the tray in for 15 or 20 minutes because “more melted is better” dries out the meat and turns chips brittle and stale-tasting.
Finally, adding wet toppings like salsa, sour cream, or diced tomatoes before baking causes sogginess, since these ingredients release moisture the chips can’t recover from once they’re in the oven.
Solutions to Common Mistakes
Always choose restaurant-style or thick-cut tortilla chips labeled specifically for nachos. They’re sturdier, hold their shape under weight, and won’t collapse the moment you scoop up a loaded bite with your hand.
To fix uneven topping distribution, commit to the two-layer method every time, even when you’re in a hurry. Splitting your meat, beans, and cheese in half across two rounds takes an extra minute but transforms the entire texture and flavor consistency of the final tray.
Set a timer for eight minutes and check the tray visually rather than relying on a fixed bake time. Pull it the moment cheese looks fully melted and glossy, not when it starts to brown or bubble aggressively.
Keep all wet, fresh ingredients off the tray until after baking. Add them as a finishing step so the chips stay crisp and the flavors stay bright instead of muddy.
Nutritional Information (approx. per serving)
- Calories: 420 kcal
- Protein: 22g
- Carbohydrates: 34g
- Fat: 23g
- Fiber: 5g
- Sodium: 640mg
- Calcium: 15% DV
This dish delivers a solid dose of protein thanks to the ground beef and black beans, which helps keep servings satisfying rather than just indulgent. It’s an easy way to work legumes into a casual meal without anyone noticing they’re eating something fiber-rich.
Cheese contributes meaningful calcium, and topping the tray with fresh avocado or guacamole adds heart-healthy monounsaturated fats along with potassium. Small additions like these shift the nutritional profile in a positive direction without changing the flavor experience people expect from nachos.
Fresh toppings such as tomatoes, onions, and cilantro bring vitamin C and antioxidants to a dish that’s often dismissed as purely indulgent. These additions matter more than people assume, especially in the quantities used here.
Portion control naturally happens with nachos since they’re shared, which tends to moderate overall intake compared to single-serving fried snacks eaten straight from a bag.
Storage Instructions
Loaded nachos are best enjoyed immediately, since the entire appeal rests on the contrast between melted cheese and crisp chips, a balance that doesn’t survive refrigeration well. That said, leftovers aren’t a lost cause if handled correctly.
Store any remaining nachos in an airtight container in the refrigerator for up to two days. Keep wet toppings like sour cream, guacamole, and salsa separate in their own containers rather than storing them mixed into the tray.
To reheat, skip the microwave entirely, since it turns chips limp and rubbery within seconds. Instead, spread leftovers on a baking sheet and reheat in a 375°F oven for five to seven minutes until the cheese re-melts and the edges crisp back up.
Freezing is not recommended for this dish. The chips lose their structure entirely once thawed, and the texture never recovers, even with careful reheating afterward.
Suggestions
Swap ground beef for shredded rotisserie chicken or seasoned pulled pork when you want variety without extra prep time. Both options work beautifully with the same layering method and absorb taco seasoning just as well as beef does.
For a vegetarian version, double the black beans and add sautéed peppers, corn, and mushrooms in place of meat. The layering technique stays identical, and nobody at the table will feel like anything is missing.
Try a Greek-inspired twist using seasoned ground lamb, feta instead of cheddar, and a drizzle of tzatziki after baking. It’s an unexpected variation that still satisfies the same craving for melted cheese and crunch.
Pair loaded nachos with a simple side of Mexican rice or a light citrus slaw if you’re serving them as a full meal rather than an appetizer, rounding out the plate without overcomplicating the cooking process.
Seasonal Relevance
Nachos peak in popularity during football season, and for good reason, they’re built for sharing during long games and require minimal attention once they’re in the oven. A single tray can feed a living room full of people during any weekend matchup.
Summer cookouts benefit from a lighter version using grilled corn, fresh tomatoes, and extra lime, taking advantage of produce that’s at its best from June through August. The bright, acidic toppings balance the richness of melted cheese particularly well in warmer months.
During colder months, this recipe leans into comfort food territory, especially with a heartier meat-to-bean ratio and a generous cheese pull that feels appropriate for a chilly evening in.
Holiday gatherings and New Year’s Eve spreads also welcome a tray of loaded nachos, since they require little last-minute effort and pair naturally with other finger foods already on the table.
Final Words
Loaded nachos succeed or fail based on technique, not ingredients, and that’s genuinely good news for anyone making this at home. Once you understand the layering method, the rest of the recipe becomes endlessly adaptable to whatever you have on hand.
This is the kind of dish that improves with repetition. The second or third time you make it, you’ll instinctively know how much cheese is enough and exactly when to pull the tray from the oven.
Don’t be afraid to make it your own. The base method here is a framework, not a rulebook, and swapping proteins, cheeses, or toppings won’t compromise the outcome as long as the layering stays intact.
Whatever occasion brings you to this recipe, a tray of properly built nachos rarely disappoints. Set it in the middle of the table, add the toppings bar, and let people build their own plates.
Frequently Asked Questions
Can I make loaded nachos ahead of time for a party?
You can prep and cook the meat, chop toppings, and shred cheese a day ahead. However, assemble and bake the nachos just before serving, since pre-baking and reheating sacrifices the crisp-chip texture that makes this dish work.
What’s the best type of cheese for melting evenly on nachos?
A blend of cheddar and Monterey Jack melts smoothly and clings well to chips. Pre-shredded bags often contain anti-caking agents that affect melt quality, so shredding a block yourself gives noticeably better, glossier results.
Can I make this recipe dairy-free?
Yes, substitute shredded dairy-free cheese blends designed for melting, and use a cashew-based sour cream alternative. The layering and baking method stays exactly the same, and the flavor difference is minimal with a good-quality substitute.
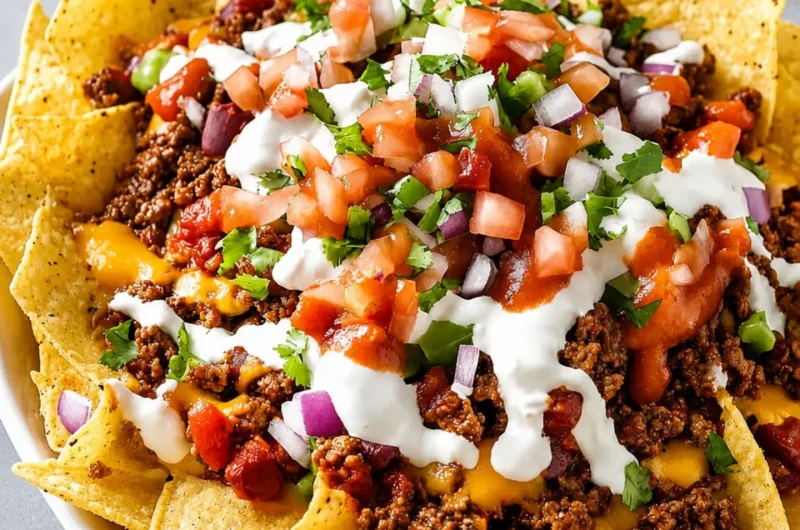
Loaded Nachos with All Your Favorite Toppings
6
servings14
minutes10
minutes420
kcalIngredients
1 bag (13 oz) sturdy tortilla chips
2 cups shredded cheddar cheese
1 cup shredded Monterey Jack cheese
1 lb ground beef or shredded chicken
1 packet (1 oz) taco seasoning
1 can (15 oz) black beans, drained and rinsed
1/2 cup diced white onion
1/2 cup diced tomatoes
1/4 cup sliced black olives
1/4 cup fresh cilantro, chopped
1 lime, cut into wedges
1/2 cup pickled jalapeños (optional)
1/2 cup sour cream (optional)
1/2 cup guacamole (optional)
1/2 cup salsa or pico de gallo (optional)
1/4 cup crumbled cotija cheese (optional)
1/4 cup sliced green onions (optional)
1 diced avocado (optional)
1/2 cup corn kernels (optional)
Directions
- Brown ground beef or chicken in a skillet over medium-high heat; drain fat, stir in taco seasoning with water, and simmer until thickened.
- Preheat oven to 400°F and line a large baking sheet with parchment or foil.
- Spread half the tortilla chips in an even layer; top with half the meat, half the beans, a third of the cheese, and some onion.
- Repeat with a second layer of chips, remaining meat, beans, and another third of the cheese; finish with the last of the cheese on top.
- Bake for 8 to 10 minutes, checking closely after 7 minutes, until cheese is fully melted and bubbling.
- Remove from oven and immediately top with diced tomatoes, black olives, and cilantro.
- Serve hot with sour cream, guacamole, salsa, and pickled jalapeños on the side, plus lime wedges for squeezing.
Recipe Video
Notes
- Use thick-cut, restaurant-style tortilla chips so they hold up under toppings without going soggy.
- Always layer toppings in two rounds, never in one pile, so every chip gets covered.
- Keep wet toppings (salsa, sour cream, tomatoes) off the tray until after baking.
- Reheat leftovers in the oven at 375°F, not the microwave, to keep chips from turning rubbery.
- Best enjoyed fresh; not recommended for freezing.