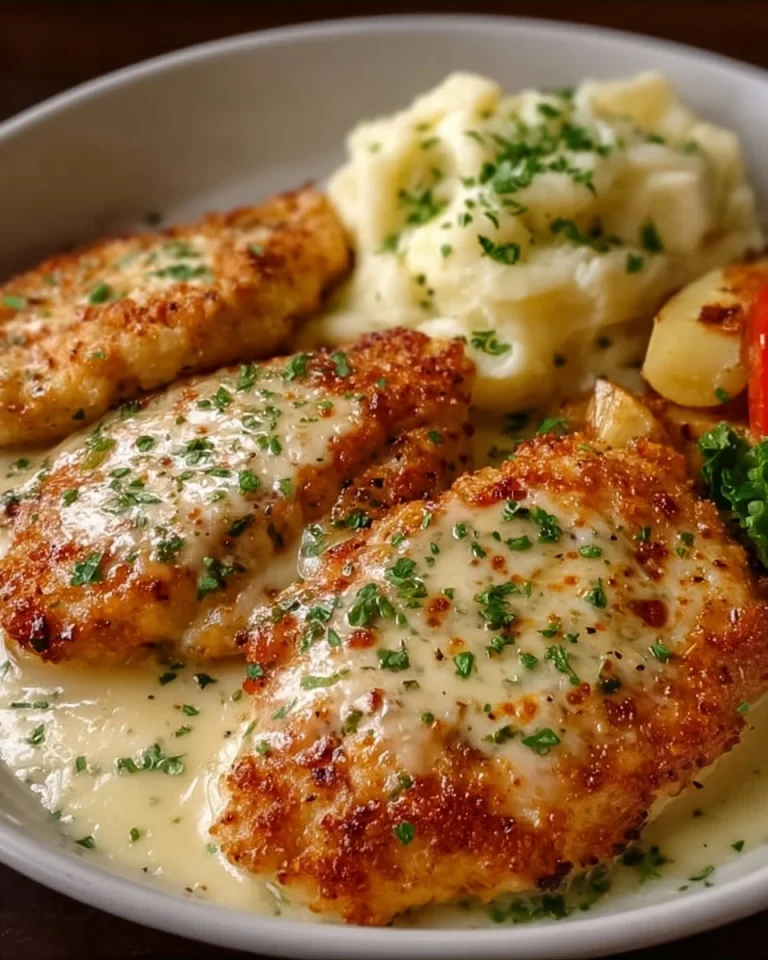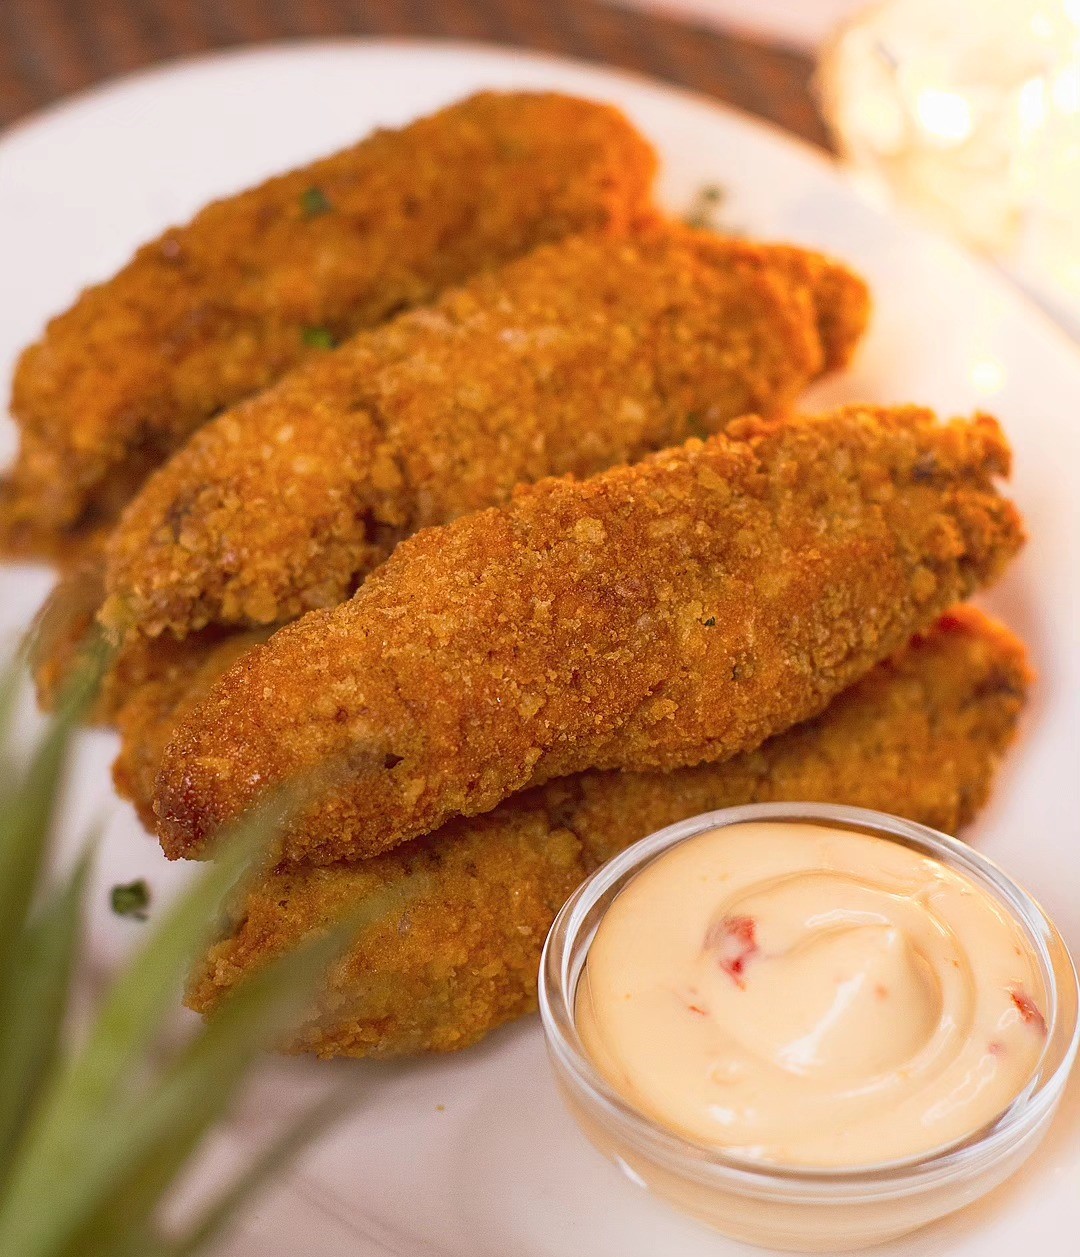
There’s a specific kind of disappointment that comes from biting into a chicken tender and finding soggy, pale breading underneath. It happens more often than it should, even in restaurants that charge a premium for the privilege. The good news is that the fix isn’t complicated, and it doesn’t require a vat of hot oil bubbling on your stovetop.
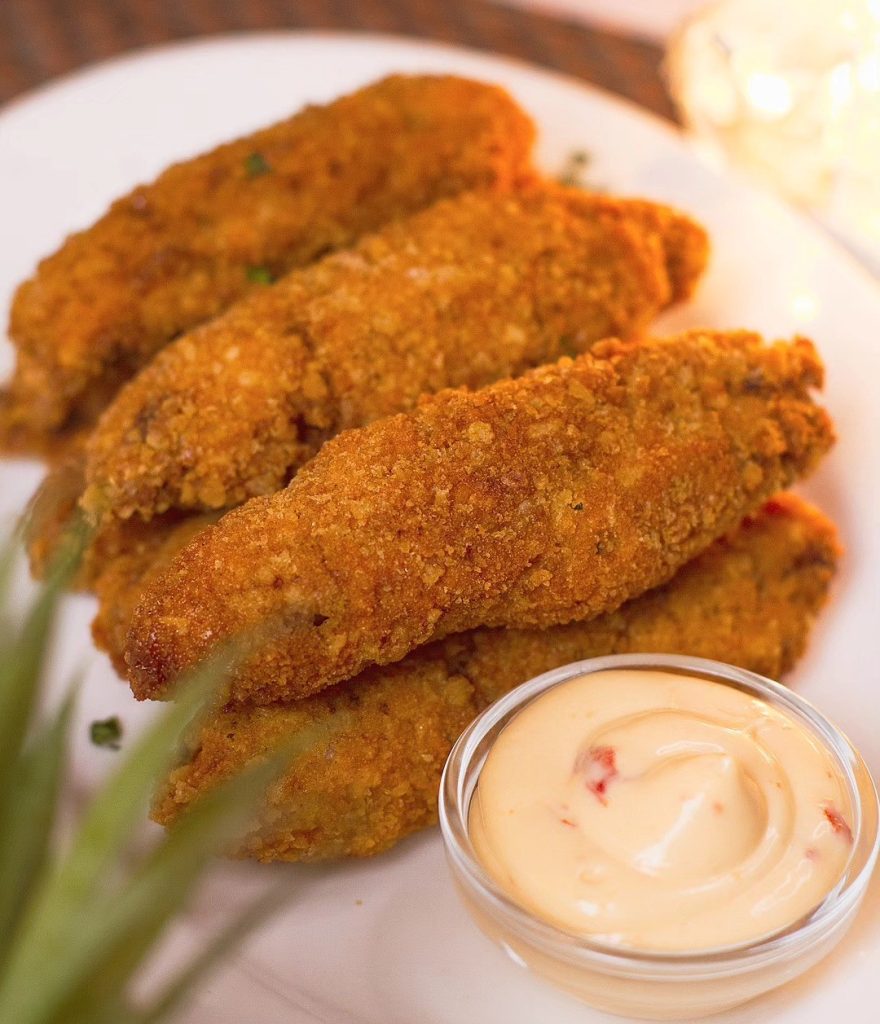
This recipe is built around one goal: shattering, golden-brown crunch on the outside, and juicy, well-seasoned chicken on the inside, all done in your oven. No splatter, no lingering fry smell, no wasted oil. Just a reliable method that works every time you use it.
What makes these tenders different is the double-coating technique paired with a high-heat bake and a wire rack setup that lets hot air circulate on all sides. That single detail is the difference between “pretty good” and “genuinely craveable.”
Whether you’re feeding picky kids, meal-prepping lunches for the week, or putting together a weeknight dinner that doesn’t feel like a chore, this is the chicken tender recipe you’ll keep coming back to. Grab your ingredients, and let’s get that crunch exactly right.
Ingredients You’ll Need
Great crunch starts long before the oven, so let’s talk about what’s actually going into that coating and why each piece earns its spot.
One of the things I love about this recipe is that it uses simple pantry ingredients. You probably already have most of them in your kitchen.
Base Ingredients
- 1.5 lbs chicken breast tenders (or chicken breasts sliced into strips)
- 1 cup buttermilk
- 1 tsp hot sauce
- 1 cup all-purpose flour
- 2 large eggs
- 1.5 cups panko breadcrumbs
- 1 tsp garlic powder
- 1 tsp onion powder
- 1 tsp smoked paprika
- 1/2 tsp cayenne pepper
- 1 tsp salt
- 1/2 tsp black pepper
- 2 tbsp olive oil (for spraying or drizzling)
- Cooking spray
Optional Add-ins
- 1/4 cup grated Parmesan cheese
- 1/2 tsp dried oregano
- 1/2 tsp mustard powder
- 1 tsp lemon zest
- 1/4 tsp chili flakes
- 1 tbsp finely chopped fresh parsley
Step-by-Step Instructions
Marinate the Chicken
Combine the buttermilk and hot sauce in a bowl, then submerge the chicken tenders completely. Cover and refrigerate for at least 30 minutes, though a few hours works even better. This step tenderizes the meat and seasons it from the inside out, so don’t skip it, even when you’re short on time. Pull the chicken out, letting excess buttermilk drip off before moving to the coating stage.
Set Up Your Dredging Station
Arrange three shallow dishes in a row. Fill the first with flour mixed with half the garlic powder, onion powder, and salt. Fill the second with beaten eggs. Fill the third with panko combined with the remaining spices, paprika, and cayenne. This assembly-line setup keeps your hands cleaner and ensures every tender gets even, consistent coverage without clumping.
Coat Each Tender Thoroughly
Dredge each piece in flour first, shaking off the excess. Dip it into the egg, letting any extra drip away. Finally, press it firmly into the panko mixture, coating both sides completely. Pressing rather than just rolling is key here, since it helps the breadcrumbs adhere tightly and prevents bald patches that burn unevenly in the oven.
Arrange on a Wire Rack
Place a wire cooling rack inside a baking sheet lined with foil. Arrange the coated tenders in a single layer on the rack, leaving space between each piece. This elevates the chicken so hot air circulates underneath, which is the real secret to getting oven-baked tenders crispy on all sides instead of just on top.
Bake at High Heat
Preheat your oven to 425°F. Lightly spray or drizzle the tenders with olive oil, which helps the panko brown and crisp rather than staying pale and soft. Bake for 18 to 22 minutes, flipping halfway through, until golden brown and the internal temperature reads 165°F. Let them rest for three minutes before serving.
Cook Time
Total
45 minutes (including a 30-minute marinating window)
Prep
15 minutes
Bake
20 minutes
Servings
This recipe makes approximately 4 servings, with each serving containing about 4 to 5 tenders depending on the size of your chicken breasts. It’s a portion size that comfortably covers a family dinner without leaving you short on leftovers for lunch the next day.
If you’re cooking for a crowd or prepping meals in advance, the recipe scales up easily. Simply double the marinade and breading quantities and use two baking sheets so the tenders still have room to crisp properly without overcrowding.
For lighter appetites or when serving alongside a hearty side dish, this batch can comfortably stretch to feed five or six people. Pair it with dips, salads, or grains to round out the meal.
Common Mistakes in This Recipe
The most frequent mistake is skipping the marinade or rushing it. Chicken that goes straight from the fridge to the breading station tends to be blander and slightly tougher, since the buttermilk hasn’t had time to tenderize the fibers or season the meat properly.
Another common error is overcrowding the baking sheet. When tenders touch or sit too close together, they steam instead of roasting, which leaves the coating soft and pale rather than crisp and golden, no matter how long they stay in the oven.
Many home cooks also skip the wire rack entirely and place tenders directly on a baking sheet. This traps moisture underneath each piece, guaranteeing a soggy bottom even if the top layer looks perfectly browned and appetizing.
Finally, under-seasoning the flour and breadcrumb layers is a mistake that quietly ruins flavor. Seasoning only the chicken itself isn’t enough, since the outer coating makes up a large portion of every single bite you take.
Solutions to Common Mistakes
Always give the chicken at least 30 minutes in the buttermilk marinade, and plan ahead when possible so it can sit for two to four hours. This small amount of patience pays off directly in flavor and texture.
Space tenders at least half an inch apart on the baking sheet, and use two trays if needed rather than forcing everything onto one. Properly spaced pieces bake and brown evenly on every side.
Invest in an inexpensive oven-safe wire rack if you don’t already own one. It’s a small purchase that dramatically improves crispness, and it’s genuinely one of the best tools for baked, fried-style recipes.
Season every layer of your dredging station generously, not just the raw chicken. Taste-test your breadcrumb mixture before using it, since a well-seasoned coating carries most of the dish’s overall flavor.
Nutritional Information (approx. per serving)
- Calories: 320 kcal
- Protein: 34g
- Carbohydrates: 22g
- Fat: 9g
- Saturated Fat: 2g
- Fiber: 1g
- Sodium: 480mg
These tenders deliver a genuinely satisfying protein hit, which helps keep you full longer and supports muscle maintenance, especially useful if you’re building meals around fitness or recovery goals.
Baking instead of deep-frying cuts significant fat and calories compared to traditional fried tenders, while still preserving that satisfying crunch people actually crave from this style of dish.
Using panko instead of a heavier batter keeps the coating lighter and less greasy, which also makes this version easier on digestion for most people, including kids and picky eaters.
Because you control every ingredient, it’s simple to reduce sodium, adjust spice levels, or swap in whole wheat flour, making this recipe adaptable for a variety of dietary needs and preferences.
Storage Instructions
Let leftover tenders cool completely to room temperature before storing, since trapping steam in a sealed container is one of the fastest ways to soften that crispy coating you worked hard to achieve.
Store cooled tenders in an airtight container in the refrigerator for up to four days. Placing a paper towel underneath helps absorb excess moisture and keeps the breading from turning soggy overnight.
For longer storage, freeze the fully cooked tenders in a single layer on a tray until solid, then transfer to a freezer bag. They’ll keep well for up to three months this way.
Reheat from frozen or chilled in an oven or air fryer at 400°F until warmed through and re-crisped, roughly 8 to 12 minutes. Avoid the microwave, since it turns the coating rubbery instead of crisp.
Suggestions
Serve these tenders alongside classic dipping sauces like honey mustard, ranch, or a simple garlic aioli. The neutral, well-seasoned coating pairs beautifully with almost any sauce you already have on hand.
For a heartier meal, slice the tenders and toss them over a Caesar salad, tuck them into a wrap with crisp lettuce, or stack them into a sandwich with pickles and spicy mayo.
If you’re feeding a crowd, pair the tenders with classic sides like coleslaw, roasted vegetables, or crispy oven fries for a complete, satisfying spread that feels like a proper dinner.
For a spicier variation, toss the finished tenders in a light coating of hot sauce and melted butter right after baking, similar to a buffalo-style finish, without losing any of the crunch.
Seasonal Relevance
These chicken tenders genuinely work year-round, but they shine especially during back-to-school season, when quick, kid-approved dinners and lunchbox-friendly proteins become a weekly necessity for busy households.
During summer months, they make an excellent addition to picnics and backyard gatherings, since they hold their texture well at room temperature and travel far better than most fried alternatives.
Come football season and holiday gatherings, they’re an easy crowd-pleasing appetizer that feels far more special than store-bought options, especially when served with a variety of homemade dipping sauces.
In colder months, they double as effortless comfort food, delivering that familiar fried-food satisfaction on a cold evening, without requiring you to deal with hot oil on the stovetop.
Final Words
This chicken tenders recipe proves that skipping the deep fryer doesn’t mean sacrificing texture or flavor. With the right technique, a hot oven, and a simple wire rack setup, you get restaurant-quality crunch from your own kitchen.
It’s the kind of recipe that earns a permanent spot in your rotation, flexible enough for busy weeknights, meal prep, or feeding a hungry crowd on game day, without ever feeling repetitive or boring.
Once you nail the technique, feel free to experiment with different spice blends or dipping sauces to make it your own. The method stays the same; only the flavor profile changes.
Give it a try this week, and don’t be surprised when this becomes the recipe your family specifically requests by name. Save it, share it, and enjoy every crispy, golden bite.
Frequently Asked Questions
Can I use chicken thighs instead of chicken breast for this recipe?
Yes, boneless, skinless chicken thighs work well and stay extra juicy. Just adjust baking time slightly, since thighs may need a few extra minutes to reach a safe internal temperature of 165°F.
Why did my breading fall off during baking?
This usually happens when the chicken isn’t dried slightly before dredging, or when the flour, egg, and panko steps aren’t pressed firmly enough. Pat chicken lightly, then press coatings on with real pressure.
Can I make these tenders gluten-free?
Absolutely. Substitute the all-purpose flour with a gluten-free flour blend and use gluten-free panko breadcrumbs. The technique and baking time stay exactly the same, with no noticeable difference in crispiness.
Extra-Crispy Homemade Chicken Tenders
4
servings15
minutes20
minutes320
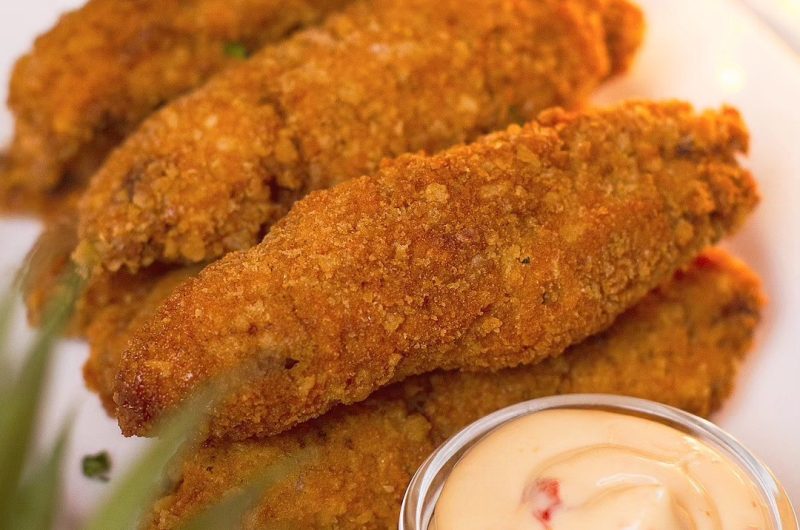
kcalCrispy, golden chicken tenders baked to perfection, not fried. Juicy on the inside, shatteringly crunchy on the outside, and ready in under an hour. A healthier, oven-baked favorite the whole family will love.
Ingredients
Base Ingredients
1.5 lbs chicken breast tenders (or chicken breasts sliced into strips)
1 cup buttermilk
1 tsp hot sauce
1 cup all-purpose flour
2 large eggs
1.5 cups panko breadcrumbs
1 tsp garlic powder
1 tsp onion powder
1 tsp smoked paprika
1/2 tsp cayenne pepper
1 tsp salt
1/2 tsp black pepper
2 tbsp olive oil (for spraying or drizzling)
Cooking spray
Optional Add-ins
1/4 cup grated Parmesan cheese
1/2 tsp dried oregano
1/2 tsp mustard powder
1 tsp lemon zest
1/4 tsp chili flakes
1 tbsp finely chopped fresh parsley
Directions
- Marinate chicken tenders in buttermilk and hot sauce for at least 30 minutes (or up to a few hours) in the refrigerator.
- Set up a three-station dredging line: seasoned flour, beaten eggs, and seasoned panko breadcrumbs.
- Coat each tender in flour, then egg, then press firmly into the panko mixture on both sides.
- Arrange tenders in a single layer on a wire rack set inside a foil-lined baking sheet.
- Preheat oven to 425°F and lightly spray or drizzle tenders with olive oil.
- Bake for 18–22 minutes, flipping halfway through, until golden brown and internal temperature reaches 165°F.
- Rest for 3 minutes before serving.
Recipe Video
Notes
- Don’t skip the marinade — it tenderizes and seasons the chicken from the inside out.
- Use a wire rack, not a flat baking sheet, to avoid a soggy bottom.
- Leave space between tenders so they roast instead of steam.
- Season the flour and breadcrumb layers generously, not just the chicken.
- Store leftovers in an airtight container for up to 4 days; freeze for up to 3 months.
- Reheat in an oven or air fryer at 400°F for 8–12 minutes; avoid the microwave.