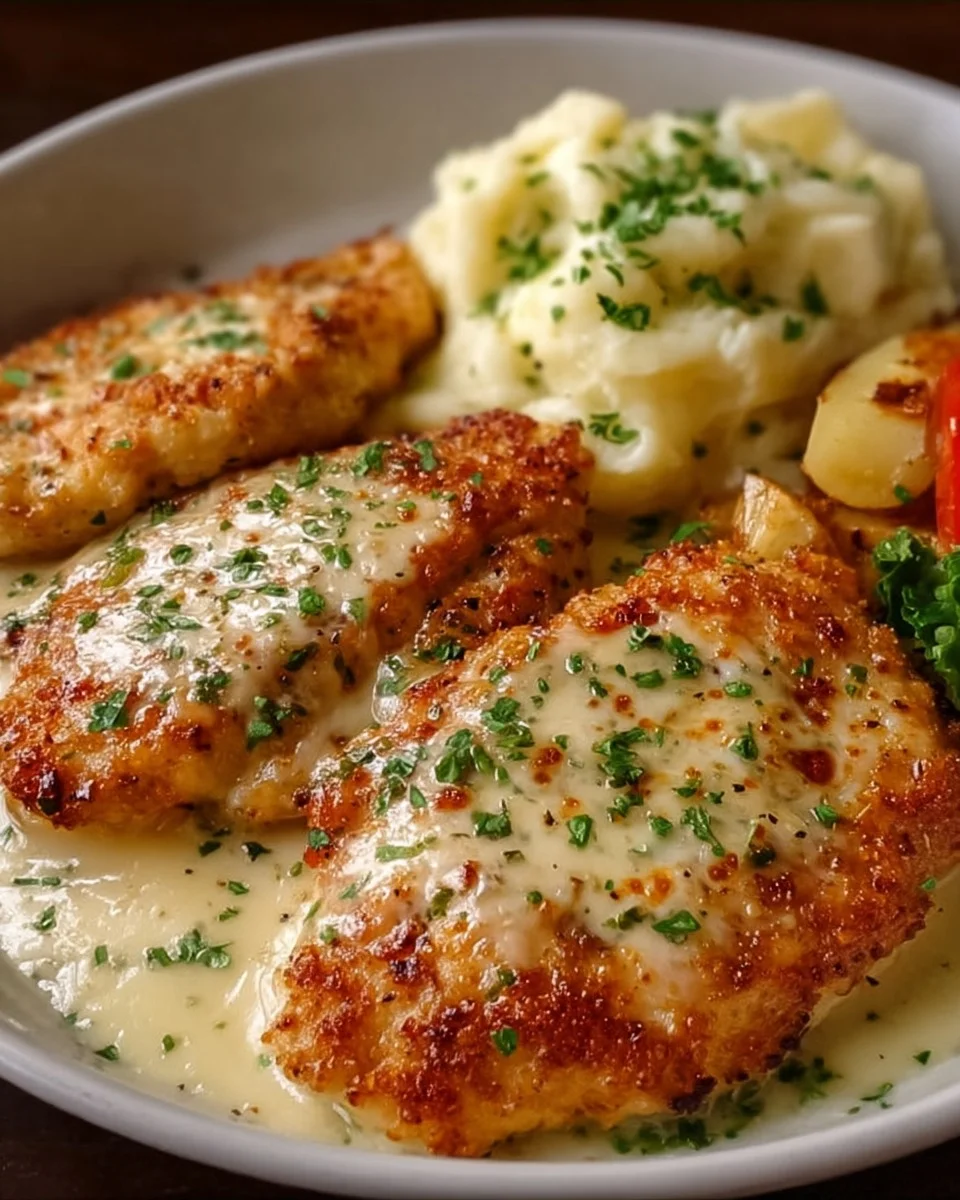
Dry, rubbery chicken breast is not a seasoning problem. It is a technique problem, and once you understand what actually happens to the muscle fibers under heat, you will never overcook a chicken breast again. This recipe walks you through the exact method professional kitchens rely on to keep boneless skinless chicken breast tender, juicy, and full of flavor from edge to edge.
There is no marinade trick or secret sauce here. Instead, you get a reliable framework built on even thickness, correct internal temperature, and a rest period that most home cooks skip entirely. These are the three variables that decide whether your chicken turns out silky or chalky.
This method works whether you are pan-searing on a weeknight, roasting a batch for meal prep, or slicing chicken for salads, pasta, and wraps. It is beginner-friendly, forgiving of small timing errors, and scales easily if you are cooking for one or feeding a family.
By the end of this article, you will have a repeatable process, not just a one-time recipe. That is the difference between guessing and actually knowing how to cook chicken breast well.
Ingredients You’ll Need
Great chicken starts with a short, honest ingredient list, and this one proves that flavor does not require anything fancy sitting in a specialty aisle. One of the things I love about this recipe is that it uses simple pantry ingredients. You probably already have most of them in your kitchen.
Base Ingredients
- 2 boneless skinless chicken breasts (about 6 to 8 ounces each)
- 2 tablespoons olive oil
- 1 teaspoon kosher salt
- 1/2 teaspoon black pepper
- 1 teaspoon garlic powder
- 1 teaspoon smoked paprika
- 1/2 teaspoon onion powder
- 1 tablespoon unsalted butter
Optional Add-ins
- 1/2 teaspoon dried oregano
- 1/4 teaspoon cayenne pepper
- 1 tablespoon fresh lemon juice
- 2 cloves garlic, minced
- 1 sprig fresh rosemary or thyme
- 1 tablespoon honey (for a light glaze)
- 1/4 cup low-sodium chicken broth (for extra moisture while cooking)
Step-by-Step Instructions
Even Out the Thickness
Place each chicken breast between two sheets of plastic wrap or parchment paper. Using a meat mallet or the bottom of a heavy pan, gently pound the thicker end until the entire breast is a uniform thickness, roughly three-quarters of an inch. This single step is the most overlooked reason chicken cooks unevenly, with a dry, overdone exterior and an undercooked center. Even thickness means even cooking, front to back, no exceptions.
Season Generously on Both Sides
Pat the chicken completely dry with paper towels; moisture on the surface prevents proper browning. In a small bowl, combine salt, pepper, garlic powder, smoked paprika, and onion powder. Rub the mixture evenly over both sides of each breast, pressing gently so it adheres. Let the seasoned chicken sit at room temperature for 10 to 15 minutes. This short rest allows the salt to begin drawing out and reabsorbing moisture, which improves both flavor and texture.
Sear Over Medium-High Heat
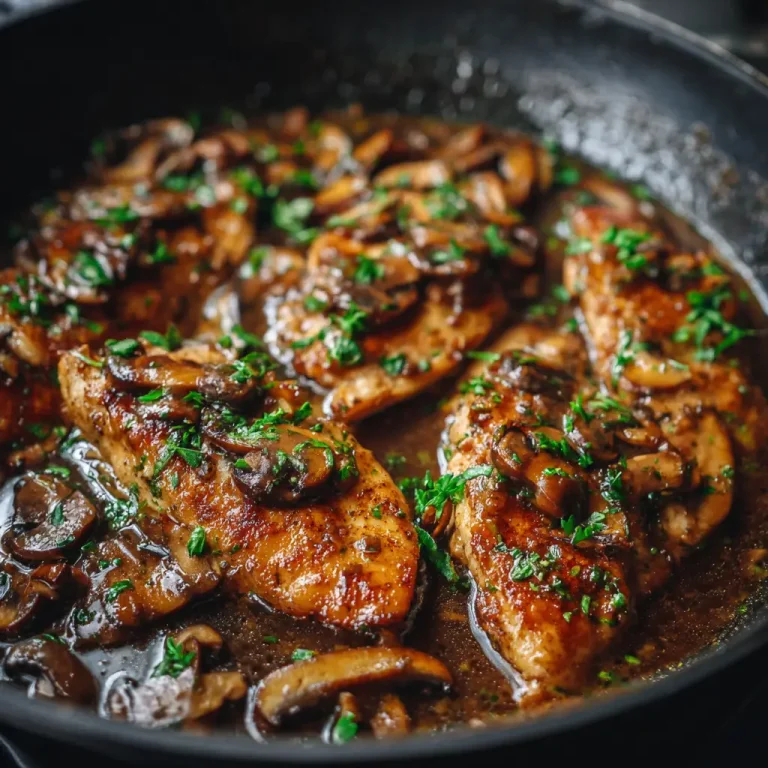
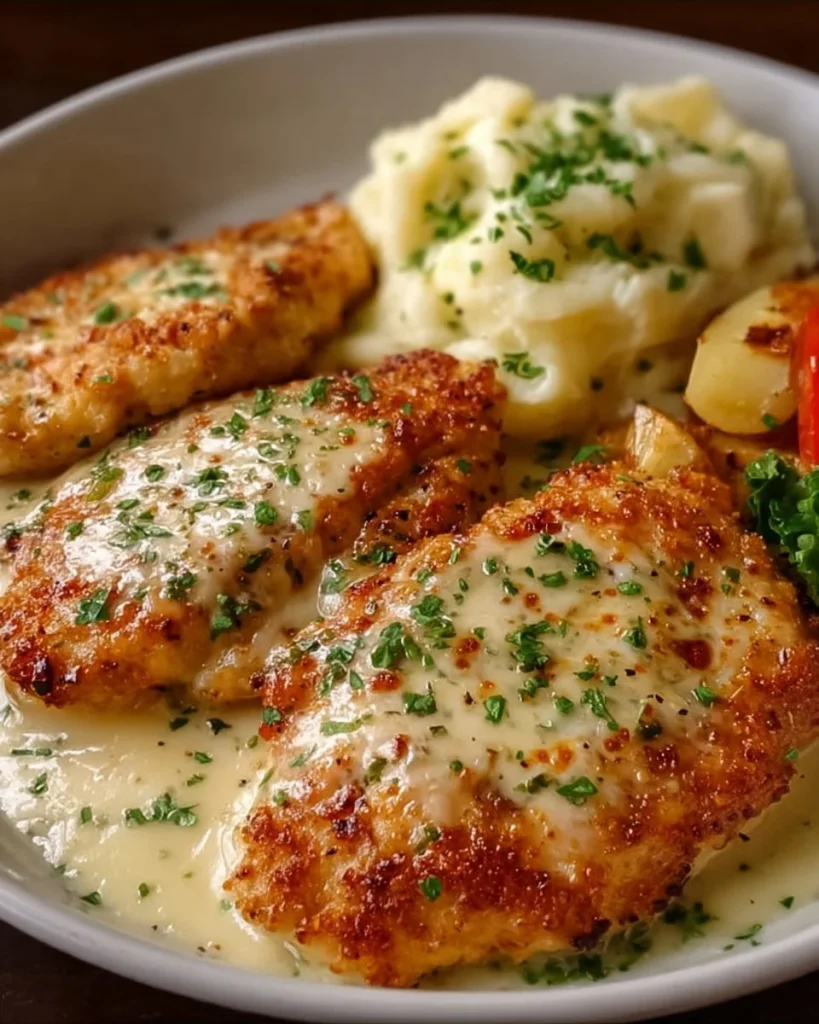
Heat olive oil in a heavy skillet, preferably cast iron or stainless steel, over medium-high heat until it shimmers. Lay the chicken in the pan without crowding and resist the urge to move it. Sear undisturbed for 5 to 6 minutes until a deep golden crust forms. This crust locks in juices and builds flavor through the Maillard reaction, something no amount of sauce can replicate later in the process.
Flip and Finish Cooking
Flip the chicken only once. Reduce heat to medium and add butter to the pan, tilting it slightly to baste the chicken as it melts. Cook for another 5 to 7 minutes, depending on thickness, until the internal temperature reads exactly 165°F on an instant-read thermometer inserted into the thickest part. Avoid guessing by cut time alone; temperature is the only reliable indicator of doneness.
Rest Before Slicing
Transfer the chicken to a cutting board or plate and tent loosely with foil. Let it rest for a full 5 minutes before cutting into it. This resting period allows the internal juices, which have been pushed toward the center during cooking, to redistribute evenly throughout the meat. Skipping this step is why so many home cooks watch all their hard-earned moisture spill out onto the cutting board.
Cook Time
Total: 25 minutes
Prep: 10 minutes
Bake: 15 minutes (stovetop searing time; oven-finish optional)
Servings
This recipe makes approximately 2 generous servings, or 3 to 4 smaller portions if you are slicing the chicken for salads, wraps, or grain bowls. Each breast yields enough sliced meat to top a full dinner plate or divide across two meal-prep containers.
If you are cooking for a larger group, this method scales cleanly. Simply multiply the ingredients and cook the chicken in batches rather than crowding the pan, since overcrowding drops the pan’s temperature and prevents proper searing.
For meal prep purposes, one batch typically covers two to three lunches when paired with rice, roasted vegetables, or a simple green salad, making it an efficient option for anyone planning meals ahead of time.
Common Mistakes in This Recipe
The single biggest mistake is skipping the pounding step. Chicken breasts are naturally uneven, thick on one end and thin on the other, which means the thin end finishes cooking long before the thick end, leading to a dry tip and an undercooked center on the same piece of meat.
The second common error is cooking straight from the refrigerator. Cold chicken hitting a hot pan cooks unevenly from the outside in, forcing you to either undercook the center or overcook the exterior just to compensate.
Many cooks also rely on cutting into the chicken to check doneness. This releases juices prematurely and still does not guarantee accuracy, since color alone is a poor indicator of internal temperature.
Finally, slicing immediately after cooking is a frequent and costly mistake. Without a resting period, the internal juices have nowhere to redistribute and simply run out onto the cutting board, leaving the meat visibly drier than it needed to be.
Solutions to Common Mistakes
Always pound chicken breasts to an even thickness before seasoning. This takes less than two minutes and is the single highest-impact step in the entire process, guaranteeing consistent doneness across the whole piece.
Let chicken rest at room temperature for 10 to 15 minutes before it touches the pan. This small window allows the exterior and interior temperatures to align more closely, which reduces the risk of overcooking the outside.
Invest in an inexpensive instant-read thermometer and use it every time. Insert it into the thickest part of the breast and pull the chicken at exactly 165°F, no earlier and no later, for consistently juicy results.
Always rest cooked chicken under loose foil for at least 5 minutes before slicing. This patience pays off directly in moisture retention and is the easiest fix on this entire list.
Nutritional Information (approx. per serving)
- Calories: 285
- Protein: 38g
- Total Fat: 14g
- Saturated Fat: 4g
- Carbohydrates: 1g
- Fiber: 0g
- Sugar: 0g
- Sodium: 480mg
Boneless skinless chicken breast is one of the leanest, most efficient protein sources available, making it a staple for anyone building meals around muscle recovery, satiety, or weight management goals. A single serving delivers a substantial protein contribution without excessive saturated fat.
Because the skin is removed, this cut naturally keeps calorie density low while still supporting a satisfying, filling meal when paired with vegetables or whole grains.
The moderate fat content here comes primarily from the olive oil and butter used in cooking, both of which support the absorption of fat-soluble nutrients and add valuable flavor without overwhelming the dish nutritionally.
This recipe also fits comfortably into low-carb, high-protein, and general clean-eating meal plans, offering flexibility across a wide range of dietary approaches without requiring any substitutions.
Storage Instructions
Allow the cooked chicken to cool to room temperature before storing, which typically takes about 20 to 30 minutes. Storing chicken while still warm traps steam inside the container, encouraging moisture buildup that can affect texture over time.
Once cooled, transfer the chicken to an airtight container and refrigerate for up to 4 days. Slicing it before storing makes portioning for lunches or salads considerably faster on busy weekdays.
For longer storage, wrap each breast individually in plastic wrap, place in a freezer-safe bag, and freeze for up to 3 months. Label the bag with the date so you can track freshness accurately.
To reheat, use a covered skillet over low heat with a splash of broth or water, which helps restore moisture. Microwaving works in a pinch but tends to dry the chicken out faster than gentle stovetop reheating.
Suggestions
Slice this chicken and layer it over a bed of romaine, cherry tomatoes, and shaved parmesan for a fast, protein-packed lunch salad that takes minutes to assemble.
For a heartier dinner, serve it whole alongside garlic butter rice and roasted broccoli, letting the pan drippings double as a simple, no-waste sauce poured directly over the plate.
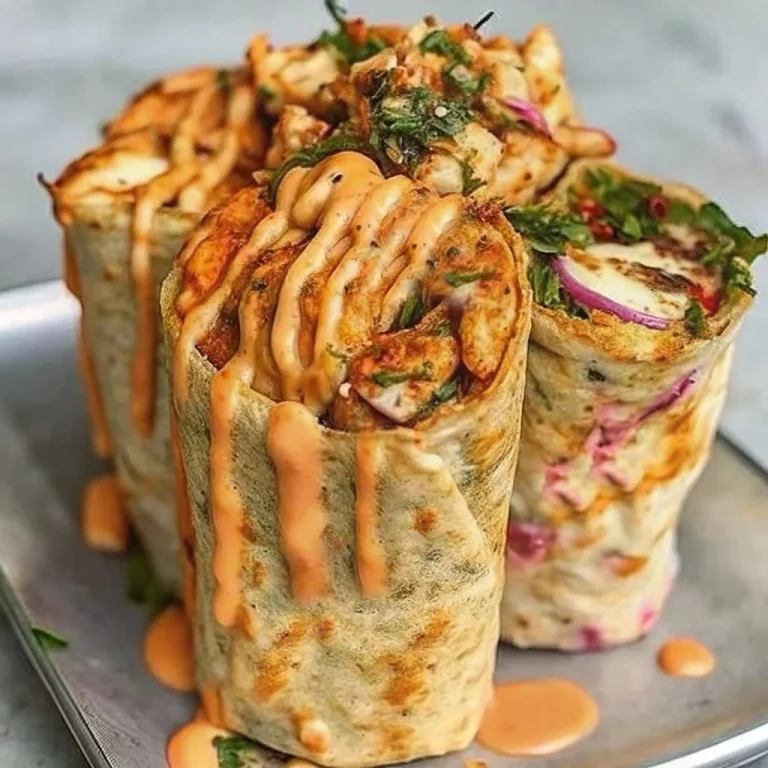
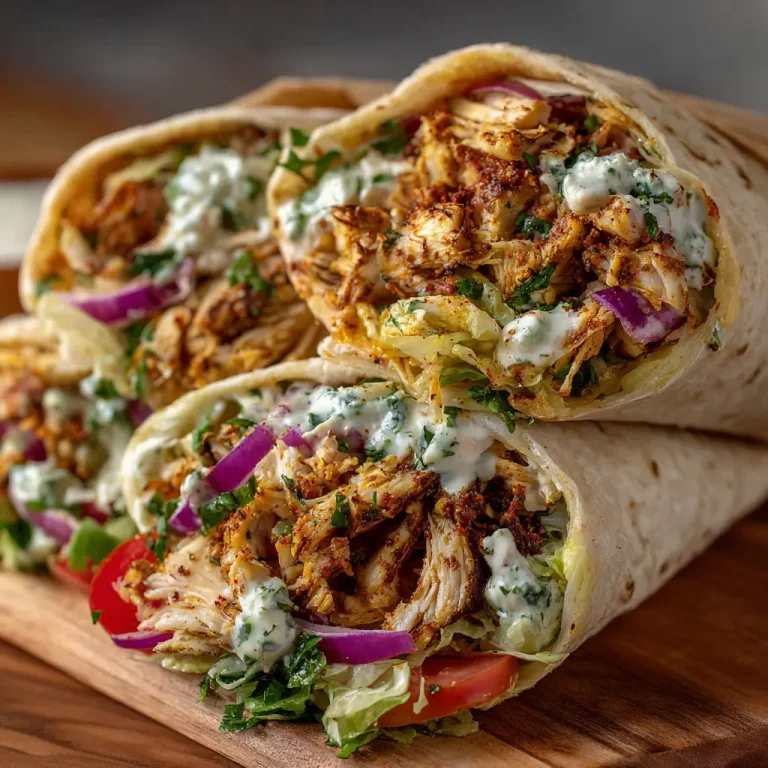
This chicken also works beautifully diced into warm wraps with hummus, cucumber, and pickled onions, making it an easy option for meal-prepped lunches throughout the week.
If you want to stretch it further, toss sliced chicken through pasta with olive oil, garlic, and a squeeze of lemon for a quick, restaurant-quality weeknight dinner in under 20 minutes.
Seasonal Relevance
In warmer months, this chicken shines sliced over crisp salads or folded into cold pasta dishes, offering a light yet protein-rich option for outdoor lunches, picnics, and post-workout meals during summer.
During colder seasons, serve it alongside roasted root vegetables, mashed potatoes, or a warm grain bowl, transforming the same base recipe into a comforting, cold-weather dinner without changing the core method.
It also fits naturally into holiday meal planning as a lighter, faster alternative to whole roasted poultry, especially for smaller gatherings where a full turkey or chicken feels excessive.
Because the ingredients are pantry staples rather than seasonal produce, this recipe remains equally reliable and accessible whether you are cooking in the height of summer or the middle of winter.
Final Words
Mastering juicy chicken breast is less about a specific recipe and more about understanding the handful of variables that actually control the outcome: thickness, temperature, and rest. Once those three things click, consistency follows naturally every single time.
This method is intentionally simple so that it becomes second nature rather than something you have to look up repeatedly. A few practice runs, and pounding, searing, and resting the chicken will feel automatic.
Whether you are meal prepping for the week, cooking a quick family dinner, or building a salad for lunch, this technique adapts to whatever you are making without demanding extra effort or ingredients.
Save this recipe, bookmark the temperature target, and the next chicken breast you cook will be the juiciest one you have made yet. Confidence in the kitchen starts with knowing exactly what to look for.
Frequently Asked Questions
Can I use this method with a grill instead of a stovetop?
Yes. Preheat the grill to medium-high, oil the grates well, and follow the same thickness, temperature, and resting guidelines. Grill about 5 to 6 minutes per side until the internal temperature reaches 165°F, then rest before slicing.
Why does my chicken turn out rubbery even when it’s not dry?
Rubbery texture usually comes from cooking over heat that is too high for too long, which tightens the muscle fibers. Lowering the heat slightly after searing and monitoring temperature closely prevents this toughening effect.
Can I prep the seasoning blend in advance for future use?
Absolutely. Mix the salt, pepper, garlic powder, smoked paprika, and onion powder in a sealed jar and store it at room temperature for up to two months, ready to use whenever you cook chicken.
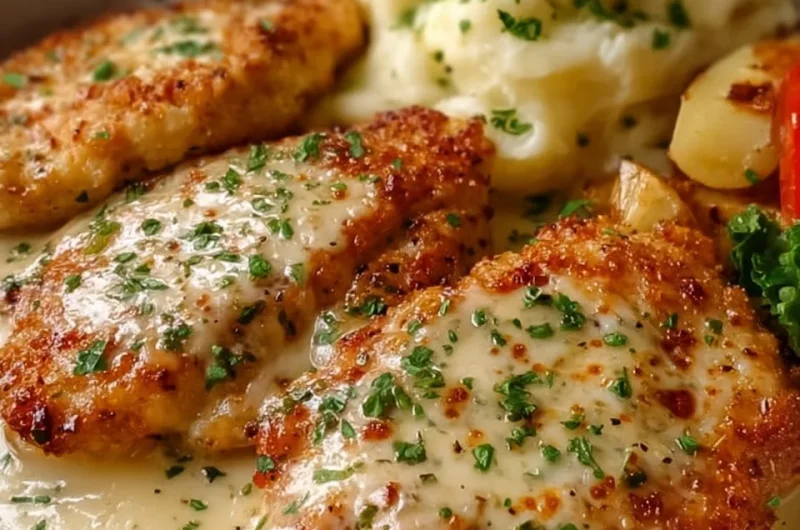
How to Cook Boneless Chicken Breast So It Stays Juicy
2
servings10
minutes15
minutes285
kcalJuicy, golden pan-seared boneless skinless chicken breast made simple. Even thickness, perfect seasoning, and the right internal temperature guarantee tender, flavorful results every time — no dry chicken, ever.
Ingredients
Base Ingredients
2 boneless skinless chicken breasts (about 6 to 8 ounces each)
2 tablespoons olive oil
1 teaspoon kosher salt
1/2 teaspoon black pepper
1 teaspoon garlic powder
1 teaspoon smoked paprika
1/2 teaspoon onion powder
1 tablespoon unsalted butter
Optional Add-ins
1/2 teaspoon dried oregano
1/4 teaspoon cayenne pepper
1 tablespoon fresh lemon juice
2 cloves garlic, minced
1 sprig fresh rosemary or thyme
1 tablespoon honey (for a light glaze)
1/4 cup low-sodium chicken broth (for extra moisture while cooking)
Directions
- Place chicken breasts between plastic wrap and pound to an even thickness, about three-quarters of an inch.
- Pat chicken dry, then rub both sides with salt, pepper, garlic powder, smoked paprika, and onion powder.
- Let seasoned chicken rest at room temperature for 10 to 15 minutes.
- Heat olive oil in a skillet over medium-high heat until shimmering.
- Sear chicken undisturbed for 5 to 6 minutes until golden brown.
- Flip once, reduce heat to medium, and add butter, basting as it melts.
- Cook 5 to 7 minutes more until internal temperature reaches 165°F.
- Remove chicken from pan and tent loosely with foil.
- Rest for 5 minutes before slicing and serving.
Recipe Video
Notes
- Always use an instant-read thermometer for accuracy — pull chicken at exactly 165°F.
- Avoid crowding the pan; sear in batches if cooking more than 2 breasts.
- Resting is non-negotiable — skipping it leads to moisture loss.
- Store leftovers in an airtight container in the fridge for up to 4 days, or freeze for up to 3 months.
- Reheat gently in a covered skillet with a splash of broth to preserve moisture.