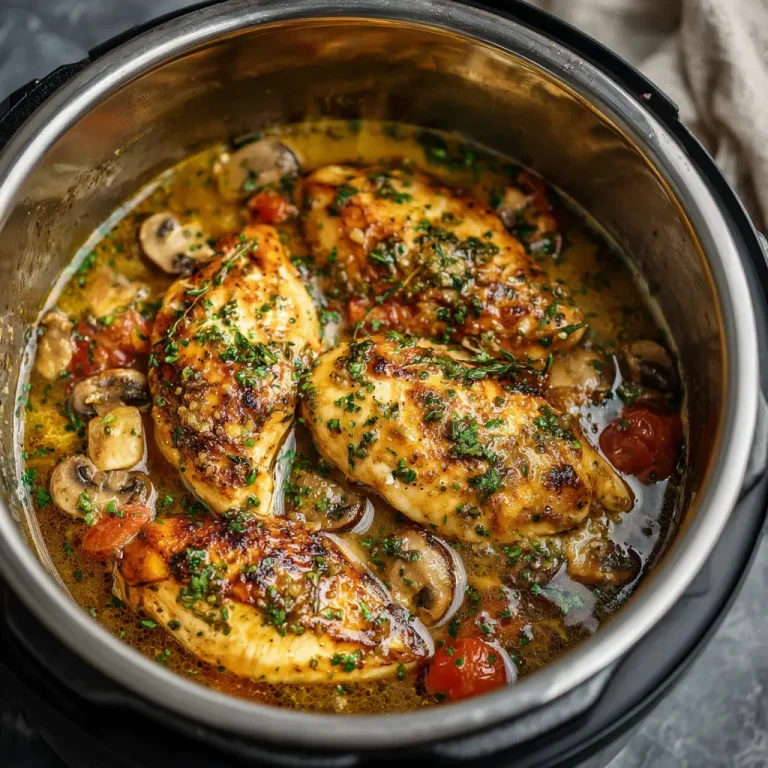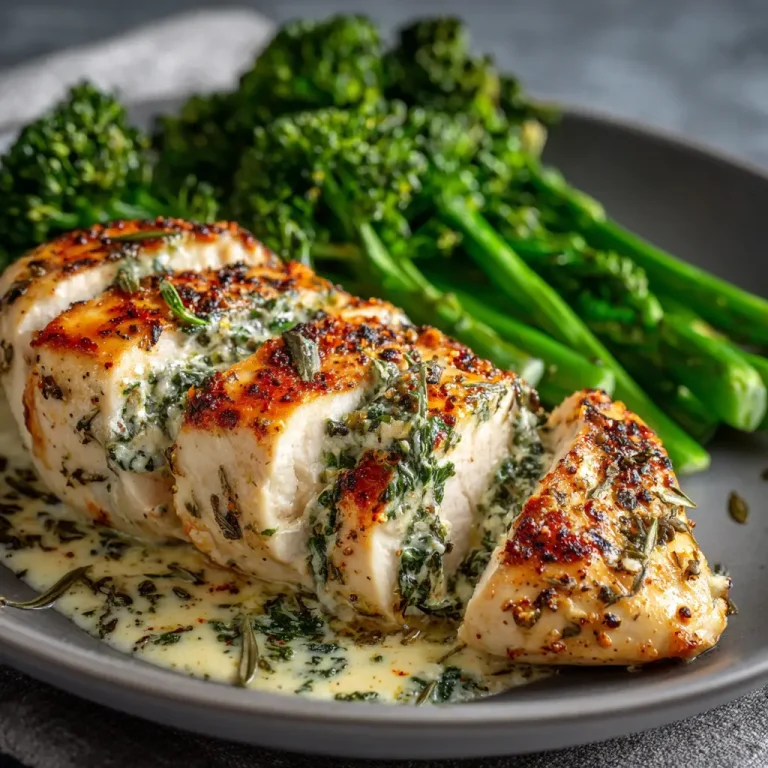
Chicken breast has a reputation problem. Cooked wrong, it turns into dry, chalky disappointment that no amount of sauce can save. Cooked right, it becomes one of the most reliable proteins in your entire kitchen rotation.
This recipe fixes the dry chicken problem for good. The method relies on three things: proper seasoning, the right oven temperature, and knowing exactly when to pull it out. No brining overnight, no complicated marinades, no guesswork.
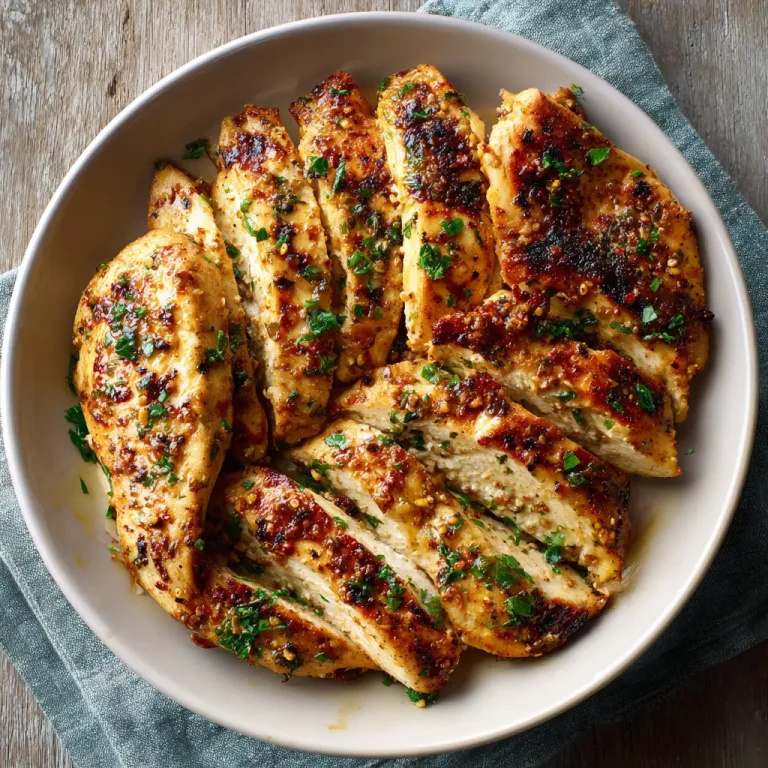
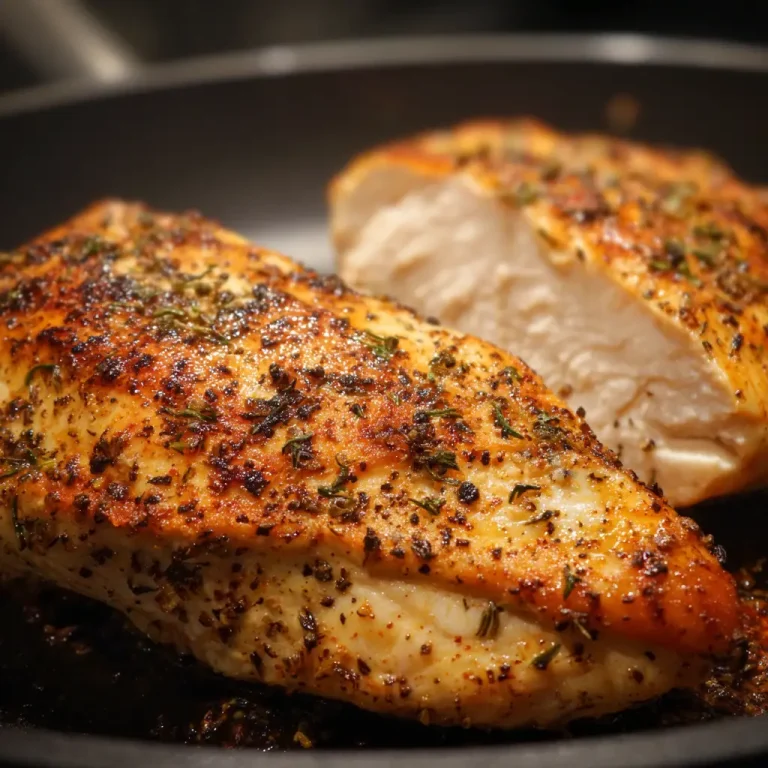
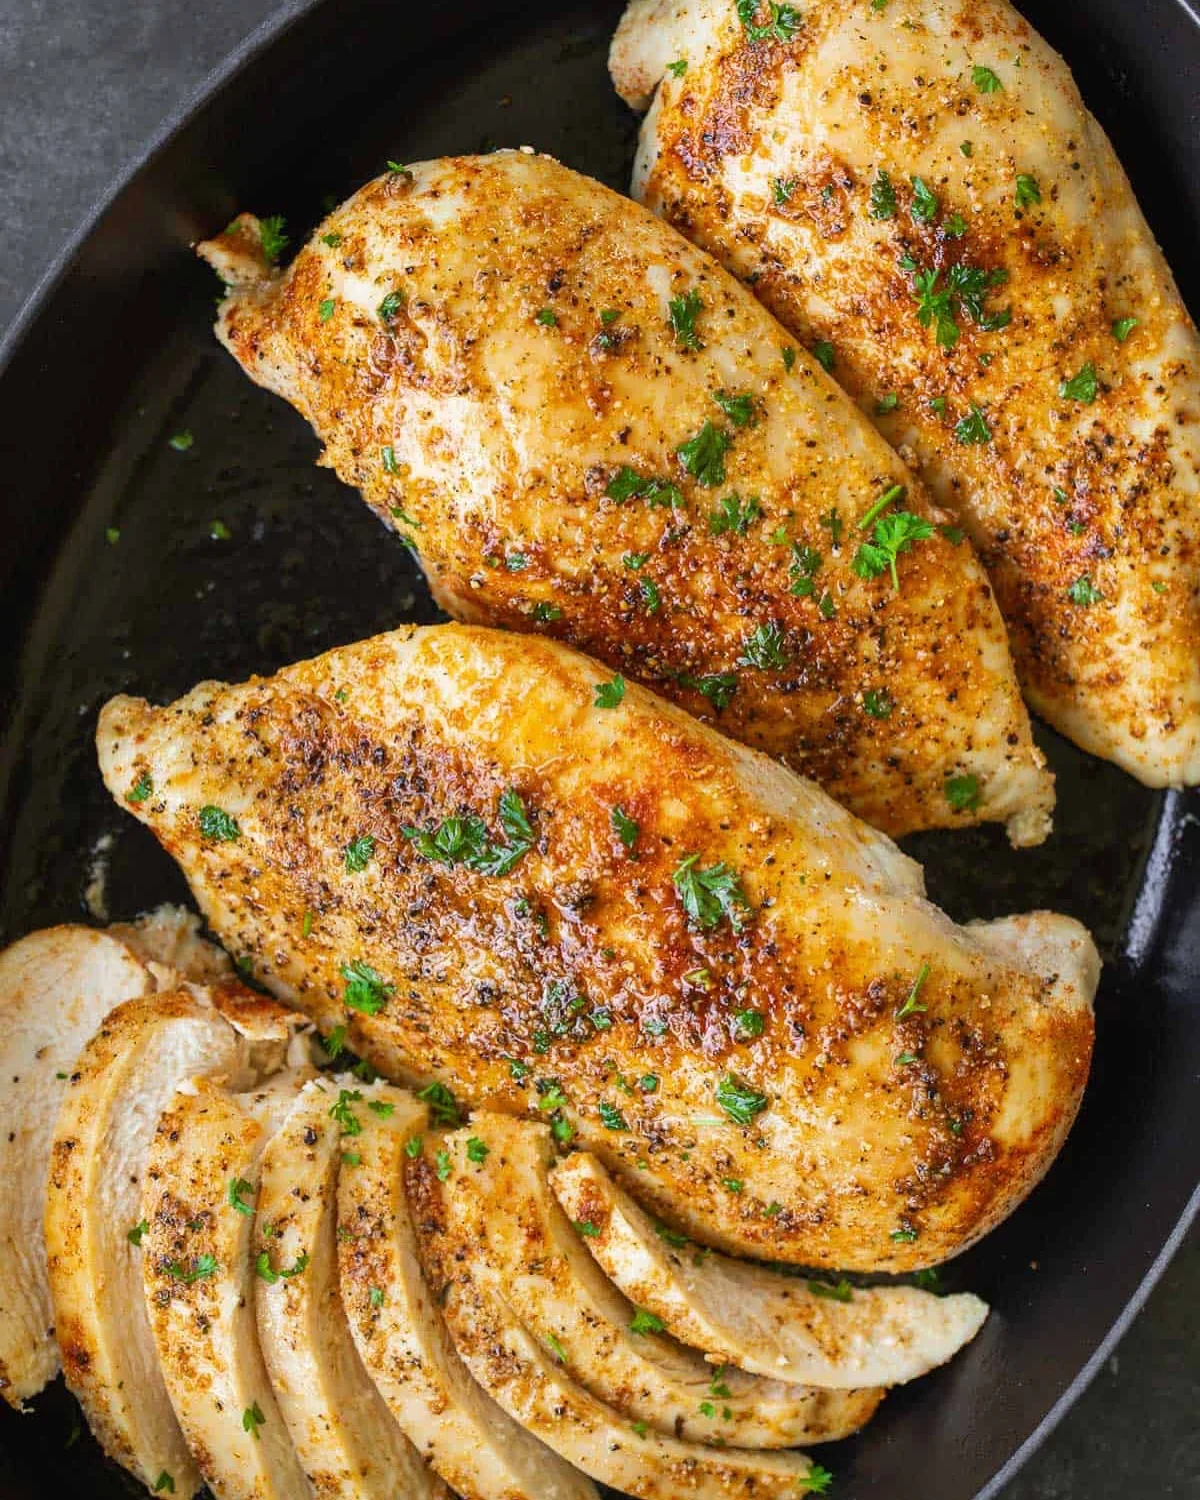
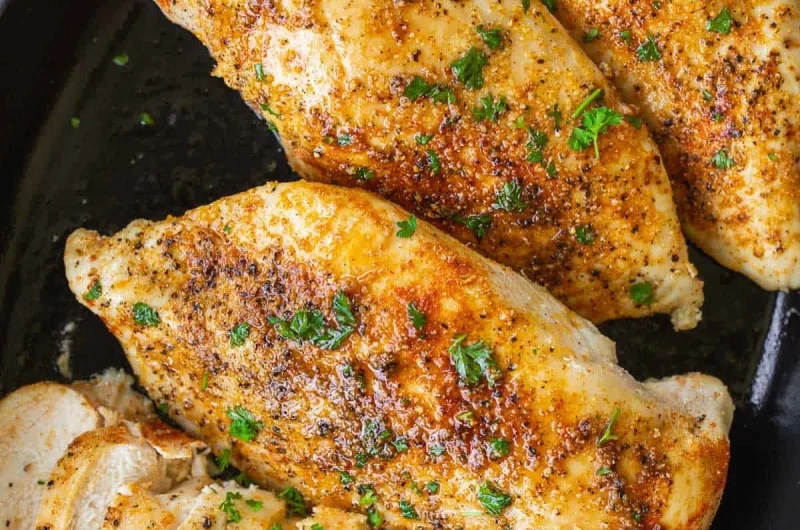
What you get is a chicken breast with a golden, well-seasoned crust and a center that stays moist from the first bite to the last. It works for weeknight dinners, meal prep containers, or slicing over a salad the next day.
Once you understand why this method works, you will never go back to guessing with chicken breast again. The science is simple, the steps are few, and the results are consistent every single time you make it.
Ingredients You’ll Need
Great chicken starts long before the oven even preheats, and it all comes down to what goes into that mixing bowl. This recipe leans on ingredients that punch far above their weight in flavor.
One of the things I love about this recipe is that it uses simple pantry ingredients. You probably already have most of them in your kitchen.
Base Ingredients
- 4 boneless, skinless chicken breasts (6 to 8 ounces each)
- 3 tablespoons olive oil
- 1 teaspoon garlic powder
- 1 teaspoon onion powder
- 1 teaspoon smoked paprika
- 1 teaspoon dried oregano
- 1 teaspoon fine sea salt
- 1/2 teaspoon black pepper
- 1 tablespoon unsalted butter, melted
Optional Add-ins
- 1/2 teaspoon cayenne pepper for heat
- 1 tablespoon fresh lemon juice
- 2 tablespoons grated parmesan cheese
- 1 teaspoon Italian seasoning blend
- 1 teaspoon Dijon mustard
- 1/2 teaspoon dried thyme
- 2 cloves garlic, minced
Step-by-Step Instructions

Prep the Chicken
Pat the chicken breasts completely dry with paper towels. This step matters more than most people realize, since excess moisture prevents proper browning and seasoning adhesion. If the breasts are uneven in thickness, place them between plastic wrap and gently pound the thicker end so they cook evenly. Uneven thickness is one of the biggest reasons chicken turns out dry on one end and undercooked on the other.
Season Generously
In a small bowl, mix garlic powder, onion powder, smoked paprika, oregano, salt, and pepper. Drizzle the chicken with olive oil, then rub the seasoning blend evenly over every surface, including the edges. Do not be shy here; a well-seasoned crust is what separates bland chicken from genuinely craveable chicken. Let the seasoned breasts sit at room temperature for 15 minutes before baking for more even cooking.
Sear for Color
Heat an oven-safe skillet over medium-high heat with a touch of olive oil. Sear the chicken breasts for 2 to 3 minutes per side until golden brown. This step locks in juices and builds a flavorful crust that plain baking alone cannot achieve. If you do not have an oven-safe skillet, sear in a regular pan first, then transfer everything to a baking dish.
Bake to Perfection
Preheat the oven to 400°F. Transfer the skillet or baking dish directly into the oven and bake for 18 to 22 minutes, depending on thickness. Use a meat thermometer and pull the chicken out at exactly 160°F, since it will continue cooking slightly as it rests. This is the single most important step for guaranteeing juicy results every time.
Rest and Serve
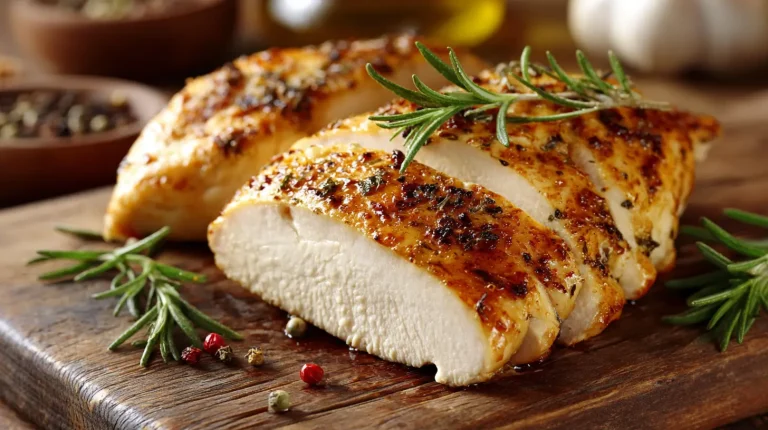
Brush the hot chicken with melted butter immediately after removing it from the oven. Let it rest, uncovered, for 5 to 7 minutes before slicing. Resting allows the juices to redistribute throughout the meat instead of spilling out onto the cutting board. Skipping this step is one of the fastest ways to undo all the work you just put in.
Cook Time
Total
35 minutes
Prep
10 minutes
Bake
20 to 25 minutes
Servings
This recipe makes approximately 4 servings, with each serving consisting of one full chicken breast. It is proportioned generously enough to satisfy a hearty appetite while still fitting neatly into a balanced, protein-forward plate.
The recipe scales easily for larger households or meal prep purposes. Doubling the ingredient quantities works well as long as the breasts are arranged in a single layer without overcrowding the pan, which would trap steam and prevent proper browning.
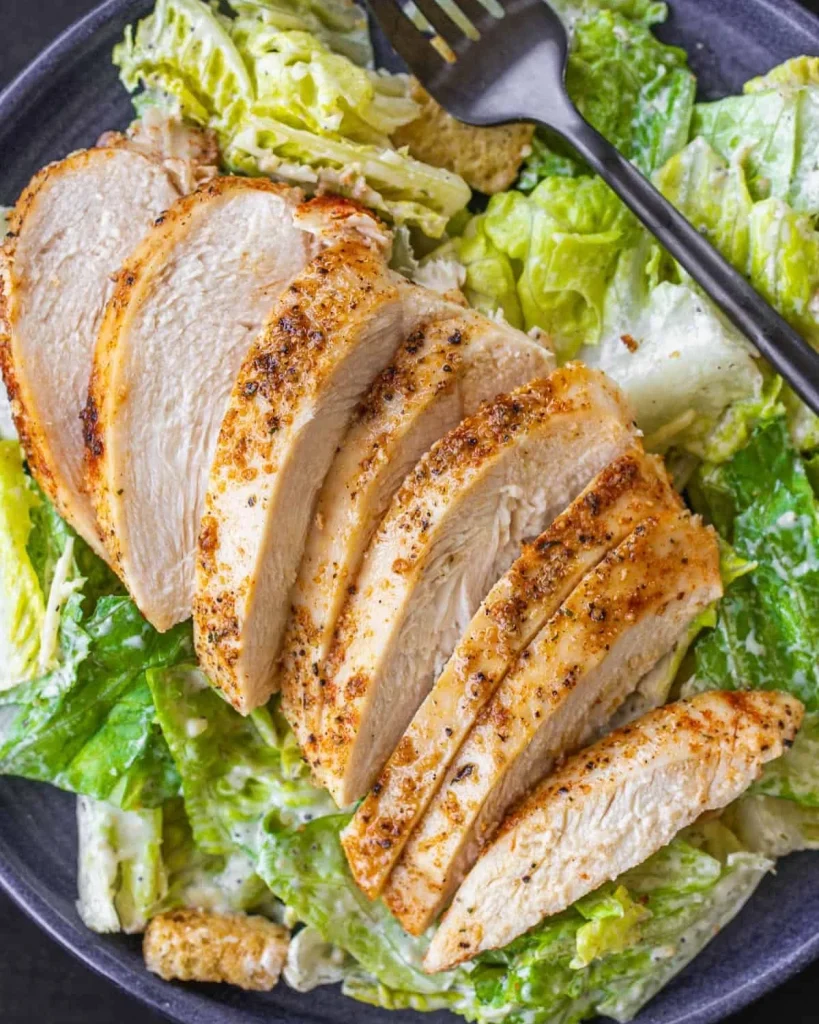
For portion control or meal prep containers, consider slicing each breast into three to four pieces after resting. This makes it easier to divide evenly across containers alongside rice, vegetables, or salad greens for the week ahead.
Common Mistakes in This Recipe
The most common mistake is skipping the resting period entirely. Cutting into chicken straight out of the oven releases nearly all of its internal juices onto the cutting board, leaving the meat noticeably drier than it should be, even if it was cooked perfectly.
Another frequent issue is relying on cooking time alone instead of internal temperature. Ovens vary, chicken breast sizes vary, and visual cues are unreliable. Guessing leads directly to either undercooked centers or, more commonly, chicken that has been left in far too long out of caution.
Overcrowding the pan is a subtler mistake that many home cooks overlook. When breasts are packed too closely together, they release steam that softens the crust and prevents the golden color that adds both flavor and visual appeal to the finished dish.
Finally, under-seasoning is a persistent problem. Chicken breast has a naturally mild flavor, and a light dusting of spices simply is not enough to carry the dish. The seasoning needs to be applied generously and pressed into the surface.
Solutions to Common Mistakes
Always let the chicken rest for at least 5 minutes before slicing, no exceptions. Set a timer if needed, and use that window to plate side dishes or prepare a sauce. This small pause makes a measurable difference in juiciness.
Invest in an inexpensive instant-read meat thermometer and use it every single time. Pull the chicken at 160°F rather than 165°F, since carryover cooking will finish the job during the resting period without drying out the meat.
Give each chicken breast enough space in the pan, ideally at least an inch of clearance on all sides. If your pan is too small for four breasts, cook them in two batches or split them across two pans instead.
Do not measure seasoning with a light hand. Rub it firmly into the surface of the chicken so it forms a proper crust rather than sitting loosely on top, where much of it will fall away during cooking.
Nutritional Information (approx. per serving)
- Calories: 285
- Protein: 38g
- Total Fat: 13g
- Saturated Fat: 3g
- Carbohydrates: 1g
- Fiber: 0g
- Sodium: 420mg
- Cholesterol: 105mg
This chicken breast recipe delivers an exceptional protein-to-calorie ratio, making it a smart choice for anyone building muscle, managing weight, or simply trying to eat more balanced meals without sacrificing flavor. Lean protein like this supports satiety far longer than lighter, carbohydrate-heavy meals.
Because the recipe relies on olive oil and butter in modest amounts rather than heavy cream sauces or breading, it stays naturally lower in unnecessary fat and refined carbohydrates while still tasting rich and satisfying.
The seasoning blend itself contributes more than flavor. Garlic and paprika both carry antioxidant properties, and using whole spices instead of processed sauce packets keeps sodium levels far more manageable and controllable.
This is a dish that fits comfortably into most dietary patterns, including low-carb, high-protein, and general clean-eating approaches, without requiring any substitutions or special shopping trips.
Storage Instructions
Store leftover chicken breast in an airtight container in the refrigerator for up to 4 days. Allow the chicken to cool to room temperature before sealing it to prevent condensation from making the exterior soggy.
For longer storage, freeze the cooked and cooled chicken breasts in a freezer-safe bag or container for up to 3 months. Label the bag with the date, and try to remove as much air as possible before sealing to prevent freezer burn.
To reheat, use a covered skillet over low heat with a splash of chicken broth or water to reintroduce moisture. Microwaving works too, but cover the chicken and use short 30-second intervals to avoid overcooking it further.
Avoid reheating chicken breast at high heat for extended periods, as this is one of the fastest ways to dry out meat that was originally cooked to perfection. Gentle, gradual reheating preserves texture far better than a quick blast.
Suggestions
Serve this chicken breast alongside roasted vegetables, a simple green salad, or garlic butter rice for a complete, balanced meal that comes together with minimal additional effort or cleanup.
For meal prep, slice the chicken and divide it across containers with quinoa, steamed broccoli, and a light vinaigrette. This combination reheats well and holds its texture better than many other protein options across several days.
If you want to switch things up, use the same seasoning blend on chicken thighs or a whole spatchcocked chicken, adjusting the bake time accordingly based on thickness and bone presence.
This chicken also works beautifully sliced cold over a Caesar salad or tucked into a wrap with fresh vegetables and a smear of Dijon mustard for a quick, satisfying lunch option.
Seasonal Relevance
This baked chicken breast recipe works well year-round, but it truly shines during the colder months when warm, protein-rich dinners are especially welcome after a long day. Its simplicity makes it an easy weeknight staple from fall through early spring.
In the summer, the same chicken can be sliced and served cold over crisp salads, making it a versatile option that adapts to warmer weather without requiring a completely different recipe or additional planning.
During the holiday season, this recipe also serves as a lighter counterbalance to richer, more indulgent dishes, offering a clean and satisfying protein option amid heavier holiday spreads.
Because the ingredients are all pantry staples rather than seasonal produce, this recipe remains equally accessible and affordable no matter what time of year you decide to make it.
Final Words
Juicy baked chicken breast is not about luck or expensive ingredients. It comes down to technique: proper seasoning, accurate temperature monitoring, and a resting period that most recipes skip mentioning entirely.
Once you master this method, chicken breast stops being the boring, dry protein people tolerate and becomes something you genuinely look forward to eating, whether on a weeknight or packed into a meal prep container.
This recipe rewards attention to detail without demanding much time or effort. A thermometer and a few extra minutes of patience are really all that stand between mediocre chicken and a genuinely excellent dinner.
Keep this method in your regular rotation, and consider it your reliable baseline for building countless other meals, from grain bowls to sandwiches to simple weeknight plates alongside your favorite sides.
Frequently Asked Questions
Can I use bone-in chicken breasts for this recipe instead?
Yes, but bone-in breasts require a longer bake time, typically 30 to 35 minutes, since the bone slows heat transfer. Always confirm doneness with a meat thermometer rather than relying on the standard boneless cooking time.
Why does my chicken breast crust turn soggy instead of golden?
This usually happens when the chicken was not patted dry beforehand or the pan was overcrowded, trapping steam. Ensure excess moisture is removed and leave adequate spacing between pieces for proper browning.
Can I marinate the chicken overnight instead of using dry seasoning?
Absolutely, an overnight marinade with olive oil, lemon juice, and the same spice blend deepens flavor further. Just pat the chicken dry before searing, since excess marinade liquid will prevent proper browning in the pan.
Juicy Baked Chicken Breast That Never Turns Dry
4
servings10
minutes25
minutes285
kcalGolden, perfectly seasoned baked chicken breast that stays juicy and tender every time. A quick, foolproof method using pantry staples, ideal for healthy dinners, meal prep, or pairing with your favorite sides.
Ingredients
4 boneless, skinless chicken breasts (6 to 8 ounces each)
3 tablespoons olive oil
1 teaspoon garlic powder
1 teaspoon onion powder
1 teaspoon smoked paprika
1 teaspoon dried oregano
1 teaspoon fine sea salt
1/2 teaspoon black pepper
1 tablespoon unsalted butter, melted
Directions
- Pat the chicken breasts completely dry with paper towels.
- Pound thicker ends gently for even thickness.
- Mix garlic powder, onion powder, smoked paprika, oregano, salt, and pepper in a bowl.
- Drizzle chicken with olive oil and rub the seasoning blend evenly over all surfaces.
- Let seasoned chicken rest at room temperature for 15 minutes.
- Heat an oven-safe skillet over medium-high heat with a little olive oil.
- Sear chicken for 2 to 3 minutes per side until golden brown.
- Preheat oven to 400°F.
- Transfer skillet to the oven and bake for 18 to 22 minutes.
- Check internal temperature and remove chicken at exactly 160°F.
- Brush hot chicken with melted butter immediately after removing from oven.
- Let chicken rest, uncovered, for 5 to 7 minutes before slicing.
- Slice and serve.
Recipe Video
Notes
- Use a meat thermometer for accurate, foolproof results.
- Do not skip the resting period; it keeps the chicken juicy.
- Avoid overcrowding the pan to ensure proper browning.
- Leftovers keep well in the fridge for up to 4 days or the freezer for up to 3 months .