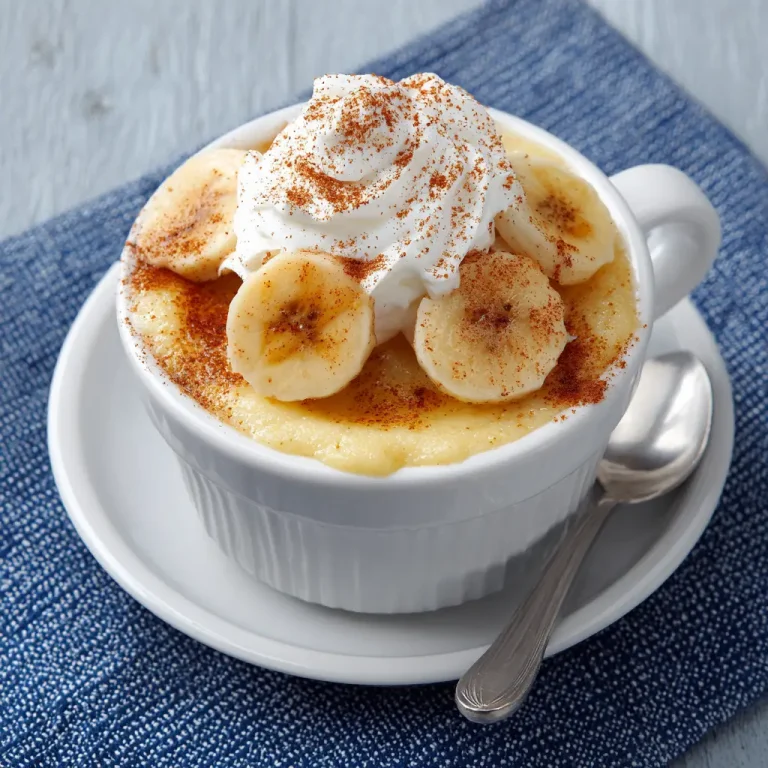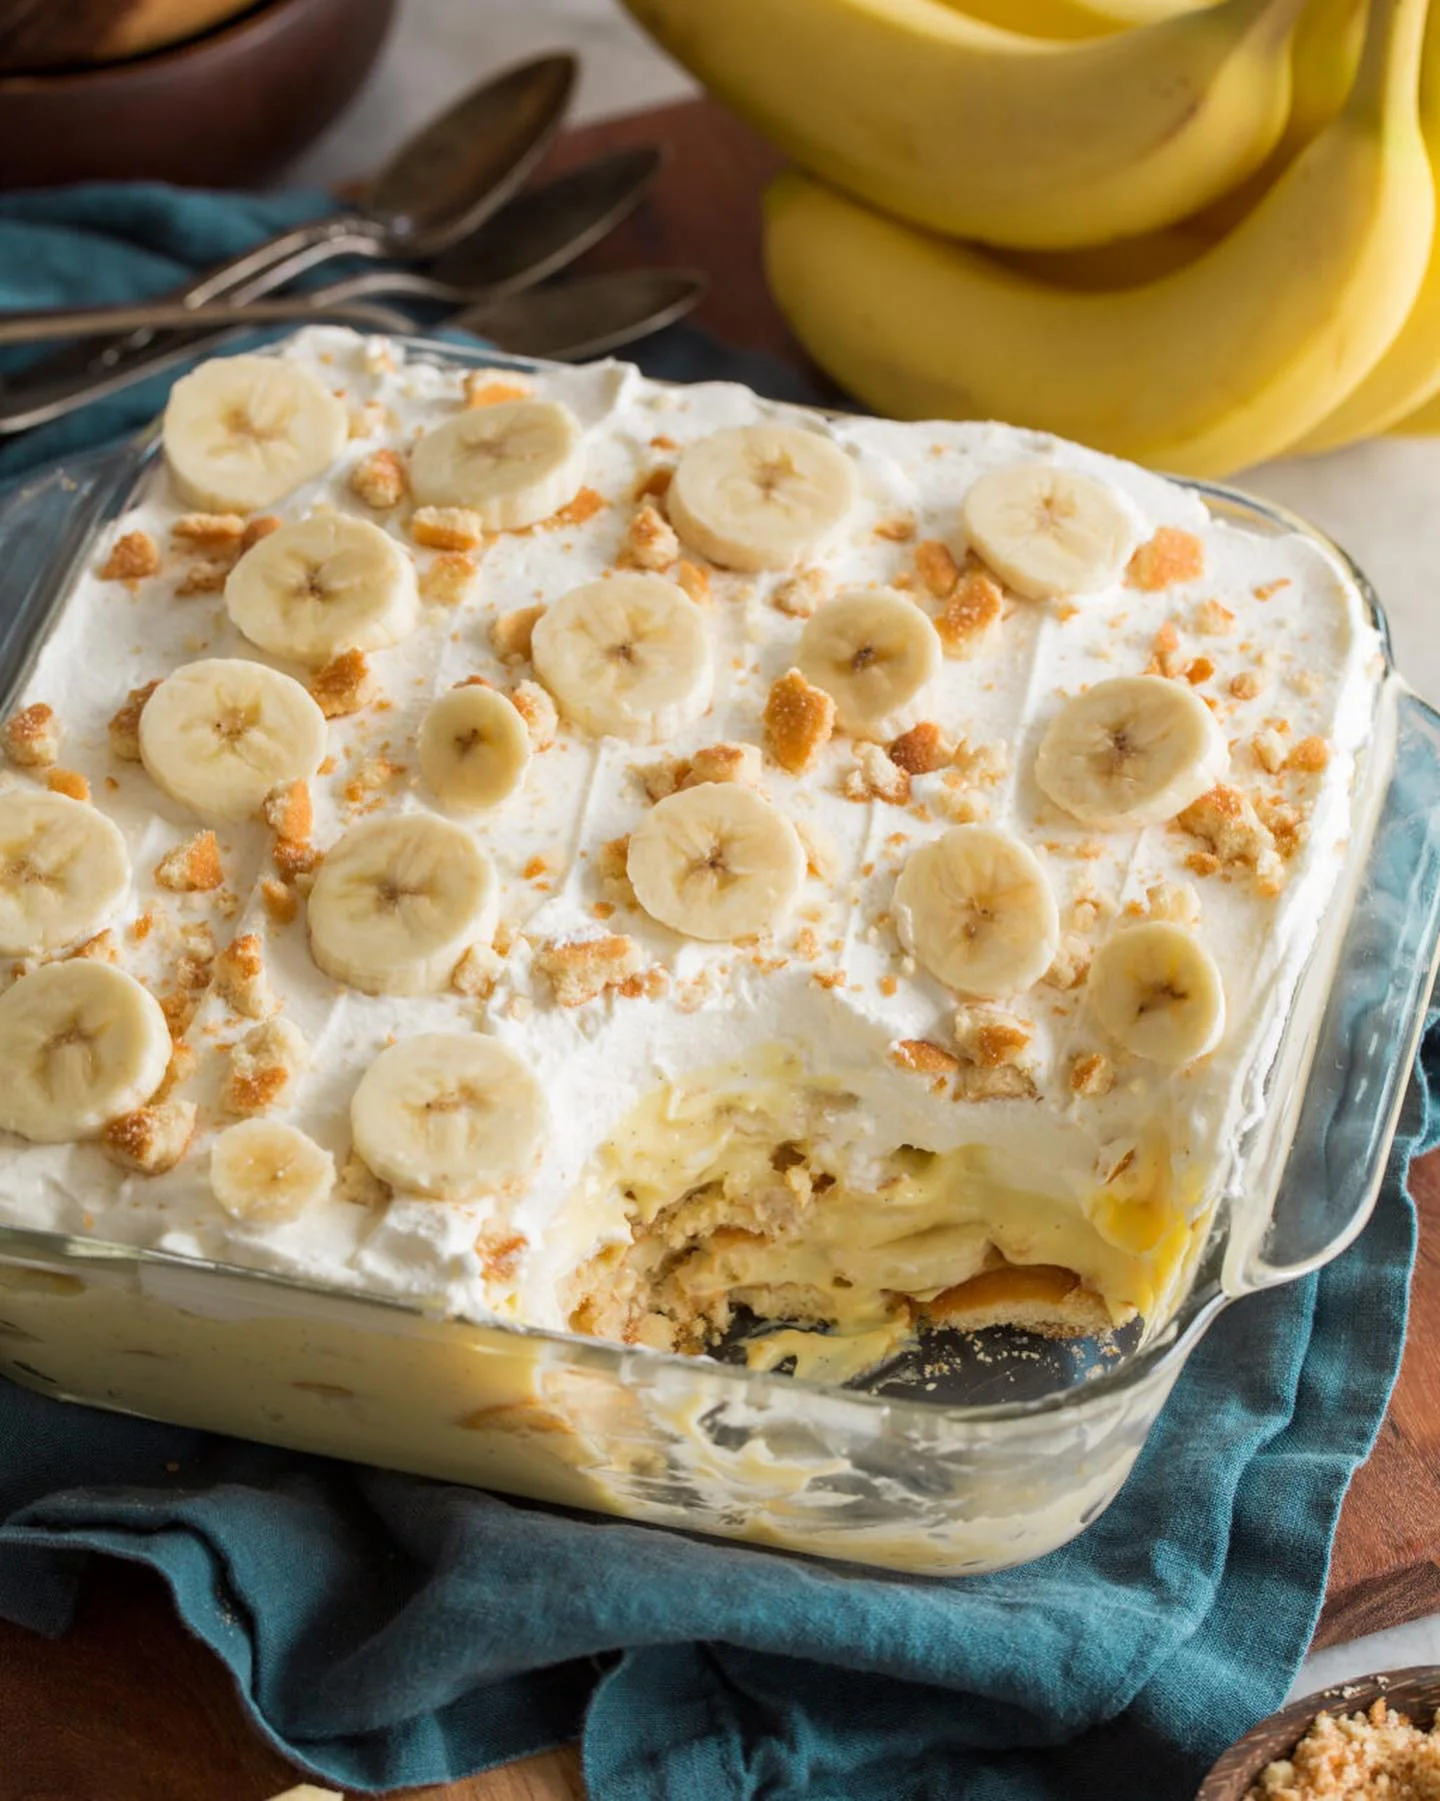
There’s a reason banana pudding shows up at every potluck, church picnic, and Sunday dinner table across the South — it simply works. No oven drama, no fussy technique, just layers of ripe bananas, silky vanilla pudding, and crisp wafers that soften into something closer to cake with every passing hour.
This isn’t a recipe that demands pastry school training or a pantry full of specialty ingredients. It’s the kind of dessert your grandmother could make blindfolded, and honestly, that’s the whole appeal. Simple, honest, and reliably delicious.
What makes this version worth bookmarking is the balance. Too many banana puddings turn out either bland or sickly sweet, with mushy bananas and soggy wafers by the time you serve them. This one solves for that with a few small, deliberate choices in technique and timing.
Whether you’re feeding a crowd or just craving something cool and creamy on a hot afternoon, this banana pudding recipe easy enough for a weeknight still tastes like it took real effort. Grab a trifle dish, and let’s get layering.
Ingredients You’ll Need
Great banana pudding isn’t about fancy ingredients — it’s about ratios, ripeness, and knowing when to stop stirring. Here’s everything that goes into building those iconic, dreamy layers.
Base Ingredients
- 4 ripe bananas, sliced
- 1 box (3.4 oz) instant vanilla pudding mix
- 2 cups cold whole milk
- 1 cup heavy cream, whipped
- 1 box (11 oz) vanilla wafer cookies
- 1 teaspoon pure vanilla extract
- 1/4 cup granulated sugar
- 1 tablespoon lemon juice
Optional Add-ins
- 1/2 cup crushed graham crackers, for texture
- 1/4 cup caramel sauce, drizzled between layers
- 1/2 teaspoon ground cinnamon, for warmth
- 4 oz cream cheese, softened, for extra richness
- 1/4 cup toasted pecans, chopped
- 2 tablespoons dark chocolate shavings
Step-by-Step Instructions
Whisk the Pudding Base
In a large mixing bowl, whisk the instant vanilla pudding mix with cold whole milk for about two minutes, until it thickens slightly and turns smooth. Let it rest in the refrigerator for five minutes to fully set. This resting time matters — rushing it leaves you with a thin, runny base that won’t hold its shape once layered. A properly set pudding base is the backbone of the whole dessert, so don’t skip this short but essential step.
Fold in the Whipped Cream
Once the pudding has thickened, gently fold in the whipped heavy cream using a rubber spatula. Work in broad, slow strokes rather than stirring aggressively — you want to keep the air you just whipped in. This step transforms a standard pudding into something lighter and closer to a mousse. Add the vanilla extract here too. The mixture should look pale, glossy, and hold soft peaks when you lift the spatula.
Prepare the Bananas
Slice the bananas into even rounds, about a quarter-inch thick, right before assembling. Toss them lightly in lemon juice and a touch of sugar — this slows browning and adds a subtle brightness that cuts through the sweetness of the pudding. Skipping this step is one of the fastest ways to end up with a gray, unappetizing top layer by the time you’re ready to serve.
Layer the Dessert
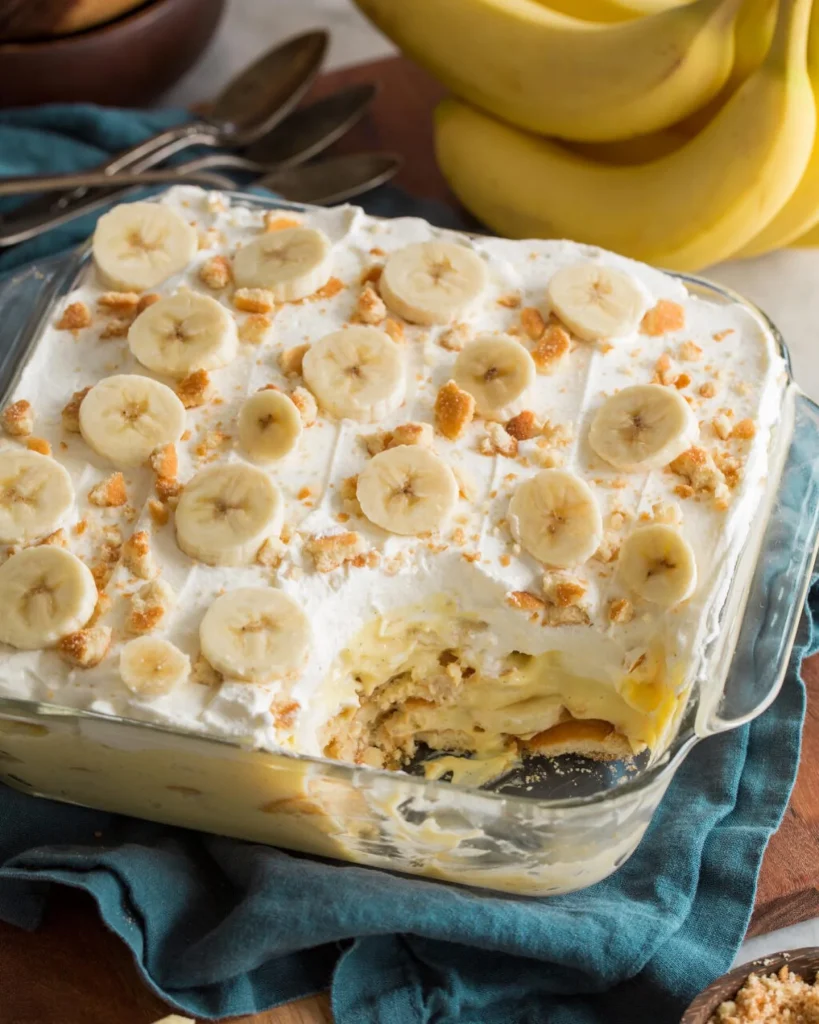
In a trifle dish or individual jars, start with a layer of vanilla wafers along the bottom and sides. Add a layer of banana slices, followed by a generous scoop of the pudding mixture. Repeat the layers two to three times, finishing with pudding on top. Press gently after each layer to eliminate air pockets, which helps everything settle and soak evenly.
Chill and Set
Cover the dish tightly with plastic wrap, pressing it directly onto the surface of the pudding to prevent a skin from forming. Refrigerate for at least four hours, though overnight is ideal. This resting period is non-negotiable — it’s what allows the wafers to soften into that signature cake-like texture while the flavors meld together fully.
Garnish and Serve
Right before serving, add a final layer of crushed wafers, a few fresh banana slices, or a light dusting of cinnamon for visual appeal. Serve chilled, straight from the fridge, using a large spoon to scoop through all the layers at once. Each bite should carry a bit of cookie, banana, and cream together.
Cook Time
Total: 4 hours 20 minutes (includes chilling time)
Prep: 20 minutes
Bake: No bake required
Servings
This recipe makes approximately 8 to 10 generous servings, depending on whether you’re serving it in a large trifle dish or portioning it into individual cups. It’s an ideal make-ahead dessert for gatherings where you need something that scales easily without last-minute stress.
If you’re hosting a larger crowd, this recipe doubles cleanly — just use a bigger trifle bowl or split it across two dishes. Individual mason jar portions also work beautifully for parties, since they look elegant and make serving effortless without any cutting or plating required.
For smaller households, leftovers keep well for a few days, so don’t hesitate to make the full batch even if you’re only feeding two or three people. It rarely goes to waste.
Common Mistakes in This Recipe
The most frequent misstep is slicing bananas too far in advance. Even with lemon juice, bananas begin to oxidize and turn brown within an hour, which makes the finished dessert look tired before it’s even served. Slice them last, right as you’re ready to assemble.
Another common error is under-chilling. Many home cooks assume an hour in the fridge is enough, but the wafers need real time to absorb moisture from the pudding and soften properly. Serving it too early leaves the cookies crunchy and disconnected from the rest of the layers instead of that signature cake-like bite.
Overmixing the pudding once the whipped cream is added is another issue. Stirring too vigorously deflates the air, leaving a denser, heavier texture instead of the light, cloud-like consistency this dessert is known for.
Finally, using warm or freshly whipped cream that hasn’t been chilled leads to a runny base that won’t hold its structure once layered, causing the whole dessert to slump rather than stand in neat, defined layers.
Solutions to Common Mistakes
To avoid browning, prep every other component first — pudding, whipped cream, wafers — and slice the bananas only during final assembly. Tossing them briefly in lemon juice adds an extra layer of insurance without affecting flavor.
For the chilling issue, plan ahead. Assemble the pudding the night before serving whenever possible, giving it a full eight to twelve hours to set. If you’re short on time, four hours is the realistic minimum for decent texture.
When folding whipped cream into the pudding base, use a light hand and stop as soon as the two are combined. A few visible streaks are fine — overworking it is worse than under-mixing it.
Always chill your mixing bowl and beaters before whipping cream, and make sure the cream itself is cold. This keeps the structure stable and prevents a loose, watery final texture in the assembled dessert.
Nutritional Information (approx. per serving)
- Calories: 310 kcal
- Protein: 5g
- Carbohydrates: 42g
- Sugars: 26g
- Fat: 14g
- Saturated Fat: 8g
- Fiber: 2g
- Sodium: 210mg
Bananas contribute a meaningful dose of potassium and natural sweetness, which means this dessert relies less on refined sugar than many comparable options. That potassium content also supports healthy muscle and nerve function, making this an occasional treat with at least some nutritional upside baked in.
The dairy components, particularly the milk and cream, provide calcium and a modest protein boost, which helps this dessert feel slightly more satisfying than a purely sugar-based treat. It won’t replace a balanced meal, but it holds its own better than most sweets.
Using whole milk and real cream rather than artificial substitutes keeps the ingredient list recognizable and free of unnecessary stabilizers or preservatives often found in pre-made pudding cups.
Portion control remains key, since the combination of cookies, sugar, and cream adds up quickly. Enjoying a modest serving alongside fresh fruit is a simple way to balance indulgence with everyday nutrition goals.
Storage Instructions
Store banana pudding covered tightly in the refrigerator for up to three days. Use plastic wrap pressed directly against the surface, or an airtight container, to prevent the top layer from drying out or absorbing other refrigerator odors.
Freezing is not recommended for this dessert. The dairy-based pudding and fresh bananas both suffer in texture once thawed, becoming watery and grainy rather than smooth and creamy. It’s best enjoyed fresh within the first few days of making it.
If you’re preparing this ahead for an event, assemble it the night before and refrigerate as directed — this actually improves the texture rather than compromising it, since the wafers need that time to soften properly.
Avoid leaving banana pudding at room temperature for more than two hours, particularly in warm weather, since the dairy content makes it susceptible to spoilage faster than many other desserts.
Suggestions
For an elevated presentation, layer this pudding in clear glass jars or small dessert cups instead of one large dish. It looks polished at parties and makes portion control effortless for guests serving themselves.
If you want a flavor twist, swap half the vanilla wafers for chocolate wafer cookies, or add a thin layer of caramel sauce between the pudding and banana layers for a richer, more indulgent version.
Toasted coconut flakes or chopped pecans sprinkled on top add welcome crunch and contrast against the soft, creamy layers underneath, along with a bit of extra visual appeal for entertaining.
Pair this dessert with a strong cup of coffee or a glass of cold milk. The bitterness of coffee in particular balances the sweetness nicely, making it a satisfying end to a heavier meal or holiday spread.
Seasonal Relevance
Banana pudding tends to peak in popularity during warmer months, when a no-bake dessert becomes especially appealing. Nobody wants to turn on the oven in the middle of summer, which makes this recipe a practical, refreshing choice for backyard barbecues and outdoor gatherings.
That said, it holds its own during the holiday season too, often appearing on Thanksgiving and Christmas dessert tables alongside heavier baked options. Its lightness offers a welcome contrast to rich holiday meals.
Spring gatherings, graduation parties, and Easter celebrations are also common occasions where this dessert shows up, largely because it travels well and can be made a day in advance without any loss of quality.
Regardless of season, its universal appeal and minimal prep make it a dependable choice whenever you need a crowd-pleasing dessert without dedicating hours in the kitchen beforehand.
Final Words
This banana pudding recipe earns its place as a go-to dessert because it delivers on every front — flavor, texture, and simplicity — without asking much of the cook. That combination is rarer than it sounds.
What stands out most is how forgiving it is. Even small variations in ripeness or ratios rarely ruin the final result, which makes it an ideal recipe for less experienced bakers or anyone short on time.
Once you’ve made it a few times, you’ll likely start adjusting it to your own taste, whether that means more banana, a caramel drizzle, or a different cookie base entirely. That flexibility is part of its charm.
Keep this one in your regular rotation. It’s the kind of dessert that disappears fast at gatherings and gets requested again before you’ve even left the party.
Frequently Asked Questions
Can I use sugar-free pudding mix for this recipe?
Yes, sugar-free instant vanilla pudding works well as a substitute and sets similarly to the regular version. Just note that the overall sweetness will be slightly reduced, so you may want to add a touch more sugar to the banana layer if needed.
Why did my banana pudding turn out watery?
Watery pudding usually results from using cream that wasn’t fully whipped or milk that wasn’t cold enough when mixing. Always chill your ingredients beforehand and whip the cream to soft peaks before folding it in for a stable, thick consistency.
Can I make this recipe dairy-free?
Yes, substitute coconut milk or oat milk for the dairy milk, and use a dairy-free whipped topping in place of heavy cream. The texture will be slightly different, but the flavor remains close to the traditional version.
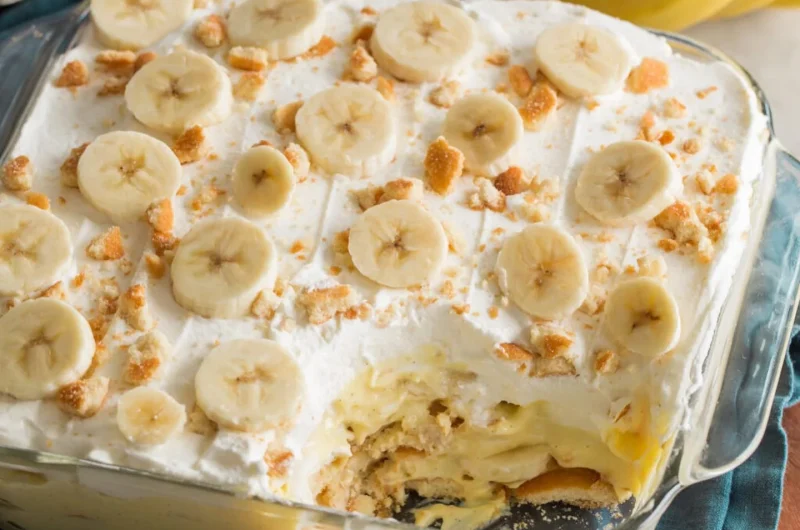
Easy Homemade Banana Pudding That Always Hits the Spot
8
servings20
minutes310
kcalA creamy, no-bake banana pudding layered with ripe bananas, silky vanilla pudding, and crisp wafers. Simple pantry ingredients come together for a crowd-pleasing dessert perfect for any gathering.
Ingredients
4 ripe bananas, sliced
1 box (3.4 oz) instant vanilla pudding mix
2 cups cold whole milk
1 cup heavy cream, whipped
1 box (11 oz) vanilla wafer cookies
1 teaspoon pure vanilla extract
1/4 cup granulated sugar
1 tablespoon lemon juice
Optional: 1/2 cup crushed graham crackers
Optional: 1/4 cup caramel sauce
Optional: 1/2 teaspoon ground cinnamon
Optional: 4 oz cream cheese, softened
Optional: 1/4 cup toasted pecans, chopped
Optional: 2 tablespoons dark chocolate shavings
Directions
- Whisk instant vanilla pudding mix with cold milk for 2 minutes until thickened; refrigerate 5 minutes to set.
- Gently fold in whipped heavy cream and vanilla extract using slow strokes until pale and glossy.
- Slice bananas into even rounds and toss lightly in lemon juice and sugar to prevent browning.
- Layer vanilla wafers, banana slices, and pudding mixture in a trifle dish or jars, repeating 2-3 times.
- Press gently after each layer, then cover with plastic wrap pressed directly onto the surface.
- Refrigerate for at least 4 hours, or overnight for best texture.
- Garnish with crushed wafers, banana slices, or cinnamon before serving chilled.
Recipe Video
Notes
- Slice bananas only right before assembling to prevent browning.
- Chill the bowl and beaters before whipping cream for better structure.
- Assemble the night before for the softest, cake-like wafer texture.
- Do not freeze; dairy and bananas lose their texture when thawed.
- Store covered in the refrigerator for up to 3 days.