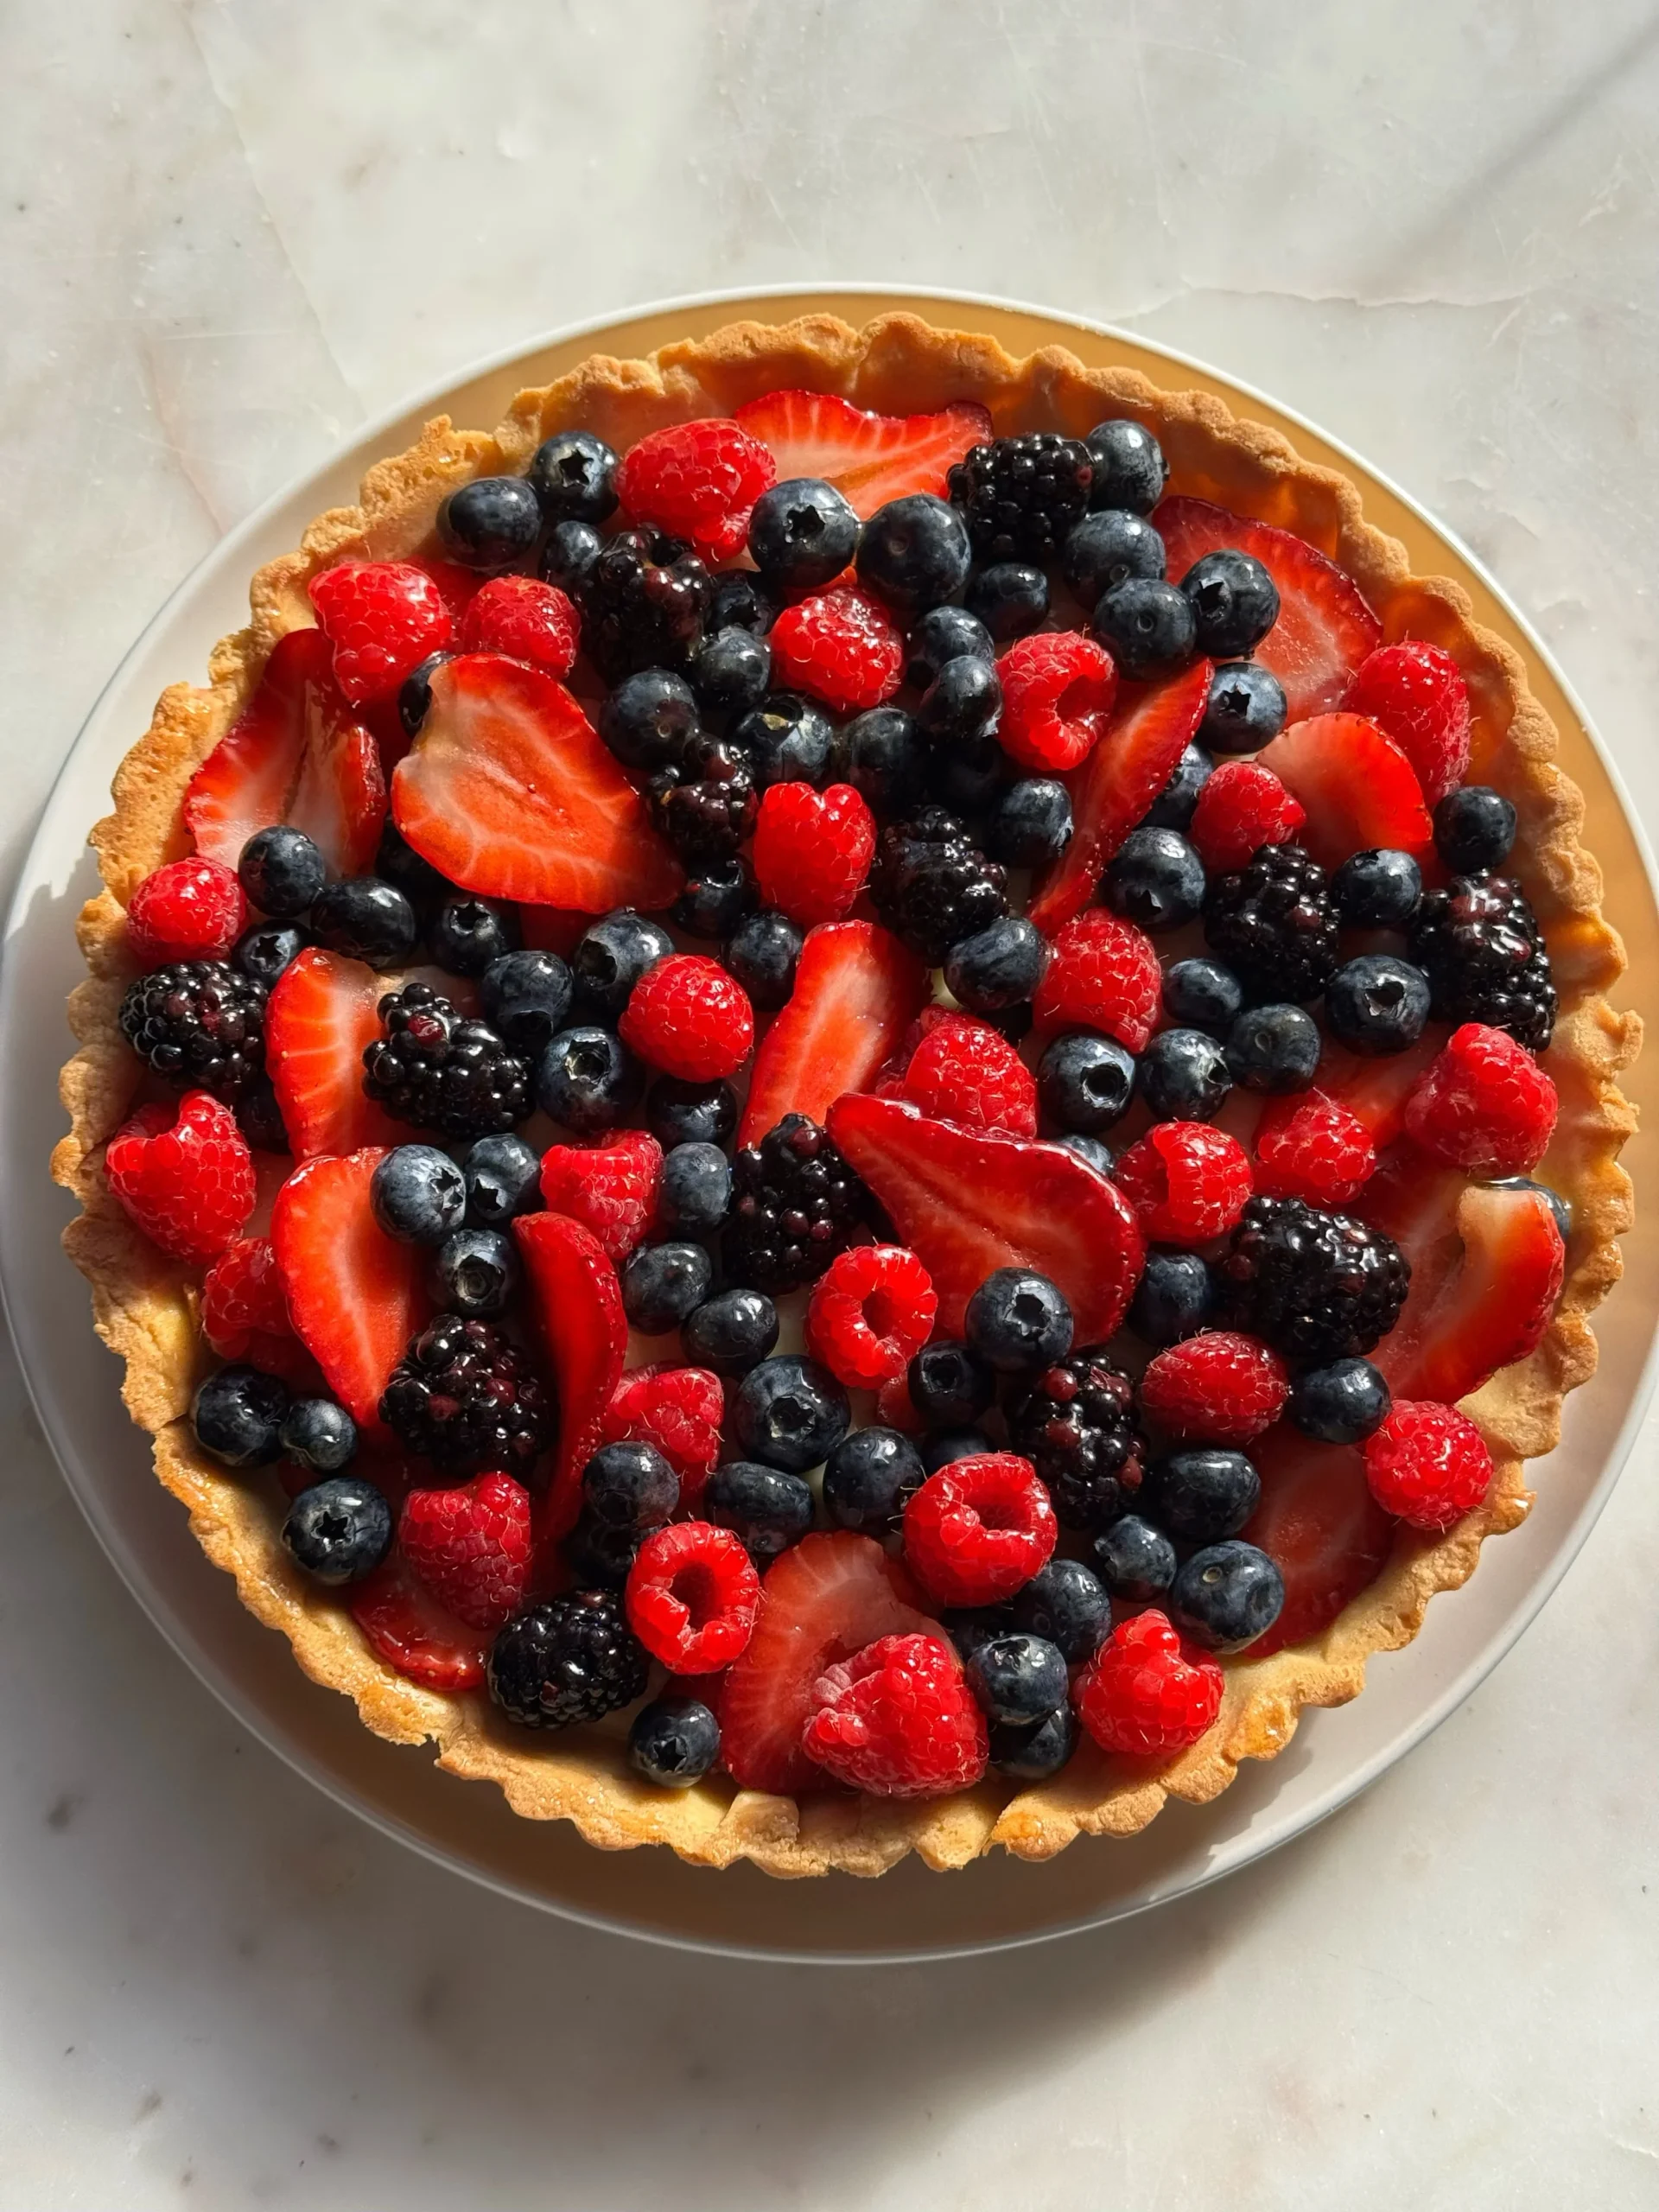
There is a particular kind of dessert that stops conversation the moment it hits the table, and this fruit tart is exactly that. A crisp, golden shell cradles a layer of silky vanilla cream, all crowned with fruit arranged like a still-life painting. It looks like it came from a French patisserie window, yet it comes together with surprisingly few technical demands.
What makes this recipe worth mastering is the contrast built into every bite. The crust shatters gently under a fork, the cream melts on the tongue, and the fruit adds brightness that keeps the whole thing from feeling heavy. It is rich without being cloying, elegant without being fussy.
This is the dessert I reach for when an occasion calls for something memorable but my schedule does not allow for complicated techniques. Brunches, bridal showers, holiday tables, and casual Sunday dinners all benefit from a tart like this one sitting at the center.
Below you will find a full breakdown of ingredients, step-by-step instructions, storage advice, and answers to the questions bakers ask most often. By the end, you will have everything needed to make a fruit tart that looks professionally made and tastes even better.
Ingredients You’ll Need
Great desserts rarely hide behind exotic ingredients, and this one proves the point beautifully; everything below is likely already sitting in your kitchen, waiting for a reason to shine.
Base Ingredients
- 1 ¼ cups all-purpose flour
- ½ cup unsalted butter, cold and cubed
- ¼ cup powdered sugar
- 1 large egg yolk
- 2 tablespoons ice water
- ¼ teaspoon salt
- 1 cup heavy cream
- 8 ounces mascarpone or cream cheese, softened
- ⅓ cup granulated sugar
- 1 teaspoon vanilla extract
- 2 cups mixed fresh fruit (strawberries, kiwi, blueberries, raspberries)
Optional Add-ins
- 2 tablespoons apricot jam, for glaze
- 1 teaspoon lemon zest, for the crust
- 1 tablespoon orange liqueur, for the cream
- 2 tablespoons toasted sliced almonds, for garnish
- 1 teaspoon fresh mint leaves, for plating
Step-by-Step Instructions
Make the Tart Dough
Combine flour, powdered sugar, and salt in a bowl. Cut in the cold butter using a pastry cutter or your fingertips until the mixture resembles coarse crumbs. Add the egg yolk and ice water, mixing just until the dough comes together. Avoid overworking it, since this keeps the crust tender rather than tough. Shape into a disk, wrap tightly, and refrigerate for at least 30 minutes before rolling. This resting period relaxes the gluten and makes the dough far easier to handle.
Blind Bake the Crust
Preheat your oven to 375°F. Roll the chilled dough on a floured surface and press it into a tart pan, trimming any excess from the edges. Prick the base with a fork to prevent puffing, then line with parchment and fill with pie weights or dried beans. Bake for 15 minutes, remove the weights, and bake another 8 to 10 minutes until golden. Cool completely on a wire rack before filling, since a warm crust will melt the cream layer.
Prepare the Vanilla Cream
Whip the heavy cream to soft peaks in one bowl. In another, beat the mascarpone with sugar and vanilla until smooth and lump-free. Gently fold the whipped cream into the mascarpone mixture in two additions, keeping the texture light and airy. Overmixing at this stage deflates the cream, so fold just until combined. Chill the filling for 15 minutes to firm it slightly before spreading.
Assemble and Decorate
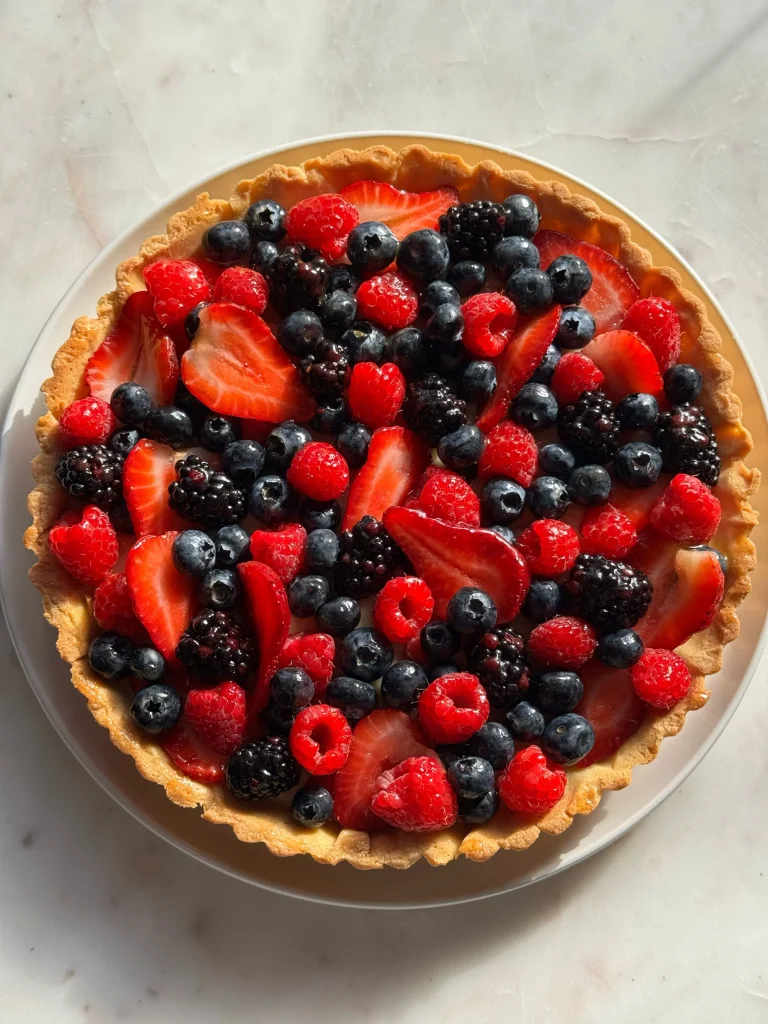
Spread the chilled cream evenly across the cooled tart shell using an offset spatula. Arrange fruit in concentric circles or a pattern of your choice, starting from the outer edge and working inward. Warm the apricot jam slightly and brush it over the fruit for a glossy, bakery-style finish. This glaze also helps prevent the fruit from drying out. Refrigerate the finished tart for at least 30 minutes before slicing for cleaner cuts.
Cook Time
Total
1 hour 20 minutes (includes chilling time)
Prep
35 minutes
Bake
25 minutes
Servings
This recipe makes approximately one 9-inch tart, which yields 8 generous slices when cut evenly. It is sized comfortably for a small gathering, a family dessert night, or a dinner party where guests expect something visually impressive without requiring a second tart.
If you are hosting a larger event, the recipe scales cleanly. Doubling the dough and filling allows you to make two tarts or one larger 11-inch version, though bake times may need a slight adjustment for the bigger shell.
For individual servings, the same batch can be divided into six 4-inch mini tarts instead of one large one. Mini tarts are particularly popular for showers, holiday dessert tables, and plated dinners where portion control matters.
Common Mistakes in This Recipe
The most frequent misstep is skipping the dough chilling time. Warm dough is sticky, hard to roll, and shrinks dramatically in the oven, leaving an uneven, thin crust that cannot support the filling properly.
Another common error is filling the tart shell while it is still warm. Residual heat softens the cream filling almost immediately, causing it to slide rather than hold its shape, which ruins the clean layered look this dessert is known for.
Overmixing the cream filling is a subtle but damaging mistake. Once whipped cream is folded too aggressively into the mascarpone base, it loses volume and turns dense, producing a heavy texture instead of the intended light, airy mouthfeel.
Finally, many home bakers slice fruit unevenly or place watery fruit like melon directly on the cream. This causes excess moisture to seep into the filling, softening the crust and shortening the tart’s presentable shelf life significantly.
Solutions to Common Mistakes
Always chill the dough for a minimum of 30 minutes, and consider a second short chill after shaping it into the pan. This double-chill method dramatically reduces shrinkage and keeps the crust structurally sound.
Let the blind-baked shell cool completely on a wire rack, ideally for a full 30 minutes, before adding any filling. A cooled shell holds the cream’s shape rather than letting it collapse or weep.
Fold the whipped cream into the mascarpone gently and in stages, stopping the moment streaks disappear. Treating this step with a light hand preserves the airy texture that makes the tart special.
Pat fruit dry with paper towels before arranging it, and choose lower-moisture fruits when possible. Brushing on a thin apricot glaze also creates a protective barrier that slows moisture transfer into the cream layer.
Nutritional Information (approx. per serving)
- Calories: 310
- Total Fat: 21g
- Saturated Fat: 12g
- Carbohydrates: 27g
- Sugar: 15g
- Protein: 4g
- Fiber: 1g
Beyond indulgence, this tart offers genuine nutritional upside thanks to its fresh fruit topping. Berries and kiwi contribute vitamin C, antioxidants, and natural fiber, which help balance the richness of the cream and crust.
The mascarpone and heavy cream provide calcium and fat-soluble vitamins, supporting bone health and offering satiety in a modest portion size. A single slice feels indulgent while still delivering real nutritional value.
Using fresh, unprocessed fruit instead of canned or syrup-packed alternatives keeps added sugars in check, which matters for anyone watching overall sugar intake without wanting to sacrifice flavor or presentation.
Portion control comes naturally with a tart like this, since one slice is visually and texturally satisfying, making it easier to enjoy dessert mindfully rather than overindulging.
Storage Instructions
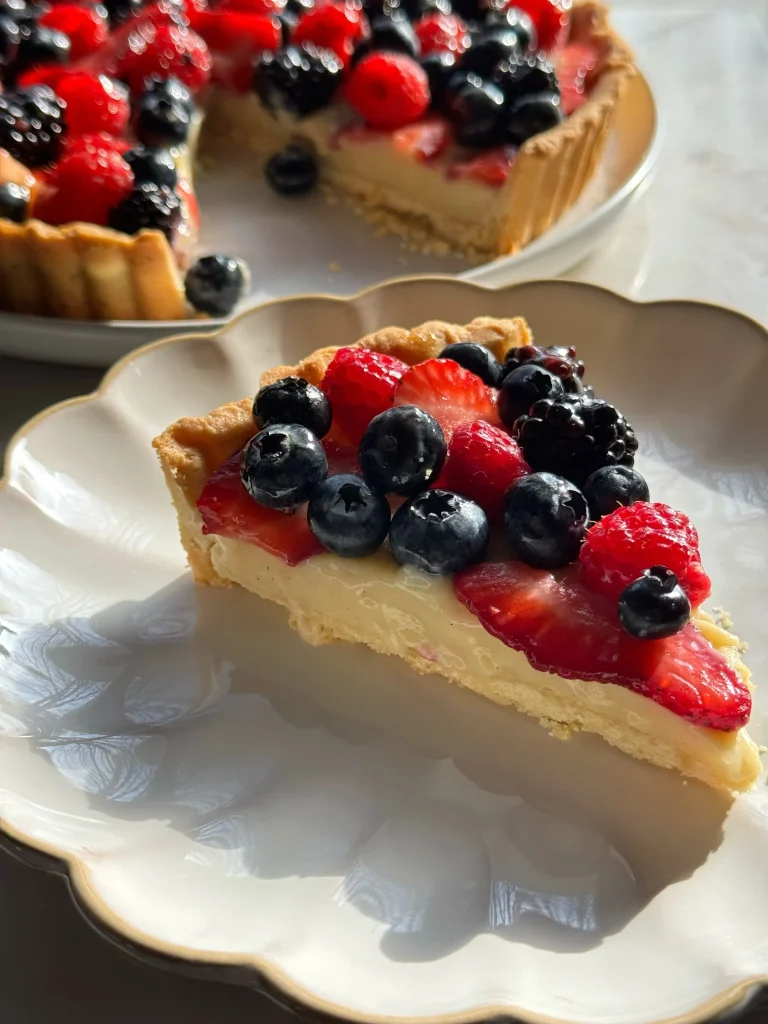
This tart is best stored in the refrigerator, loosely covered with plastic wrap or stored in an airtight container, where it will stay fresh for up to three days. The buttery crust holds up reasonably well under refrigeration.
Avoid storing the tart at room temperature for more than two hours, since the cream filling contains dairy and is perishable. Warm environments also accelerate moisture transfer from the fruit into the crust.
Freezing is not recommended once the tart is assembled, as the cream filling and fresh fruit both lose their texture upon thawing. However, the baked, unfilled crust freezes beautifully for up to one month.
If preparing in advance, bake the crust and make the cream separately, storing each in the refrigerator, then assemble the tart within a few hours of serving for the freshest possible result.
Suggestions
For a citrus-forward variation, add lemon or orange zest directly into the cream filling, which brightens the richness and pairs beautifully with berries and stone fruit toppings.
Consider swapping the classic pastry crust for a graham cracker or almond flour crust if you prefer a nuttier, slightly sweeter base with a more rustic texture and faster prep time.
A drizzle of melted white chocolate over the finished fruit adds a decorative touch and a subtle sweetness that pairs particularly well with tart berries like raspberries and blackberries.
For a dinner party, individual mini tarts served on small dessert plates with a mint garnish elevate the presentation and make portioning effortless for guests.
Seasonal Relevance
Spring and early summer are the ideal seasons for this tart, when strawberries, kiwi, and berries are at their peak sweetness and vibrant color, making the finished dessert especially eye-catching.
During colder months, the recipe adapts well using citrus segments, pomegranate arils, or poached pears, which bring seasonal color and flavor while keeping the technique identical year-round.
This tart is a natural fit for holiday tables, bridal and baby showers, Easter brunches, and summer garden parties, where its presentation does much of the entertaining work on its own.
Because the components can be prepped ahead and assembled quickly, it remains a practical choice even during busy entertaining seasons when time in the kitchen is limited.
Final Words
A fruit tart like this proves that impressive desserts do not require professional pastry training, only attention to a few key techniques and quality ingredients handled with care.
Once you have made the crust and cream a couple of times, the process becomes intuitive, and you will find yourself adapting the fruit topping to whatever is freshest and most colorful.
This is the kind of recipe worth keeping in permanent rotation for celebrations, since it consistently earns compliments while remaining genuinely approachable for home bakers of any skill level.
Save this recipe, share it with fellow dessert lovers, and let it become your go-to centerpiece the next time a table needs something beautiful and delicious in equal measure.
Frequently Asked Questions
Can I make the tart crust without a food processor?
Yes, a pastry cutter or even two forks work well for cutting butter into the flour. The key is keeping the butter cold and handling the dough minimally so the crust stays flaky and tender.
Why did my tart shell shrink while baking?
Shrinkage usually happens when the dough was not chilled long enough or was stretched while shaping. Chilling thoroughly and gently pressing rather than pulling the dough into the pan helps prevent this issue.
Can I use frozen fruit for the topping?
Fresh fruit is strongly recommended, since frozen fruit releases excess moisture as it thaws, which can make the cream filling watery and the crust soggy. Save frozen fruit for smoothies or baked fillings instead.
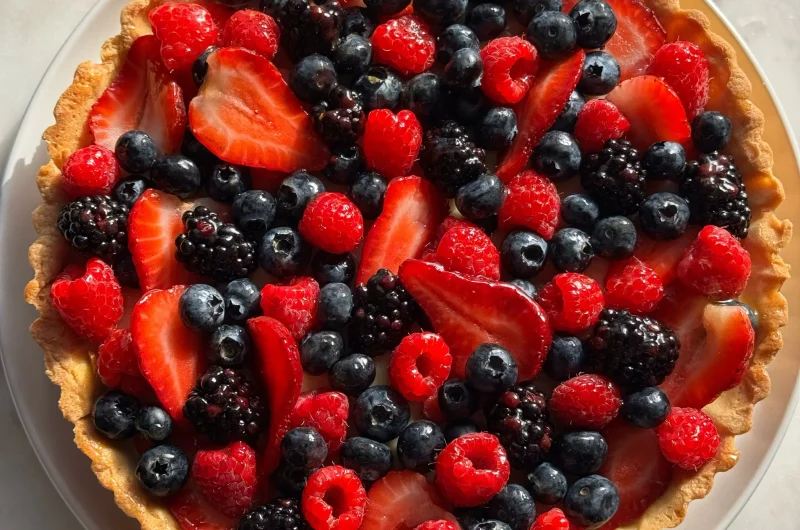
Fresh Fruit Tart with a Buttery Crust and Silky Cream
8
servings35
minutes25
minutes310
kcalA buttery, crisp tart shell filled with silky vanilla mascarpone cream and topped with fresh, colorful fruit. Elegant, refreshing, and surprisingly simple to make for any special occasion.
Ingredients
1 ¼ cups all-purpose flour
½ cup unsalted butter, cold and cubed
¼ cup powdered sugar
1 large egg yolk
2 tablespoons ice water
¼ teaspoon salt
1 cup heavy cream
8 ounces mascarpone or cream cheese, softened
⅓ cup granulated sugar
1 teaspoon vanilla extract
2 cups mixed fresh fruit (strawberries, kiwi, blueberries, raspberries)
2 tablespoons apricot jam, for glaze (optional)
1 teaspoon lemon zest, for the crust (optional)
1 tablespoon orange liqueur, for the cream (optional)
2 tablespoons toasted sliced almonds, for garnish (optional)
1 teaspoon fresh mint leaves, for plating (optional)
Directions
- Combine flour, powdered sugar, and salt; cut in cold butter until crumbly.
- Add egg yolk and ice water; mix until dough just comes together.
- Shape into a disk, wrap, and chill for at least 30 minutes.
- Preheat oven to 375°F. Roll out dough and press into tart pan.
- Prick base, line with parchment, and fill with pie weights.
- Bake 15 minutes, remove weights, then bake 8–10 minutes until golden.
- Cool crust completely on a wire rack before filling.
- Whip heavy cream to soft peaks in one bowl.
- Beat mascarpone with sugar and vanilla until smooth in another bowl.
- Gently fold whipped cream into mascarpone mixture until light and airy.
- Chill filling for 15 minutes to firm slightly.
- Spread cream evenly over cooled tart shell.
- Arrange fruit in circles starting from the outer edge inward.
- Warm apricot jam and brush over fruit for a glossy finish.
- Refrigerate assembled tart for at least 30 minutes before slicing.
Recipe Video
Notes
- Keep butter and water cold for the flakiest crust.
- Do not overmix the cream filling or it will lose its airy texture.
- Pat fruit dry before arranging to prevent a soggy crust.
- Best enjoyed within 2–3 days when stored in the refrigerator.
- Crust can be baked and frozen up to 1 month in advance.