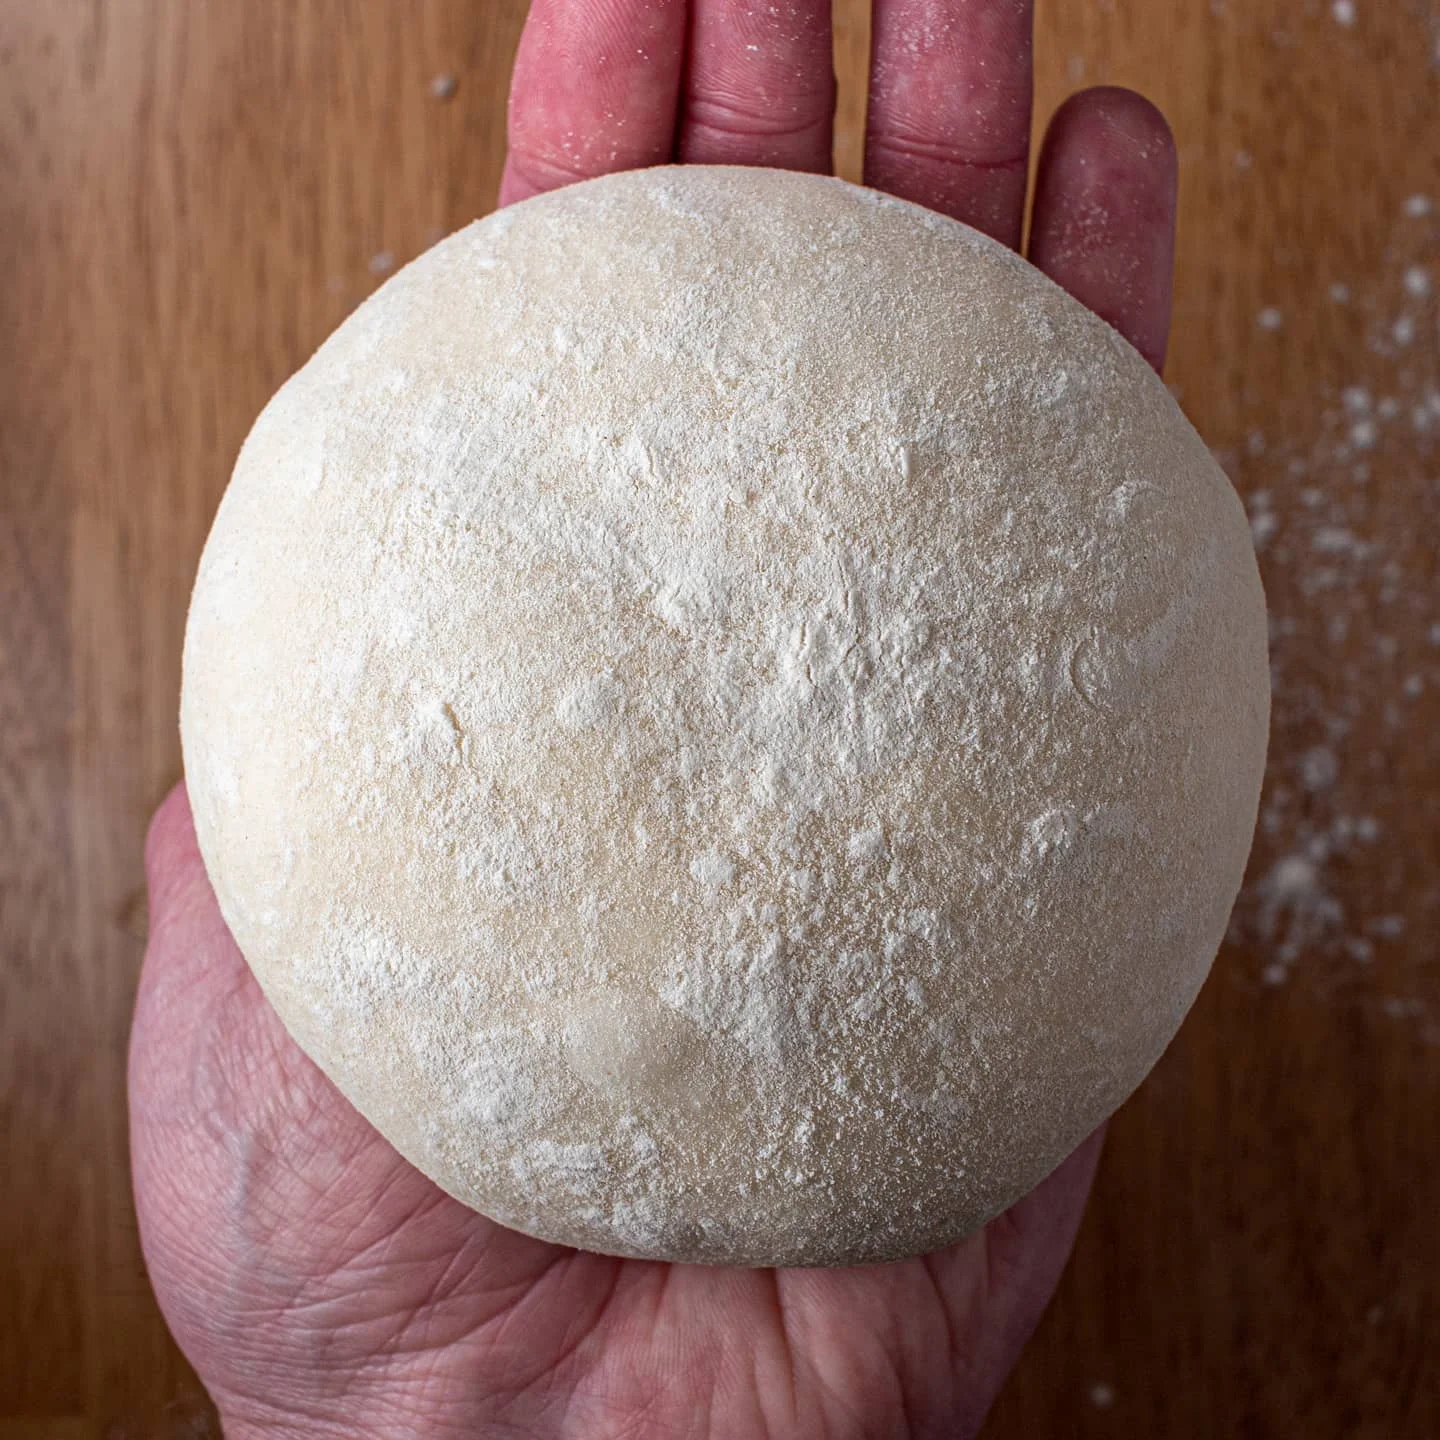
Pizza night shouldn’t depend on a delivery app. A great crust starts with four humble ingredients and a little patience, and once you understand how dough actually works, you’ll never reach for store-bought again. This recipe gives you the soft, chewy, slightly charred bite that separates memorable pizza from mediocre pizza.
What makes this dough special isn’t a secret ingredient or a fancy mixer. It’s technique — the right hydration, the right rise time, and knowing exactly when the dough is ready to shape. Skip any of these steps and you end up with something dense or cracker-thin instead of pillowy and blistered.
This recipe takes just 20 minutes of hands-on prep, with the rest of the time working in your favor while the dough rests. You’ll get a base sturdy enough to hold toppings but tender enough to fold in half, New York-style.
Whether it’s a weeknight dinner or a weekend gathering with friends, this dough recipe turns your kitchen into a pizzeria. Save it, bookmark it, and keep it in your back pocket for every pizza craving that follows.
Ingredients You’ll Need
Great pizza dough is proof that the best things in cooking rarely require a shopping trip — just flour, water, and a little know-how.
Base Ingredients
- 3 ½ cups all-purpose flour (or bread flour for extra chew)
- 1 ¼ cups warm water (about 110°F)
- 2 ¼ teaspoons active dry yeast (one packet)
- 1 teaspoon granulated sugar
- 2 teaspoons fine sea salt
- 2 tablespoons olive oil, plus extra for greasing
Optional Add-ins
- 1 teaspoon dried oregano (for a herbed crust)
- ½ teaspoon garlic powder (for a subtle savory note)
- 1 tablespoon grated Parmesan (mixed into the dough)
- ¼ teaspoon crushed red pepper flakes (for a mild kick)
Step-by-Step Instructions
Activate the Yeast
Pour warm water into a bowl and stir in the sugar until dissolved. Sprinkle the yeast evenly across the surface and let it sit undisturbed for 8 to 10 minutes. You’re looking for a foamy, bubbly layer on top — this confirms the yeast is alive and active. If nothing happens, your water was likely too hot or too cold, or the yeast has expired. Discard and start again with fresh yeast rather than risking a flat, dense crust later.
Mix the Dough
In a large bowl, combine the flour and salt, then create a well in the center. Pour in the activated yeast mixture and olive oil. Stir with a wooden spoon or dough whisk until a shaggy, rough dough forms. Add any optional add-ins at this stage, such as oregano or garlic powder, folding them in evenly. The dough should look messy and uneven — that’s exactly what you want before kneading begins to smooth it out.
Knead Until Smooth
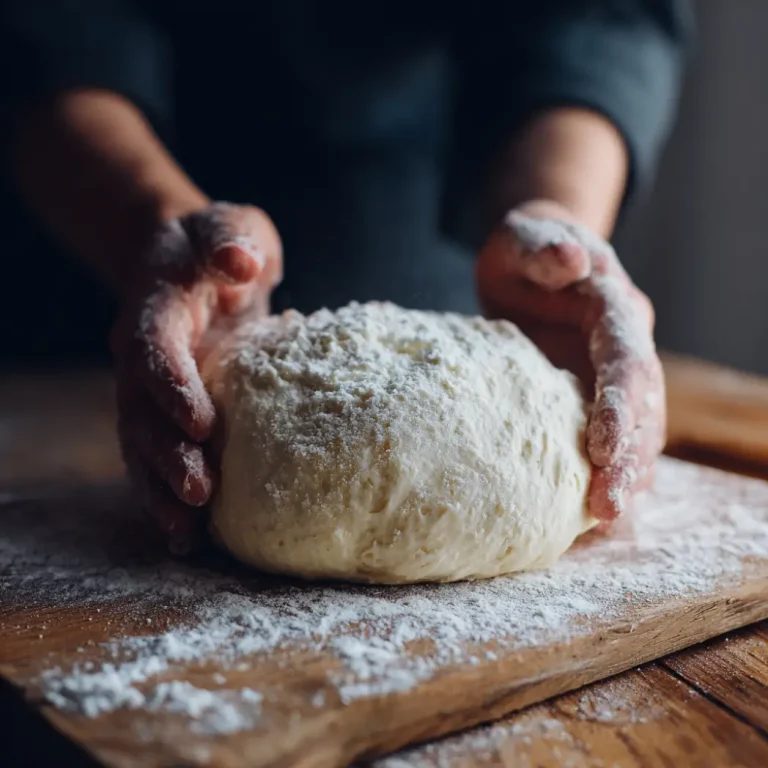
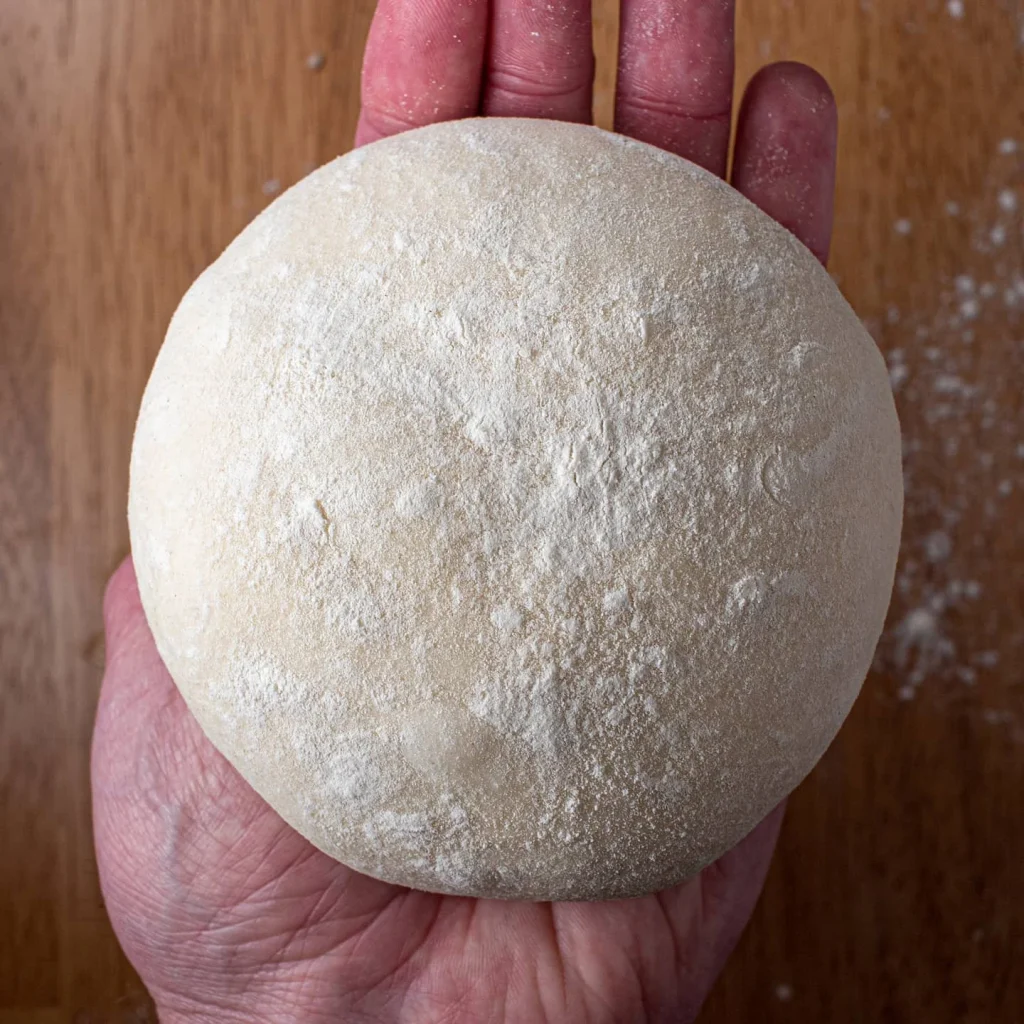
Turn the dough onto a lightly floured surface and knead for 8 to 10 minutes. Push with the heel of your hand, fold, rotate, and repeat. The dough should transform from sticky and rough to smooth, elastic, and slightly tacky but not sticking to your fingers. This kneading develops gluten strands, which trap gas bubbles later and give the crust its signature chew. Resist adding too much extra flour, as it can make the final crust dry and tough.
First Rise
Shape the dough into a tight ball and place it in a lightly oiled bowl, turning once to coat the surface. Cover with plastic wrap or a damp kitchen towel and set it in a warm, draft-free spot. Let it rise for 60 to 90 minutes, or until it has doubled in size. Avoid rushing this step in a cold kitchen — a slower rise actually builds deeper flavor, so patience pays off here in both texture and taste.
Shape and Second Rest
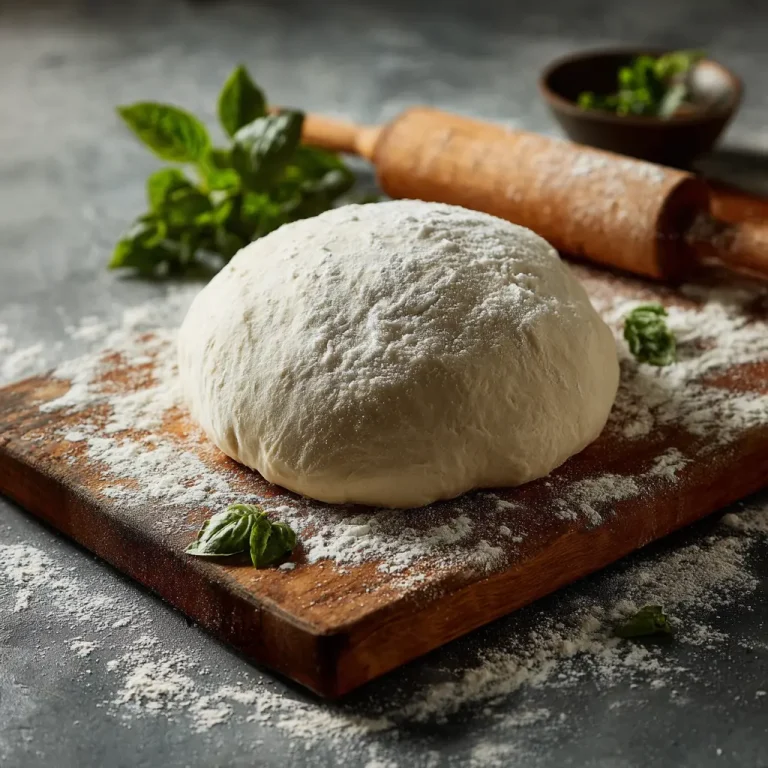
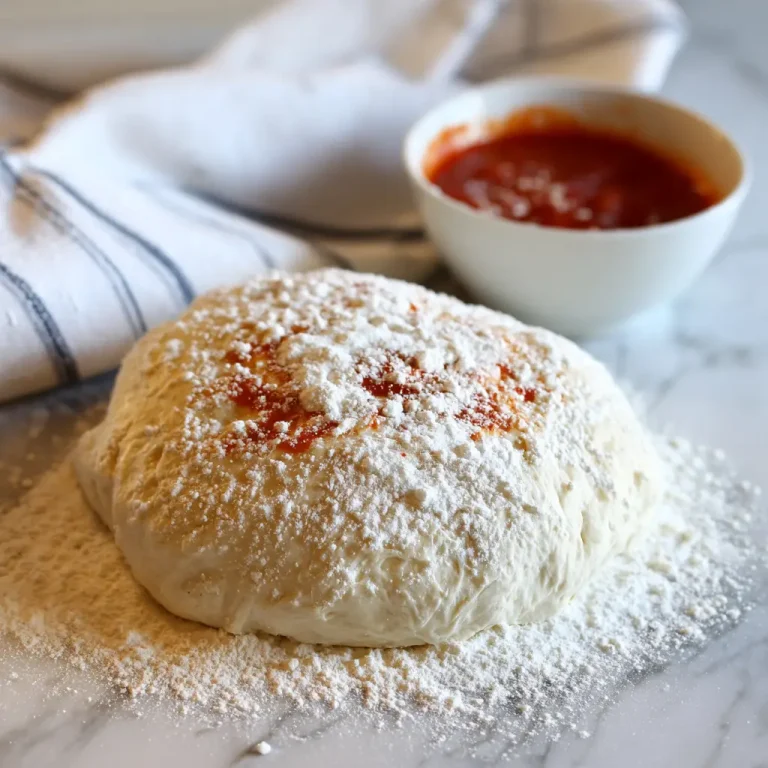
Punch down the risen dough gently to release air bubbles, then divide it into two equal portions for medium pizzas. Shape each into a ball and let rest, covered, for 10 minutes — this relaxes the gluten and makes stretching far easier. On a floured surface, press and stretch each ball from the center outward, leaving a slightly thicker edge for the crust. Avoid using a rolling pin, which flattens the air pockets you worked to create.
Bake to Perfection
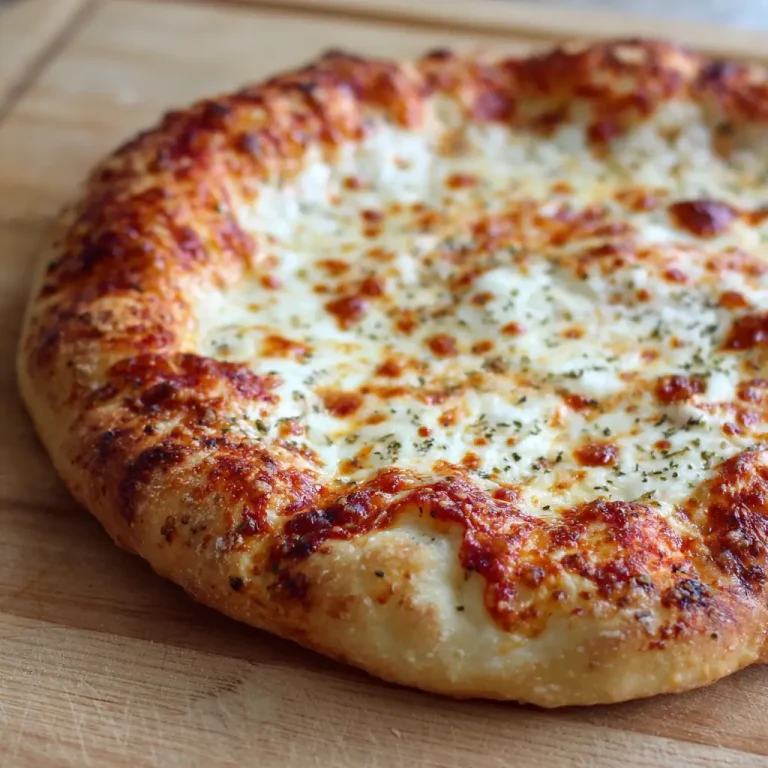
Preheat your oven to 475°F with a pizza stone or inverted baking sheet inside for at least 30 minutes. Transfer the shaped dough onto parchment paper, add your sauce and toppings, then slide it onto the hot surface. Bake for 8 to 10 minutes, until the crust is golden brown with charred blisters along the edge. Let it rest for two minutes before slicing so the cheese and toppings settle properly.
Cook Time
Total: 2 hours 10 minutes (includes rise time)
Prep: 20 minutes
Bake: 10 minutes
Servings
This recipe makes approximately 2 medium pizza crusts, each about 12 inches in diameter, or enough dough for one large 16-inch pizza if you prefer a single generous pie. It’s easily scaled up or down depending on how many people you’re feeding, making it flexible for both weeknight dinners and larger gatherings.
For a family of four, two medium pizzas typically provide 6 to 8 slices total, which pairs well with a side salad or garlic bread for a complete meal. If you’re hosting a pizza night with friends, consider doubling the recipe so everyone can build their own personalized pie.
Leftover dough portions freeze exceptionally well, so you can prepare a larger batch now and enjoy fresh pizza again within weeks without repeating the entire mixing and rising process from scratch.
Common Mistakes in This Recipe
The most frequent misstep is using water that’s too hot, which kills the yeast before it ever gets a chance to activate. Many home cooks also skip checking for that foamy bloom and proceed with dead yeast, wondering later why their dough never rose.
Another common issue is over-flouring the dough during kneading. It’s tempting to keep adding flour when the dough feels sticky, but this results in a dry, tough crust instead of a soft, chewy one. The dough should remain slightly tacky throughout the process.
Rushing the rise time is a mistake that shows up in flavor, not just texture. A quick 20-minute rise in a cool kitchen won’t develop the same depth as a full 60 to 90 minutes, leaving the crust bland and underdeveloped.
Finally, many bakers skip preheating their stone or baking sheet long enough. A cold surface leads to a pale, soggy bottom crust rather than the crisp, blistered base that defines great homemade pizza.
Solutions to Common Mistakes
Always test your water temperature with a thermometer, aiming for 105°F to 110°F. If you don’t have one, warm tap water that feels comfortably warm to the touch — not hot — is a reliable substitute for activating yeast safely.
To avoid over-flouring, add flour gradually during kneading and trust the process. A slightly sticky dough at the start will smooth out naturally as gluten develops; resist the urge to correct texture too early.
For better rises, place your dough in an oven with just the light on, or near a warm (not hot) appliance. This creates a consistent, draft-free environment that encourages full, even fermentation without rushing the process.
Preheat your pizza stone or steel for a full 30 minutes at 475°F before baking. This ensures immediate heat transfer to the dough, producing the crisp, golden bottom that separates homemade pizza from disappointing, soggy attempts.
Nutritional Information (approx. per serving)
- Calories: 220 kcal
- Carbohydrates: 42g
- Protein: 6g
- Fat: 3g
- Fiber: 2g
- Sodium: 390mg
- Sugar: 1g
Beyond its comforting taste, homemade pizza dough offers more nutritional control than takeout alternatives, since you decide exactly what goes into it. Using all-purpose or bread flour provides a steady source of energy through complex carbohydrates, which fuel activity without the added preservatives found in many store-bought crusts.
The moderate protein content, largely from the flour itself, supports muscle maintenance and helps create a satisfying, filling meal when paired with vegetable or protein-rich toppings. This makes it easier to build a balanced dinner around the crust rather than relying solely on cheese and processed meats.
Because you control the salt and oil quantities directly, this dough is naturally lower in sodium and unhealthy fats compared to many restaurant or frozen pizza options, making it a heart-conscious choice for regular family meals.
Fiber from whole-grain flour variations can further support digestive health, and portioning the dough into individual crusts naturally encourages mindful serving sizes rather than overeating a single oversized slice.
Storage Instructions
Fresh, unbaked dough can be stored in the refrigerator for up to 3 days. Place it in a lightly oiled, airtight container to prevent it from drying out or forming a crust on the surface while it rests.
For longer storage, freeze individual dough balls wrapped tightly in plastic wrap, then placed inside a freezer-safe bag. Properly stored, frozen dough keeps well for up to 3 months without significant loss in texture or rise quality.
When ready to use frozen dough, transfer it to the refrigerator the night before to thaw slowly, then let it come to room temperature for about 30 minutes before shaping. This slow approach preserves the gluten structure built during kneading.
Baked pizza crusts or fully cooked pizzas can be refrigerated for up to 3 days in an airtight container, and reheated in a hot oven for a few minutes to restore crispness rather than using a microwave, which softens the crust.
Suggestions
For a classic Margherita, keep toppings minimal: crushed tomatoes, fresh mozzarella, and basil leaves added after baking. This simplicity lets the crust’s flavor and texture take center stage rather than competing with heavy toppings.
If you prefer a heartier pizza, this dough holds up well under generous layers of sauce, cheese, and proteins like sausage or pepperoni. Just avoid overloading a single pie, as excess moisture can prevent the center from crisping properly.
Consider brushing the crust edges with garlic butter right after baking for an extra layer of flavor reminiscent of restaurant-style pizzas. A light sprinkle of flaky sea salt afterward also enhances the overall taste profile.
For a fun twist, use this same dough to make garlic knots or breadsticks by cutting it into strips instead of stretching it flat. It’s a versatile base that extends well beyond traditional pizza night.
Seasonal Relevance
This dough recipe shines year-round, but it holds special appeal during cooler months when the oven’s warmth becomes a welcome addition to the kitchen. Winter pizza nights, paired with warm toppings like roasted vegetables, feel particularly comforting.
In summer, this same dough becomes the base for lighter, fresh toppings such as heirloom tomatoes, fresh basil, and light drizzles of olive oil, taking advantage of peak-season produce without needing heavy sauces or excessive cheese.
Fall gatherings often call for heartier combinations, and this dough’s sturdy texture supports toppings like caramelized onions, mushrooms, and roasted squash beautifully, making it a natural fit for autumn dinner parties or football-watching get-togethers.
Even during spring, when lighter meals are preferred, this dough can be shaped thinner and topped with fresh greens or a light pesto, proving its versatility across every season and occasion throughout the year.
Final Words
Mastering pizza dough from scratch is one of those kitchen skills that pays dividends for years to come. Once you understand the rhythm of activating yeast, kneading properly, and allowing adequate rise time, you’ll never feel intimidated by homemade pizza again.
This recipe strips away unnecessary complexity while still delivering the chewy, flavorful crust that makes pizza night special. It’s forgiving enough for beginners yet satisfying enough that experienced home cooks will keep returning to it.
Consider this dough a foundation rather than a fixed formula. Once you’re comfortable with the base technique, feel free to experiment with different flours, herbs, or fermentation times to make it distinctly your own.
Save this recipe, share it with fellow home cooks, and let it become the reliable centerpiece of your pizza nights for years to come. Homemade pizza, done right, truly is worth the extra effort.
Frequently Asked Questions
Can I make this dough without a stand mixer?
Yes, this dough is designed for hand-kneading and doesn’t require any special equipment. A sturdy bowl, a clean countertop, and about 10 minutes of kneading are all you need for a smooth, elastic result.
Why does my dough spring back when I try to stretch it?
This happens when the gluten hasn’t relaxed enough. Let the shaped dough ball rest, covered, for an additional 10 to 15 minutes before attempting to stretch it again for easier handling.
Can I use whole wheat flour instead of all-purpose flour?
Yes, though the crust will be denser and slightly nuttier in flavor. For best texture, replace only half the all-purpose flour with whole wheat, keeping the rest as directed for a lighter rise.
Easy Homemade Pizza Dough That Bakes Up Perfectly
2
servings20
minutes10
minutes220
kcalSoft, chewy, bakery-style pizza dough made from simple pantry staples. This easy homemade recipe delivers a perfectly blistered crust every time, ideal for family pizza nights or weekend gatherings.
Ingredients
Base Ingredients:
3 ½ cups all-purpose flour (or bread flour for extra chew)
1 ¼ cups warm water (about 110°F)
2 ¼ teaspoons active dry yeast (one packet)
1 teaspoon granulated sugar
2 teaspoons fine sea salt
2 tablespoons olive oil, plus extra for greasing
Optional Add-ins:
1 teaspoon dried oregano
½ teaspoon garlic powder
1 tablespoon grated Parmesan
¼ teaspoon crushed red pepper flakes
Directions
- Dissolve sugar in warm water, sprinkle yeast on top, and let sit 8–10 minutes until foamy.
- Combine flour and salt in a large bowl; make a well and pour in the yeast mixture and olive oil.
- Stir until a shaggy dough forms, folding in any optional add-ins.
- Knead on a floured surface for 8–10 minutes until smooth and elastic.
- Shape into a ball, place in an oiled bowl, cover, and let rise 60–90 minutes until doubled.
- Punch down, divide into two portions, shape into balls, and rest 10 minutes.
- Stretch each portion into a round from the center outward, leaving a thicker edge.
- Preheat oven to 475°F with a pizza stone inside for 30 minutes.
- Add sauce and toppings, then bake 8–10 minutes until golden and blistered.
- Rest 2 minutes before slicing.
Recipe Video
Notes
- Use water between 105°F–110°F to properly activate the yeast.
- Avoid over-flouring during kneading; the dough should stay slightly tacky.
- A longer, slower rise builds better flavor than rushing the process.
- Preheat the baking surface fully for a crisp, golden bottom crust.
- Dough can be refrigerated up to 3 days or frozen up to 3 months.