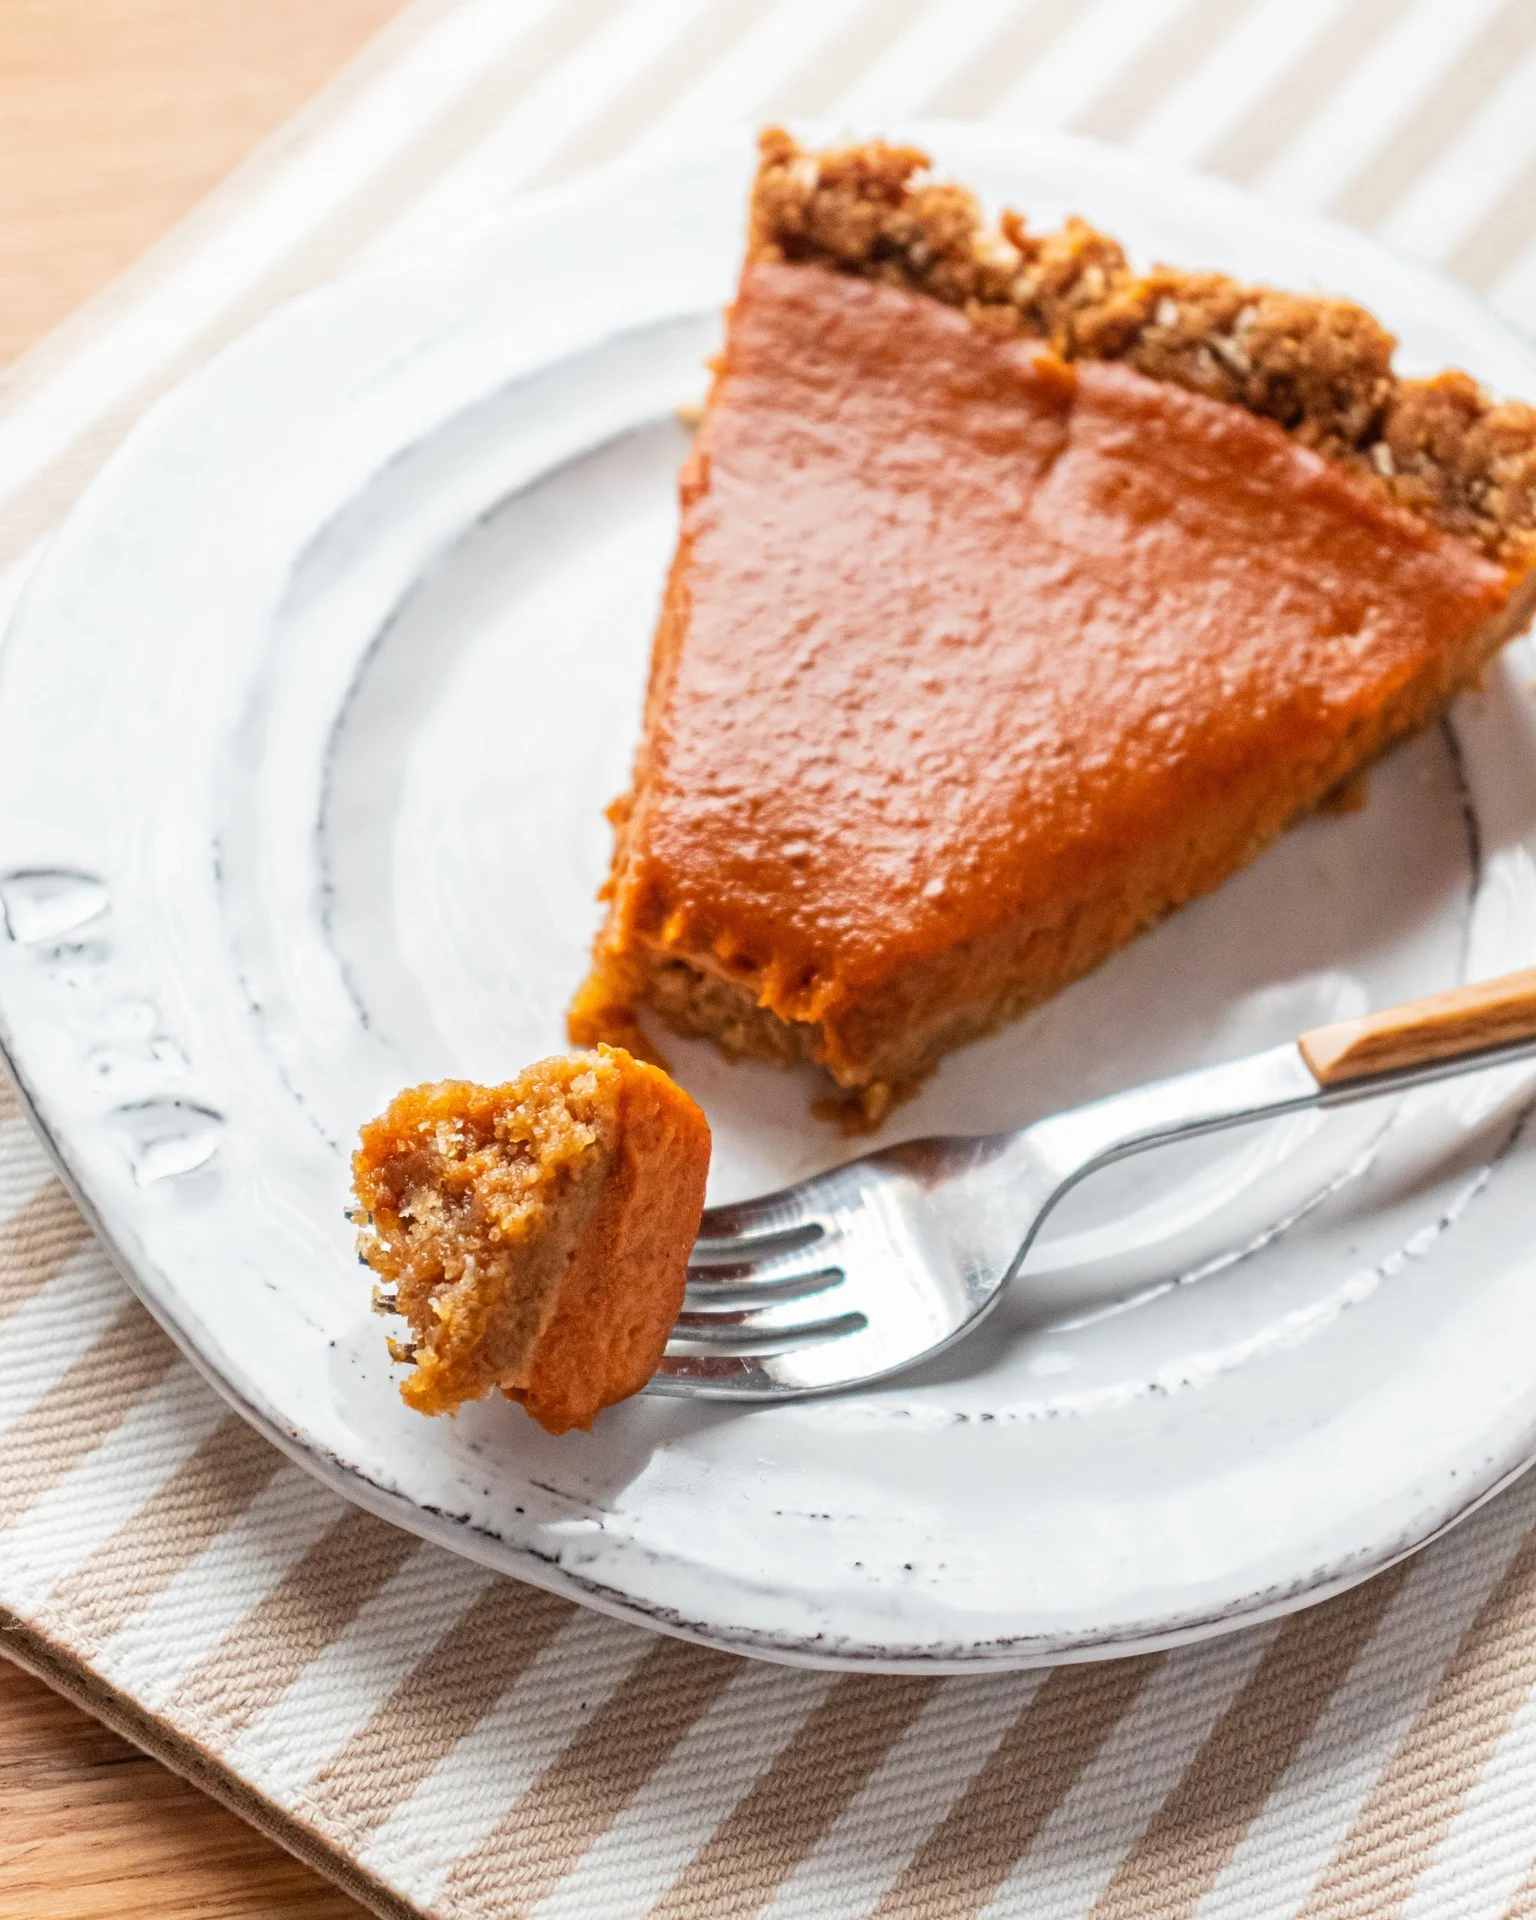
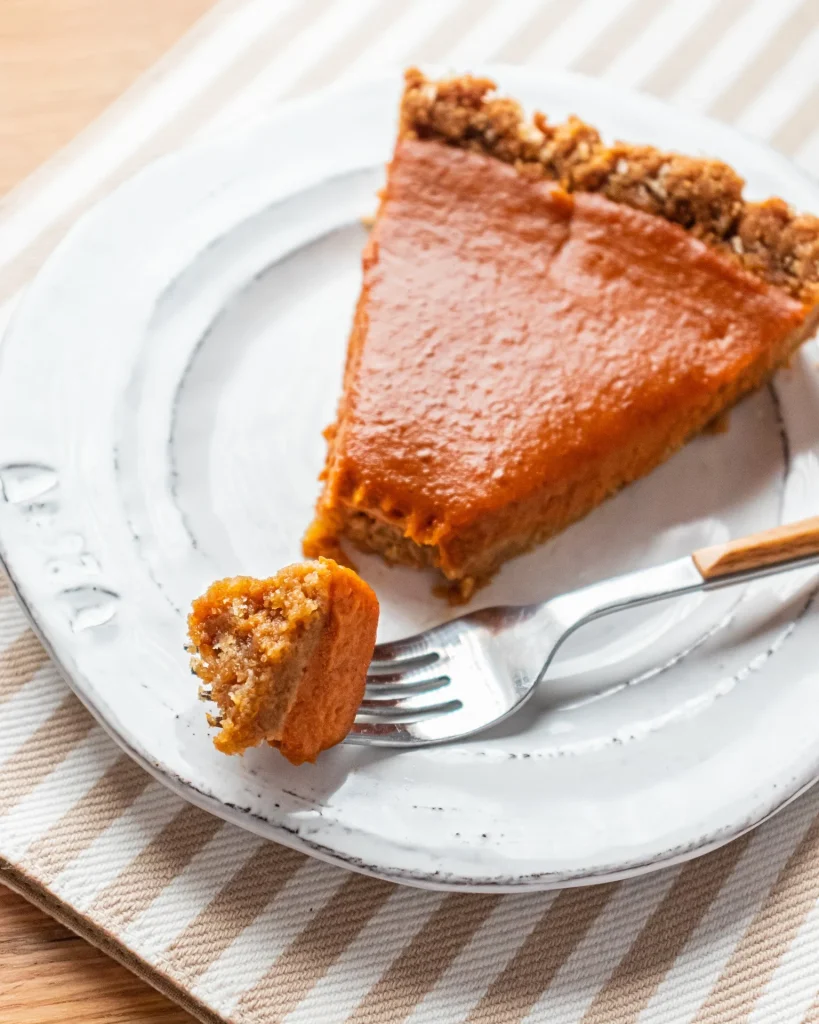
The first bite of this silky pumpkin pie brings all the warmth of fall to your table. Made with a perfectly spiced Homemade Pumpkin Pie Filling, this classic dessert is a must for holiday gatherings and cozy family celebrations. If you love Thanksgiving Pies Recipes, Pumpkin Pie Desserts, and other Best Pumpkin Desserts, this recipe deserves a spot in your collection of favorite Fall Pies Recipes. Save it now and bake it for your next holiday table 🎃
There is a reason pumpkin pie has anchored the American dessert table for generations. Done right, it is neither heavy nor overly sweet. It is custardy, fragrant with warm spice, and balanced against a crisp, buttery crust that shatters slightly with each fork press.
This version leans on a few professional techniques that home bakers often skip: straining the filling for silkiness, pre-baking the crust to avoid sogginess, and baking low and slow to prevent cracking. None of these steps are difficult, but they make the difference between a good pie and a memorable one.
Whether this is your first pumpkin pie or your fiftieth, this recipe is built to be foolproof, repeatable, and genuinely delicious. Expect a filling so smooth it practically melts, framed by a crust that holds its shape long after the pie has cooled.
By the end of this guide, you will have a dessert worthy of your best holiday memories, plus the troubleshooting knowledge to make it perfectly every single time.
Ingredients You’ll Need
Great pumpkin pie is not about a long ingredient list, it is about using the right ratios and letting real spice and real pumpkin shine through. One of the things I love about this recipe is that it uses simple pantry ingredients. You probably already have most of them in your kitchen.
Base Ingredients:
- 1 unbaked 9-inch pie crust
- 15 oz pumpkin puree (canned or homemade)
- 3/4 cup granulated sugar
- 1/2 teaspoon salt
- 1 teaspoon ground cinnamon
- 1/2 teaspoon ground ginger
- 1/4 teaspoon ground cloves
- 1/4 teaspoon ground nutmeg
- 2 large eggs
- 1 cup heavy cream
- 1/2 cup whole milk
- 1 teaspoon vanilla extract
Optional Add-ins:
- 1 tablespoon dark rum or bourbon
- 1/4 teaspoon ground allspice
- 1 tablespoon molasses
- 2 tablespoons brown sugar (in place of part of the white sugar)
- 1/2 teaspoon orange zest
- 1/4 teaspoon black pepper (for a subtle warmth)
Step-by-Step Instructions
Prepare and Blind Bake the Crust
Roll your pie dough into a 9-inch pie dish and crimp the edges. Prick the base lightly with a fork, then chill for 20 minutes. Line with parchment and fill with pie weights or dried beans. Bake at 400°F for 15 minutes, remove the weights, and bake another 5 minutes until lightly golden. This pre-baking step is essential for preventing a soggy bottom crust once the wet filling is added.
Whisk the Pumpkin Base
In a large bowl, whisk the pumpkin puree with granulated sugar, salt, cinnamon, ginger, cloves, and nutmeg until fully combined and no streaks remain. Whisking the spices directly into the puree first, before adding any liquid, ensures even distribution throughout the filling. This small sequencing detail prevents pockets of concentrated spice or bland patches in the finished pie.
Add Eggs and Dairy
Whisk in the eggs one at a time, beating well after each addition. Slowly stream in the heavy cream, milk, and vanilla extract, whisking continuously until the mixture is smooth and glossy. Avoid overbeating, as excess air incorporated now can cause the surface to puff and crack during baking. The goal is a silky, uniform custard base.
Strain for Silkiness
Pour the filling through a fine-mesh sieve into a clean bowl or pitcher. This professional step removes any egg strands, pumpkin fibers, or spice clumps, guaranteeing the ultra-smooth texture that separates bakery-style pie from an average homemade version. It takes under two minutes but noticeably elevates the final mouthfeel of every slice.
Fill and Bake Low and Slow
Place the pre-baked crust on a baking sheet and pour in the strained filling. Bake at 350°F for 45 to 55 minutes, until the edges are set but the center still jiggles slightly like gelatin. Tent the crust edges with foil if browning too fast. Baking gently prevents the custard from curdling or cracking across the top.
Cool Completely Before Slicing
Transfer the pie to a wire rack and cool at room temperature for 2 hours, then refrigerate for at least 3 hours before slicing. Rushing this step is the most common reason pumpkin pie slices fall apart. Full cooling allows the custard to set completely, giving you clean, sharp slices with a smooth, sliceable finish.
Cook Time
Total: 5 hours 15 minutes (includes cooling)
Prep: 20 minutes
Bake: 65 minutes
Servings
This recipe makes approximately one 9-inch pie, which comfortably yields 8 standard slices. It is proportioned for a typical holiday dessert table, where pumpkin pie is usually served alongside other desserts rather than as the sole option.
If you are hosting a larger gathering, the recipe doubles cleanly into two pies without adjusting bake time significantly, since each pie bakes in its own dish. For smaller households, leftover slices keep beautifully and taste just as good, if not better, the following day.
Portion sizes can be adjusted depending on your table. Thinner slices work well when serving alongside pecan or apple pie, while generous wedges suit a standalone dessert course after a lighter holiday meal.
Common Mistakes in This Recipe
The most frequent mistake is skipping the blind bake, which leaves the bottom crust pale, raw, and soggy once the wet filling is poured in. Bakers often assume the crust will cook through during the main bake, but the custard’s moisture prevents this from happening properly.
Overbaking is another common issue. Many home bakers wait until the center is completely firm before removing the pie, not realizing the custard continues to set as it cools. This leads to a dry, cracked, or rubbery texture instead of the intended silky finish.
Skipping the straining step is easy to overlook but noticeably affects texture. Without it, small egg strands or pumpkin fibers remain, giving the filling a slightly grainy bite rather than the smooth, velvety consistency this recipe is known for.
Finally, slicing the pie too soon, straight from the oven or after a short cooling period, causes the filling to collapse and slide rather than hold its shape on the plate.
Solutions to Common Mistakes
Always blind bake your crust for at least 15 to 20 minutes before adding the filling. This single step guarantees a crisp, fully cooked base that can support the moist custard without turning soggy or pale.
To avoid overbaking, pull the pie from the oven when the center still has a gentle jiggle, similar to set gelatin. Carryover heat will finish the job as it cools, resulting in a smooth, sliceable custard.
Make straining a non-negotiable step rather than an optional one. Pouring the filling through a fine sieve takes only a couple of minutes but eliminates fibers and lumps that would otherwise disrupt the pie’s signature silkiness.
Patience is the real solution to clean slices. Cool the pie fully at room temperature, then refrigerate for several hours, ideally overnight, before cutting for picture-perfect, restaurant-style servings.
Nutritional Information (approx. per serving)
- Calories: 320 kcal
- Total Fat: 17g
- Saturated Fat: 9g
- Carbohydrates: 36g
- Sugar: 22g
- Protein: 5g
- Fiber: 2g
- Sodium: 190mg
Beyond its comforting flavor, pumpkin itself brings genuine nutritional value to this dessert. It is naturally rich in beta-carotene, which the body converts into vitamin A, supporting healthy vision and immune function even within an indulgent holiday treat.
The warming spice blend of cinnamon, ginger, cloves, and nutmeg is not just flavorful, it also carries antioxidant properties that have long been associated with supporting digestion and reducing inflammation in traditional food practices.
Using real eggs and dairy rather than processed fillings provides a modest protein boost per slice, helping to balance the natural sugars in the dessert and offering a bit more staying power than many other holiday sweets.
Because pumpkin puree itself is low in fat and calories, much of the pie’s richness comes from controlled amounts of cream and eggs, meaning this dessert can fit into a balanced holiday spread when enjoyed in a reasonable portion.
Storage Instructions
Once fully cooled, cover the pie loosely with plastic wrap or foil and store it in the refrigerator. Because of its egg and dairy content, pumpkin pie should never be left at room temperature for more than two hours after baking.
Properly stored in the fridge, this pie stays fresh and flavorful for up to four days. The texture actually improves slightly after the first full day, as the spices continue to meld into the custard.
For longer storage, pumpkin pie freezes surprisingly well. Wrap individual slices tightly in plastic wrap, then foil, and freeze for up to one month. This makes it an excellent make-ahead option for busy holiday schedules.
To serve from frozen, thaw slices overnight in the refrigerator rather than at room temperature. This slow thaw preserves the custard’s smooth texture and prevents excess moisture from pooling on the surface.
Suggestions
Serve each slice with a generous dollop of freshly whipped cream, lightly sweetened and flavored with a touch of vanilla, to balance the pie’s warm spice with a cool, airy contrast.
For an extra layer of flavor, dust the whipped cream with a pinch of cinnamon or drizzle warm caramel sauce over the top just before serving, especially for a more dessert-table presentation.
Pair pumpkin pie with a cup of spiced chai, hot apple cider, or a simple black coffee. The bitterness and warmth of these drinks complement the pie’s sweetness without overwhelming its delicate spice profile.
If you are building a full holiday dessert table, this pie pairs beautifully alongside pecan pie or apple crumble, giving guests a variety of textures and flavors to choose from.
Seasonal Relevance
Pumpkin pie is inseparable from autumn and winter holiday traditions, particularly Thanksgiving and Christmas, when pumpkin, warm spice, and comfort food naturally take center stage on family tables.
The recipe’s use of cinnamon, ginger, cloves, and nutmeg mirrors the flavor profile found throughout fall baking, making it a natural fit alongside spiced lattes, apple desserts, and other seasonal favorites people crave once temperatures drop.
While canned pumpkin puree is available year-round, this pie tastes most relevant when served during the months when pumpkin harvests peak, roughly September through November, aligning perfectly with cooler weather and gathering-focused meals.
Beyond the holidays, this pie also works well for fall potlucks, harvest parties, or casual autumn dinners, proving that its appeal extends well past a single calendar date.
Final Words
This pumpkin pie recipe was built around one goal: consistency. Every technique included here, from blind baking to straining, exists to remove the guesswork that often leads to cracked, soggy, or overly dense pies.
What makes this version stand out is not a long list of unusual ingredients, but careful attention to method. Real pantry staples, handled with precision, produce a dessert that feels far more refined than its simplicity suggests.
Once you bake this pie a single time and taste the difference proper technique makes, it becomes difficult to go back to a rushed, unstrained version. The silkiness alone earns this recipe a permanent spot in your holiday rotation.
Save this recipe, print it, or bookmark it now. Whether it is your first pumpkin pie or a long-standing tradition, this version is designed to become the one you return to every single year.
Frequently Asked Questions
Can I use fresh pumpkin instead of canned puree?
Yes, roast and puree fresh pumpkin, then drain excess moisture through a cheesecloth. Fresh puree tends to be wetter than canned, so straining beforehand helps maintain the same silky, properly set texture in the final baked pie.
Why did my pumpkin pie crack on top?
Cracking usually happens from overbaking or oven temperatures that are too high. Bake low and slow, remove the pie while the center still jiggles slightly, and avoid opening the oven door frequently during baking.
Can I make this pie ahead of time for a holiday dinner?
Absolutely, this pie is ideal for make-ahead planning. Bake it up to two days in advance, refrigerate, and add whipped cream just before serving to keep the presentation fresh and the crust crisp.
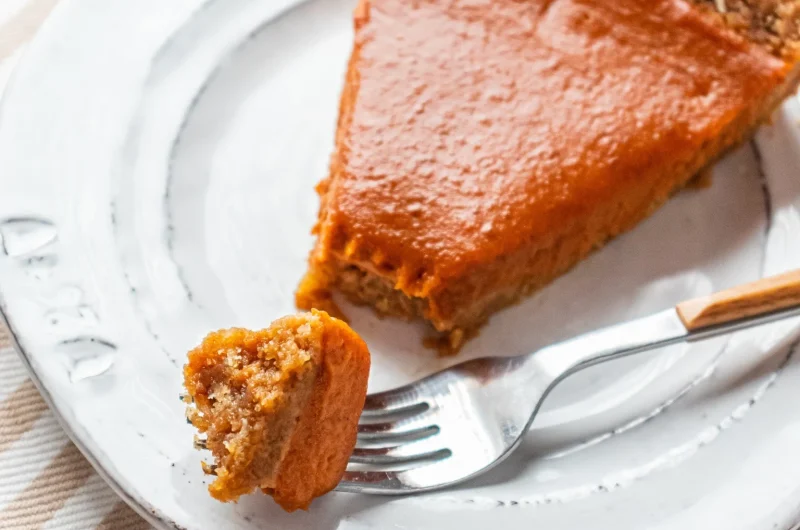
Silky Pumpkin Pie with the Perfect Spiced Filling
8
servings20
minutes1
hour5
minutes320
kcalA silky, spiced pumpkin pie with a crisp buttery crust and a smooth, custardy filling. Perfectly balanced with warm cinnamon, ginger, cloves, and nutmeg — an easy, foolproof holiday classic everyone will request again.
Ingredients
Base Ingredients:
1 unbaked 9-inch pie crust
15 oz pumpkin puree (canned or homemade)
3/4 cup granulated sugar
1/2 teaspoon salt
1 teaspoon ground cinnamon
1/2 teaspoon ground ginger
1/4 teaspoon ground cloves
1/4 teaspoon ground nutmeg
2 large eggs
1 cup heavy cream
1/2 cup whole milk
1 teaspoon vanilla extract
Optional Add-ins:
1 tablespoon dark rum or bourbon
1/4 teaspoon ground allspice
1 tablespoon molasses
2 tablespoons brown sugar (in place of part of the white sugar)
1/2 teaspoon orange zest
1/4 teaspoon black pepper (for a subtle warmth)
Directions
- Roll out pie dough into a 9-inch dish, crimp edges, and chill for 20 minutes.
- Line with parchment, fill with pie weights, and blind bake at 400°F for 15 minutes; remove weights and bake 5 more minutes.
- Whisk pumpkin puree with sugar, salt, and spices until smooth.
- Beat in eggs one at a time, then whisk in cream, milk, and vanilla until glossy.
- Strain the filling through a fine-mesh sieve for a silky texture.
- Pour filling into the pre-baked crust and bake at 350°F for 45–55 minutes, until edges are set and center jiggles slightly.
- Cool at room temperature for 2 hours, then refrigerate at least 3 hours before slicing.
Recipe Video
Notes
- Blind baking the crust is essential to avoid a soggy bottom.
- Remove the pie while the center still jiggles slightly — it firms up as it cools.
- Straining the filling removes lumps for a bakery-smooth texture.
- Store covered in the fridge for up to 4 days, or freeze slices for up to 1 month.