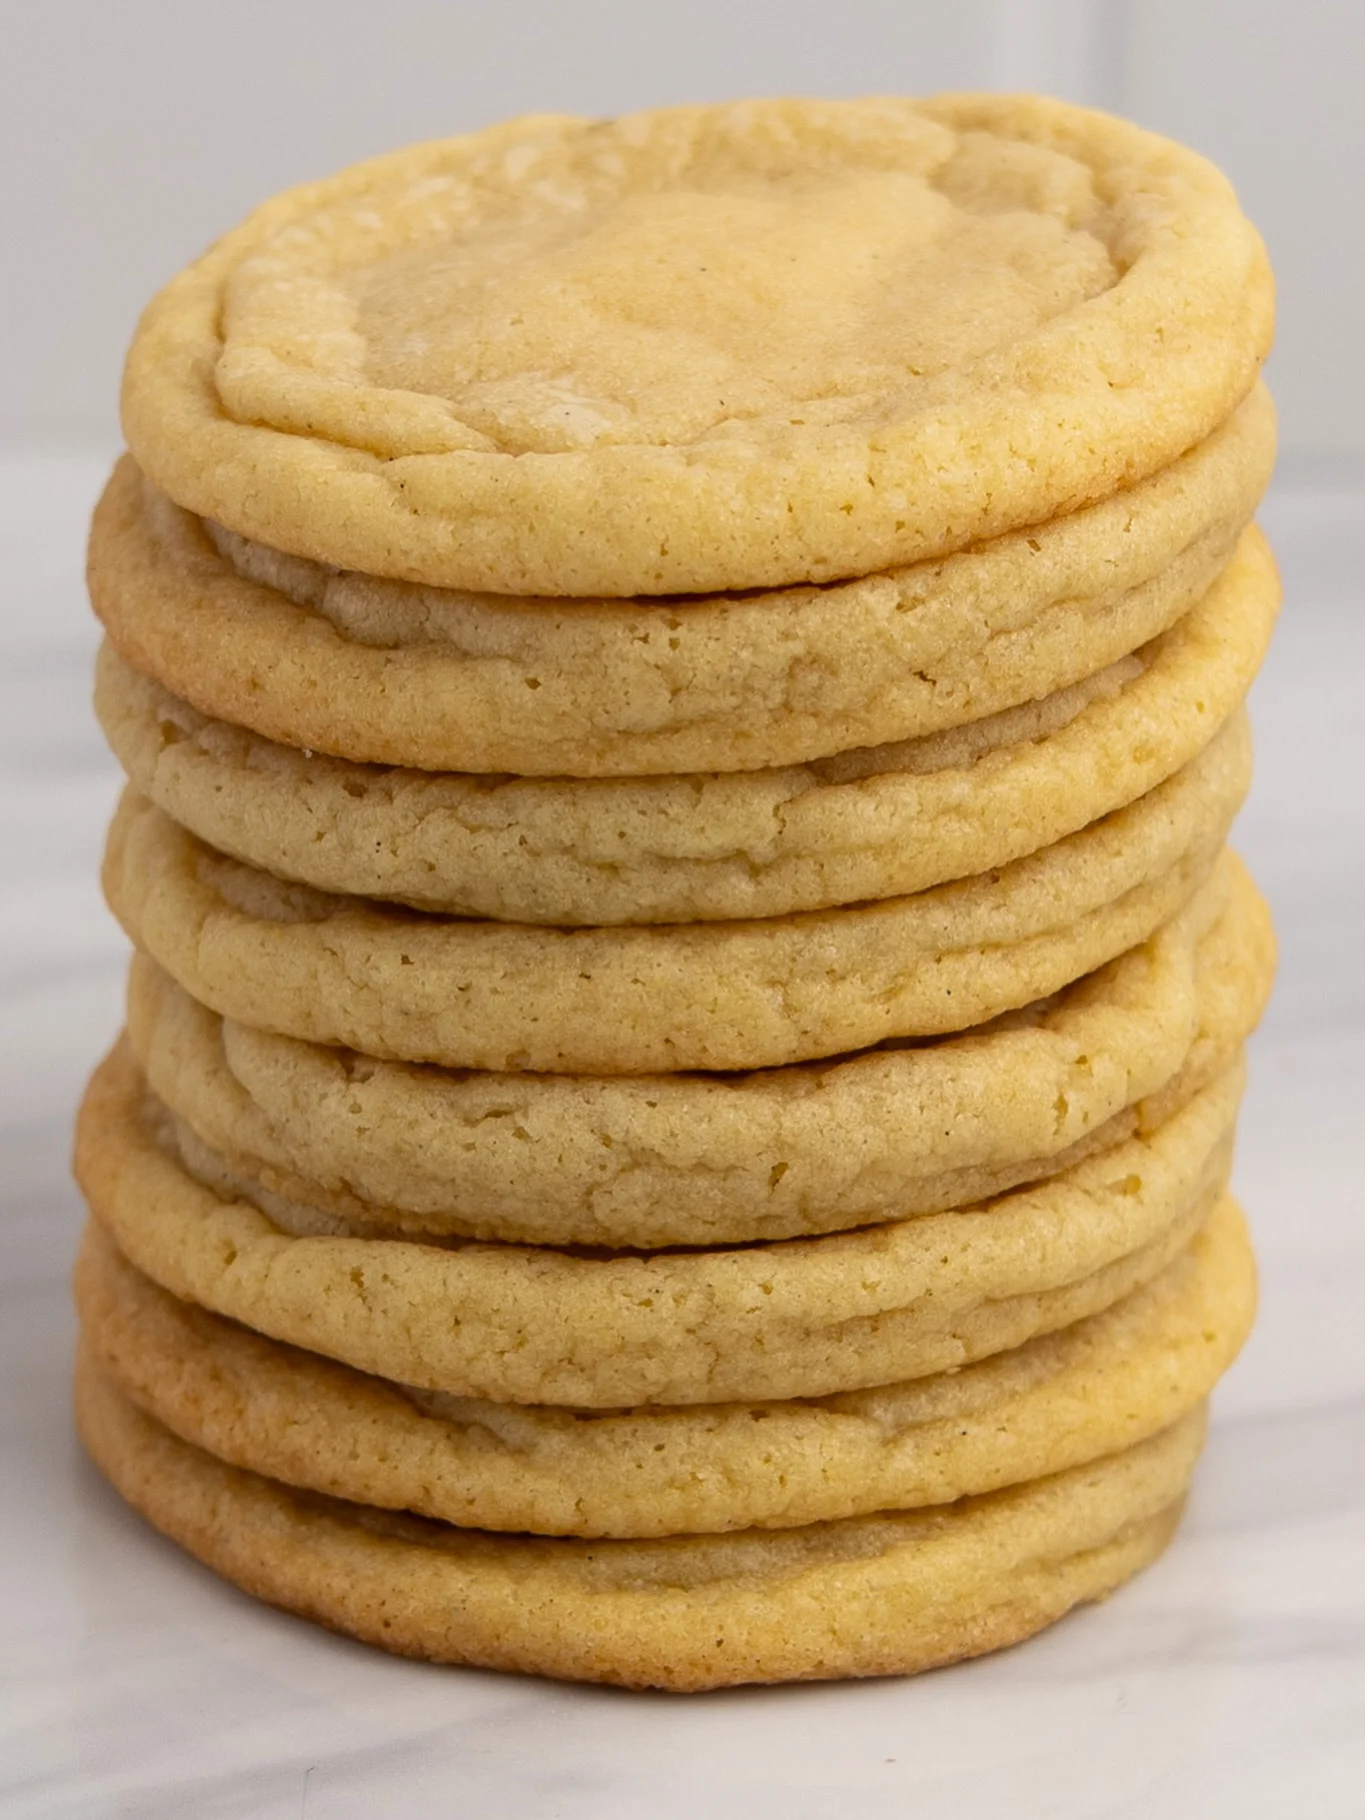
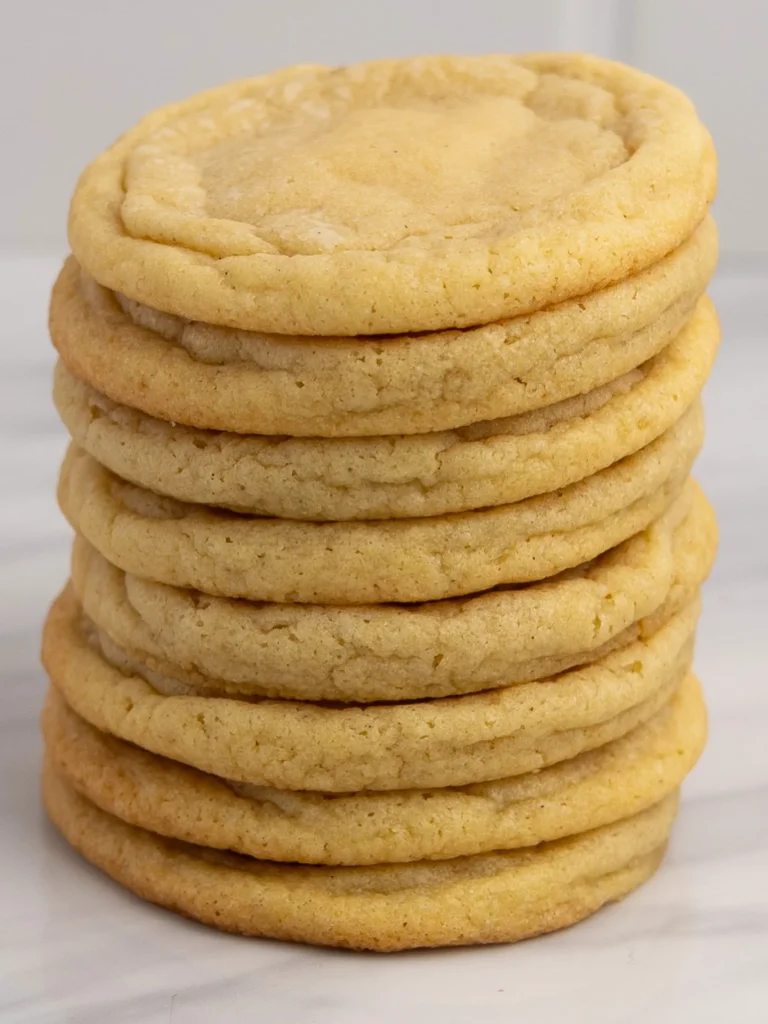
There is a particular kind of magic in a sugar cookie that holds its shape yet yields the moment your teeth sink in. Not flat, not crisp, not overly sweet — just thick, soft, and buttery in a way that tastes like it came from a bakery display case. This recipe was built around that exact texture, tested until the edges set just right while the centers stayed pillowy.
Most sugar cookie recipes force a choice: thin and crisp, or thick and cakey with no real bite. This one refuses that trade-off. A careful balance of butter, sugar, and a touch of cornstarch gives you structure without sacrificing softness, so every batch comes out consistent, tall, and tender.
You do not need fancy equipment or hard-to-find ingredients. This is a straightforward, pantry-friendly recipe designed for real kitchens and real schedules, whether you are baking for a holiday tray, a birthday party, or simply because a craving hit on a Tuesday night.
By the end of this article, you will have a foolproof method, a clear troubleshooting guide, and enough detail to make these cookies your new go-to. Let’s get into exactly what makes this version stand apart.
Ingredients You’ll Need
Great cookies start with a short, honest ingredient list — no gimmicks, no substitutes hiding in the shadows, just the essentials that build real flavor and that perfect thick, soft bite. One of the things I love about this recipe is that it uses simple pantry ingredients. You probably already have most of them in your kitchen.
Base Ingredients
- 2 and 3/4 cups all-purpose flour
- 1 teaspoon baking soda
- 1/2 teaspoon baking powder
- 1 teaspoon cornstarch
- 1/2 teaspoon salt
- 1 cup unsalted butter, softened
- 1 and 1/2 cups granulated sugar
- 1 large egg
- 1 egg yolk
- 2 teaspoons vanilla extract
- 1/2 teaspoon almond extract (optional but recommended)
Optional Add-ins
- 1/2 cup granulated sugar, for rolling
- 1/2 cup white chocolate chips
- 1 teaspoon lemon zest
- 1/2 teaspoon cinnamon
- 1/2 cup sprinkles, for a festive finish
- 1/4 cup powdered sugar, for a light dusting after baking
Step-by-Step Instructions
Cream the Butter and Sugar
Beat the softened butter and sugar together on medium speed for a full three minutes, not just thirty seconds. This step builds air pockets that give the cookies their signature thick, soft rise. The mixture should turn pale, fluffy, and noticeably lighter in color. Do not rush this stage; it is the foundation of the entire texture, and skipping ahead here is the single most common reason home bakers end up with flat, dense cookies instead of tall, pillowy ones.
Add Eggs and Extracts
Add the whole egg, the extra egg yolk, vanilla extract, and almond extract if using. Beat just until combined, scraping down the bowl once to catch any unmixed butter along the sides. The extra yolk is intentional; it adds richness and moisture without thinning the dough, which is part of what keeps these cookies soft at the center days after baking, rather than drying out like thinner, egg-light versions often do.
Combine the Dry Ingredients
In a separate bowl, whisk together the flour, baking soda, baking powder, cornstarch, and salt. Whisking first ensures the leaveners and cornstarch distribute evenly, preventing bitter pockets or uneven spread. Cornstarch is the quiet hero here, softening the crumb and helping the cookies stay thick instead of spreading thin across the tray. Set this mixture aside while you prepare the wet ingredients bowl for combining in the next step.
Bring the Dough Together
Add the dry mixture to the butter mixture in two additions, mixing on low speed just until no streaks of flour remain. Overmixing develops gluten, which leads to tough, chewy cookies rather than soft, tender ones. The dough will feel thick and slightly sticky; that is exactly right. Fold in any optional add-ins, such as white chocolate chips or lemon zest, using a spatula at this final stage.
Chill the Dough
Cover the bowl and refrigerate the dough for at least 45 minutes, though up to 24 hours is ideal. Chilling firms up the butter, which prevents excessive spreading in the oven and is directly responsible for that thick, bakery-style shape. Skipping this step is the fastest way to end up with thin, greasy cookies, so treat this as a non-negotiable part of the process, not an optional pause.
Portion and Roll
Scoop the dough into balls of about two tablespoons each, rolling them between your palms until smooth. If using, roll each ball in granulated sugar for a light, sparkling crust. Place the dough balls on a parchment-lined baking sheet, spacing them roughly three inches apart to allow room for gentle spreading without the cookies merging into one another during baking.
Bake to Soft Perfection
Bake at 350°F for 10 to 12 minutes, until the edges look set and just barely golden while the centers still appear slightly underdone and puffy. This is the exact point that guarantees a soft middle once cooled. Resist the urge to bake longer; the cookies continue cooking on the hot tray for a few minutes after they come out of the oven.
Cool and Set
Let the cookies rest on the baking sheet for five minutes before transferring them to a wire rack. This short rest allows the structure to firm up just enough to move without breaking, while the centers finish setting into that soft, tender texture. Cool completely before storing, or enjoy one warm with the edges crisp and the middle still melting slightly.
Cook Time
Total: 35 minutes (plus 45 minutes chilling)
Prep: 20 minutes
Bake: 10 to 12 minutes
Servings
This recipe makes approximately 24 medium-sized cookies, depending on how generously you portion the dough. Using a two-tablespoon scoop keeps every cookie uniform, which matters both for even baking and for that satisfying bakery-style presentation when they are arranged on a plate or gift tin.
If you prefer larger, statement-sized cookies, portion the dough into three-tablespoon balls instead, which will yield closer to 16 cookies with a slightly longer bake time. Smaller, bite-sized versions using one-tablespoon scoops will stretch the batch to around 36 cookies, ideal for cookie trays or party platters.
Each cookie falls in the 110 to 140 calorie range, making portion control easy whether you are baking for a crowd, a holiday exchange, or simply keeping a stocked cookie jar at home without overindulging on any single serving.
Common Mistakes in This Recipe
The most frequent misstep is skipping the chilling stage entirely. Warm dough spreads aggressively in a hot oven, producing thin, greasy cookies instead of the thick, structured shape this recipe promises. Bakers in a hurry often assume 15 minutes in the fridge is enough, but the butter needs closer to 45 minutes to firm up properly and hold its form through baking.
Another common error is overbaking. Because the centers look slightly underdone when they should be pulled from the oven, many bakers leave the tray in for a few extra minutes, worried the cookies are not ready. This single decision is responsible for dry, cakey cookies far more often than any ingredient issue.
Overmixing the dough after adding the flour is a quieter mistake, but just as damaging. It activates gluten and produces a tougher, less tender bite than intended.
Finally, using cold, straight-from-the-fridge butter instead of properly softened butter prevents the creaming stage from building the air structure this recipe depends on.
Solutions to Common Mistakes
To fix spreading issues, always chill the dough for a minimum of 45 minutes, and consider chilling the portioned dough balls directly on the tray if your kitchen runs warm. This guarantees the butter stays firm long enough to set before it has a chance to spread.
For overbaking, set a timer for 10 minutes and check early rather than waiting for visual cues alone. Trust that pale, puffy centers are correct; they will finish setting during the resting period on the hot tray.
To avoid a tough crumb, mix the dry ingredients in only until the last streaks of flour disappear, then stop immediately, even if the bowl looks slightly uneven.
Finally, set butter out for 30 to 45 minutes before starting, until it gives gently to a light press but is not melted or greasy.
Nutritional Information (approx. per serving)
- Calories: 110 to 140 kcal
- Total Fat: 6g
- Saturated Fat: 3.5g
- Carbohydrates: 16g
- Sugars: 9g
- Protein: 1.5g
- Sodium: 90mg
- Cholesterol: 25mg
Beyond the obvious indulgence, this recipe uses real butter rather than shortening, which means the fat content comes with genuine flavor rather than empty calories, making each cookie feel more satisfying in smaller portions. The moderate sugar content, balanced with cornstarch and structured baking, means you are not relying on excess sugar to achieve a satisfying sweetness.
Portion control is naturally built in, since a properly scooped cookie sits comfortably within a reasonable calorie range for an occasional treat rather than a diet derailment. The inclusion of egg yolk adds a small boost of protein and richness compared to egg-white-only recipes, contributing to a more rounded, less sugar-forward bite.
For those managing sugar intake, this recipe rolls easily into smaller portions without compromising the signature thick, soft texture that makes it worth baking in the first place.
Storage Instructions
Store cooled cookies in an airtight container at room temperature for up to five days. Placing a slice of plain white bread in the container helps maintain softness by regulating moisture, a simple bakery trick that keeps cookies from drying out prematurely.
For longer storage, refrigerate the cookies in a sealed container for up to two weeks, though room temperature storage is generally preferred for maintaining the ideal soft texture this recipe is known for.
To freeze baked cookies, layer them between sheets of parchment paper in a freezer-safe container, where they will keep well for up to three months. Thaw at room temperature for about an hour before serving.
Unbaked dough balls also freeze beautifully; freeze them on a tray until solid, then transfer to a freezer bag, allowing you to bake fresh cookies on demand straight from frozen, with just an extra minute or two added to the bake time.
Suggestions
For an extra festive touch, roll the dough balls in colored or seasonal sprinkles before baking, turning this base recipe into a holiday centerpiece with almost no extra effort or ingredients required.
Pair these cookies with a simple vanilla or citrus glaze drizzled over the top once cooled, adding a bakery-style finish that elevates the presentation for gifting or special occasions.
If you enjoy a flavor contrast, sandwich two cookies around a thin layer of cream cheese frosting for an indulgent twist that transforms this recipe into a dessert centerpiece rather than a simple snack.
Serve slightly warm alongside a cold glass of milk or a hot cup of coffee for the most satisfying version of this classic combination, letting the soft center shine against the temperature contrast.
Seasonal Relevance
These cookies adapt effortlessly across the calendar, making them a reliable recipe to keep on hand regardless of season or occasion, from casual weekend baking to major holiday gatherings.
During winter holidays, colored sugars, cinnamon, or peppermint extract swap in easily for a festive variation, while spring and summer versions lean naturally toward lemon zest or pastel sprinkles for lighter, brighter presentations.
Cookie exchanges, school bake sales, and birthday parties all benefit from a recipe this consistent and crowd-pleasing, since the thick, soft texture holds up well on trays and travels without becoming stale quickly.
Even outside of specific holidays, this recipe fits comfortably into everyday baking, proving itself just as satisfying on an ordinary weeknight as it is during the busiest holiday baking season.
Final Words
This sugar cookie recipe was built to solve a very specific problem: the gap between thin, crisp cookies and thick, flavorless ones. What you get instead is a reliable, foolproof method that consistently produces soft centers and structured, bakery-style shape every single time you bake it.
Follow the chilling step, watch the bake time closely, and trust the process even when the centers look slightly underdone coming out of the oven. Those small details are what separate an average batch from a genuinely exceptional one.
Whether you are baking for a holiday tray, a birthday celebration, or simply craving something sweet on a quiet afternoon, this recipe delivers consistent, satisfying results without unnecessary complexity or hard-to-find ingredients.
Save this recipe, bake a batch, and let it become the version your family requests again and again, long after the first tray has disappeared from the counter.
Frequently Asked Questions
Can I make this dough ahead of time without baking it right away?
Yes, the dough keeps well covered in the refrigerator for up to 24 hours before baking. This actually deepens the flavor slightly, making it a convenient option for prepping ahead of parties or holidays without sacrificing texture or taste.
Why did my cookies turn out cakey instead of soft and chewy?
Cakey cookies usually result from too much flour or overbaking. Measure flour by spooning it into the cup rather than scooping directly, and pull the cookies from the oven while the centers still look slightly underdone for the correct texture.
Can I use salted butter instead of unsalted butter in this recipe?
Yes, but reduce the added salt by half to avoid an overly salty result. Unsalted butter is generally preferred in baking because it allows more precise control over the final flavor balance of the finished cookies.
Soft and Thick Sugar Cookies with the Perfect Sweetness
24
servings20
minutes10
minutes110
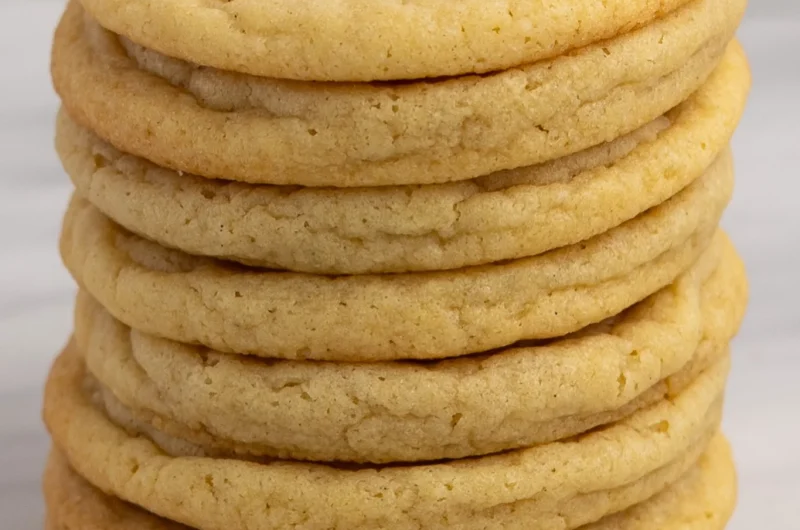
kcalSoft, thick, bakery-style sugar cookies with golden edges and a tender, melt-in-your-mouth center. A foolproof, pantry-friendly recipe perfect for holidays, parties, or everyday baking cravings.
Ingredients
Base Ingredients
2 and 3/4 cups all-purpose flour
1 teaspoon baking soda
1/2 teaspoon baking powder
1 teaspoon cornstarch
1/2 teaspoon salt
1 cup unsalted butter, softened
1 and 1/2 cups granulated sugar
1 large egg
1 egg yolk
2 teaspoons vanilla extract
1/2 teaspoon almond extract (optional but recommended)
Optional Add-ins
1/2 cup granulated sugar, for rolling
1/2 cup white chocolate chips
1 teaspoon lemon zest
1/2 teaspoon cinnamon
1/2 cup sprinkles, for a festive finish
1/4 cup powdered sugar, for a light dusting after baking
Directions
- Cream softened butter and sugar on medium speed for a full 3 minutes until pale and fluffy.
- Add the whole egg, egg yolk, vanilla extract, and almond extract; beat just until combined.
- In a separate bowl, whisk together flour, baking soda, baking powder, cornstarch, and salt.
- Add the dry mixture to the wet mixture in two additions, mixing on low until just combined.
- Fold in any optional add-ins with a spatula.
- Cover and refrigerate the dough for at least 45 minutes (up to 24 hours).
- Scoop dough into 2-tablespoon balls; roll in granulated sugar if desired.
- Place dough balls on a parchment-lined baking sheet, spaced 3 inches apart.
- Bake at 350°F for 10 to 12 minutes, until edges are set and centers look slightly underdone.
- Let cookies rest on the tray for 5 minutes before transferring to a wire rack to cool.
Recipe Video
Notes
- Do not skip the chilling step — it’s essential for thick, non-spread cookies.
- Slightly underbaked centers are correct; they finish setting as the cookies cool.
- Measure flour by spooning into the cup, not scooping directly, to avoid dry, cakey cookies.
- Unbaked dough balls freeze well for up to 3 months — bake straight from frozen with an extra minute or two added.
- Store baked cookies in an airtight container at room temperature for up to 5 days.