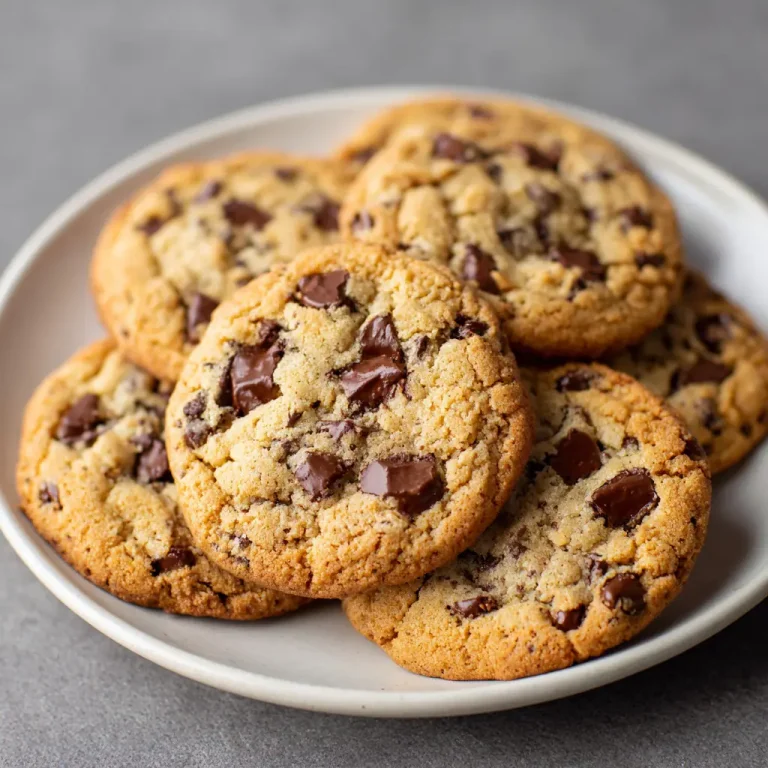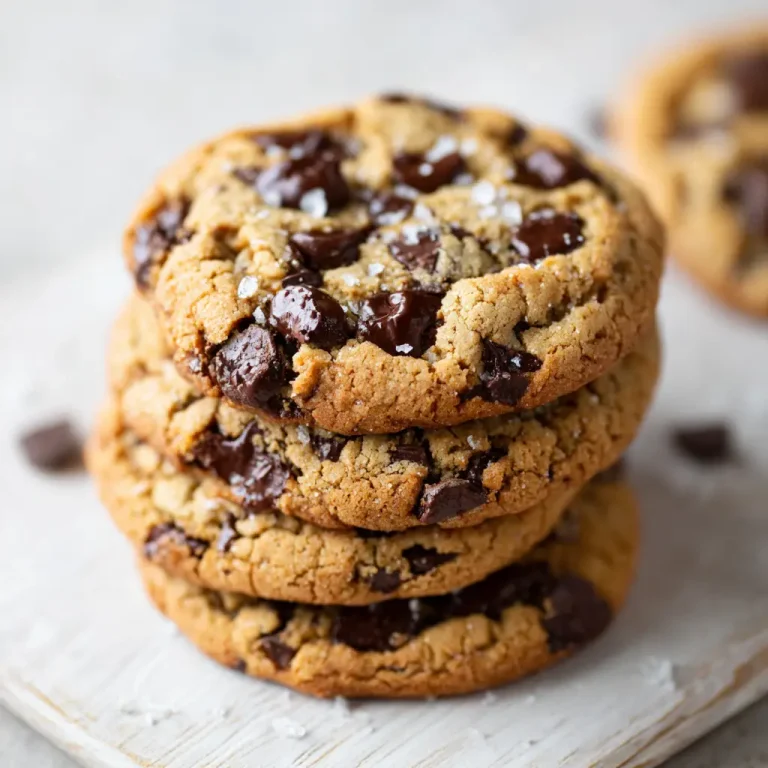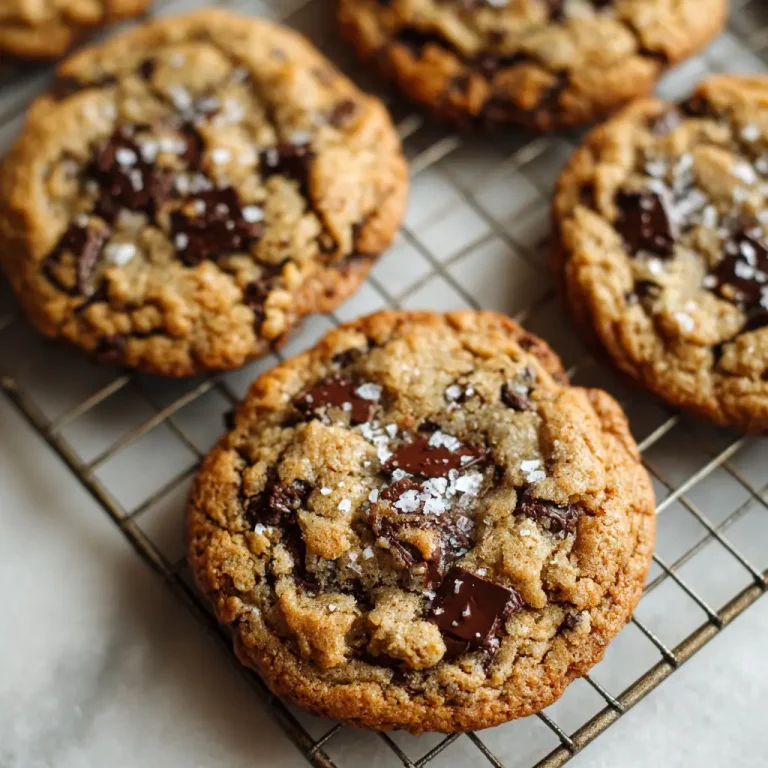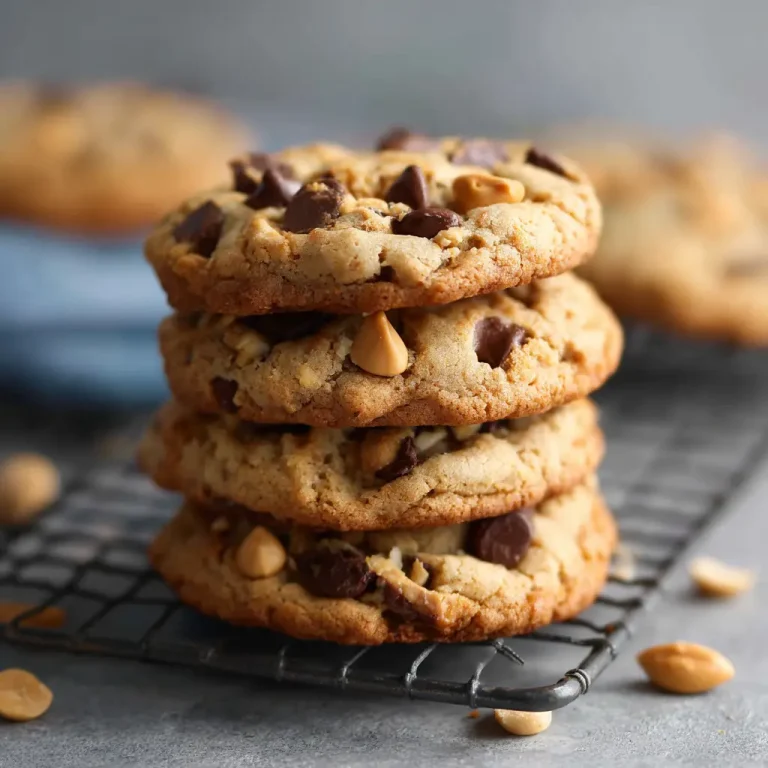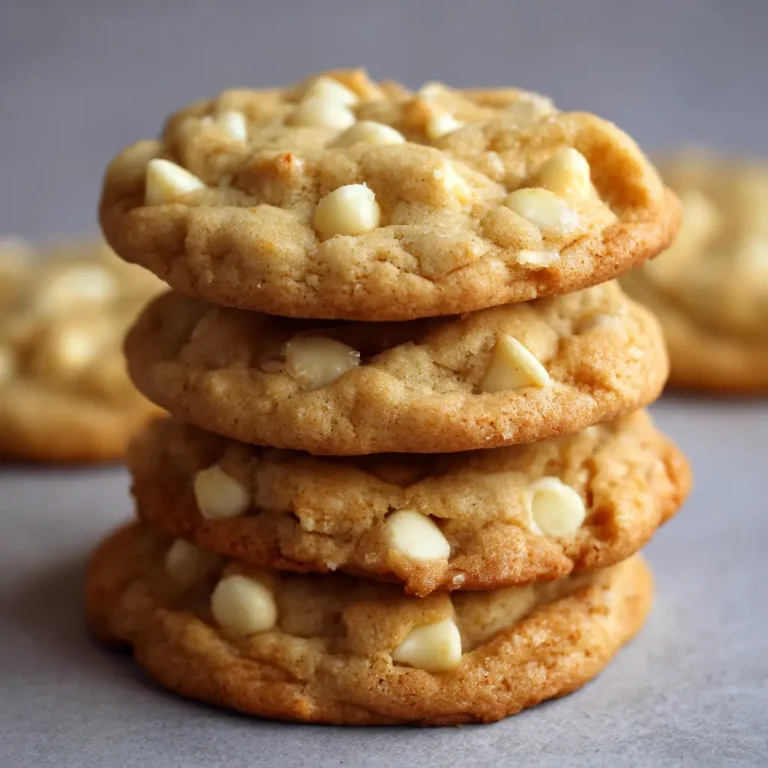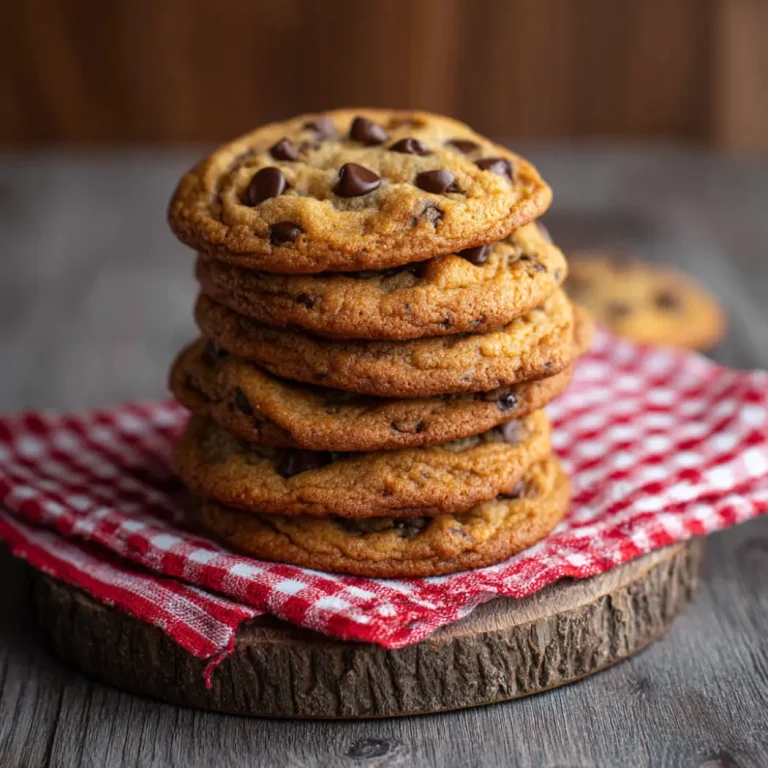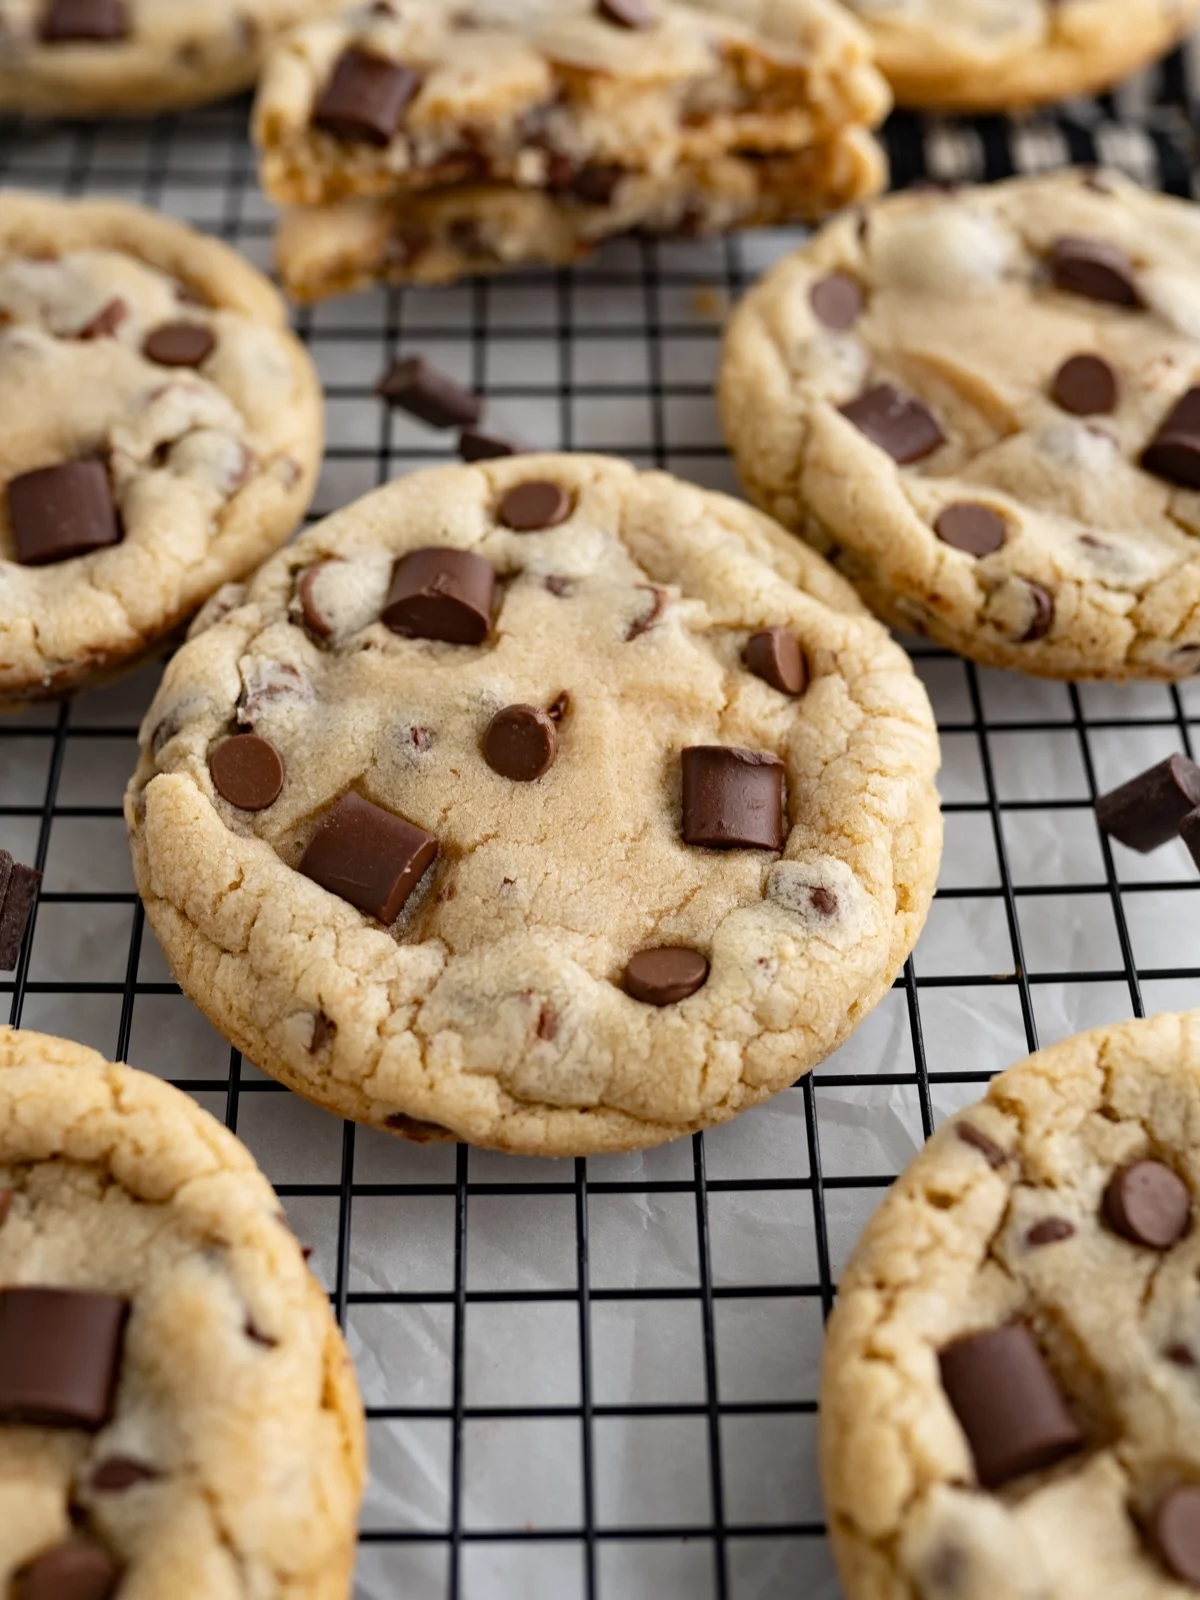
There is a difference between a good chocolate chip cookie and a great one, and that difference almost always comes down to texture. A great cookie is soft in the center, slightly chewy at the edges, and never dry or cakey. This recipe was built specifically to hit that mark every single time, using a few small techniques that most home bakers skip.
What makes this version stand out is the balance of butter, brown sugar, and just enough flour to hold everything together without overworking the dough. The result is a cookie that stays soft for days, not just on the first afternoon out of the oven.
This is not a recipe that relies on gimmicks or unusual ingredients. It uses simple pantry staples, straightforward steps, and a method that has been tested repeatedly for consistency. Whether you bake often or only a few times a year, this recipe is designed to be foolproof.
By the end of this article, you will understand exactly why each ingredient matters, how to avoid the most common cookie mistakes, and how to store your cookies so they stay soft long after baking day. Let’s get into it.
Ingredients You’ll Need
Great cookies start with ingredients you can trust, and this list proves that soft, bakery-style texture doesn’t require anything fancy or hard to find.
One of the things I love about this recipe is that it uses simple pantry ingredients. You probably already have most of them in your kitchen.
Base Ingredients
- 1 cup unsalted butter, softened
- 1 cup packed brown sugar
- 1/2 cup granulated sugar
- 2 large eggs
- 2 teaspoons vanilla extract
- 2 3/4 cups all-purpose flour
- 1 teaspoon baking soda
- 1/2 teaspoon salt
- 2 cups semi-sweet chocolate chips
Optional Add-ins
- 1/2 cup chopped walnuts or pecans
- 1/2 cup white chocolate chips
- 1 teaspoon espresso powder
- 1/2 teaspoon cinnamon
- 1/4 cup dark chocolate chunks
Step-by-Step Instructions
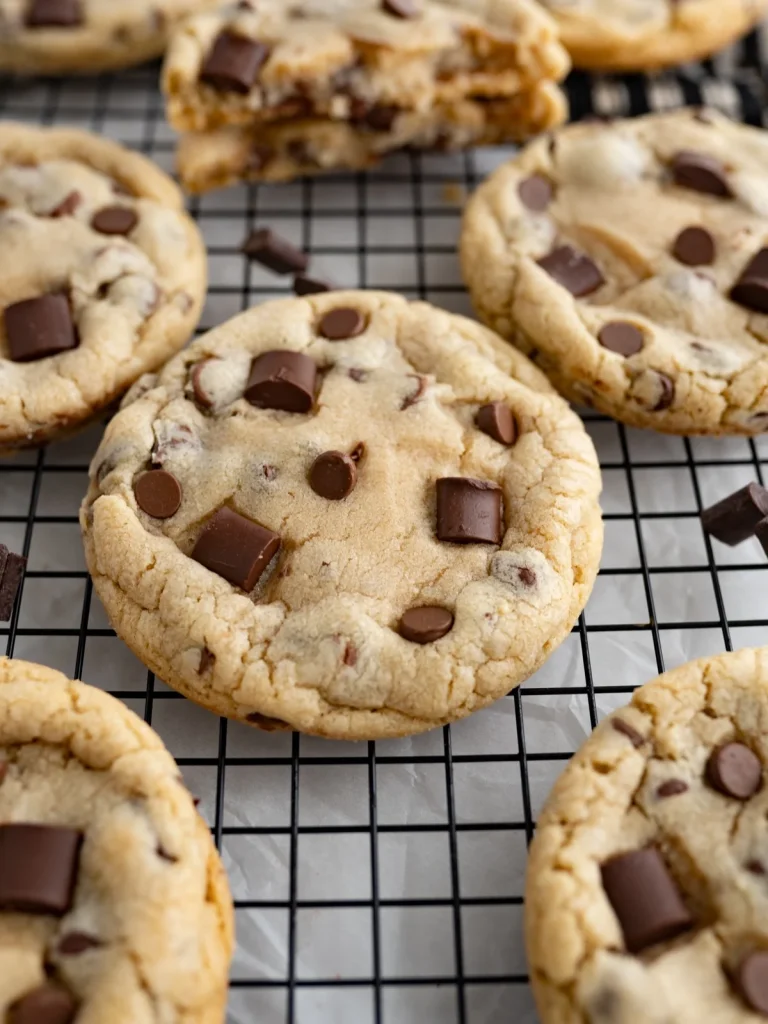
Cream the Butter and Sugars
Beat the softened butter, brown sugar, and granulated sugar together until light, fluffy, and pale in color, about three minutes on medium speed. This step matters more than most bakers realize, since properly creamed butter traps air that helps cookies rise gently instead of spreading too thin. Scrape down the bowl halfway through to make sure everything blends evenly, with no pockets of unmixed butter left behind at the bottom.
Add Eggs and Vanilla
Add the eggs one at a time, beating well after each addition, then mix in the vanilla extract. The mixture should look smooth, glossy, and slightly thickened at this stage. Avoid rushing this part, since underbeaten eggs can leave the batter looking curdled or separated, which affects how evenly the cookies bake. A well-blended base here sets up the right chewy texture later.
Combine Dry Ingredients
In a separate bowl, whisk together the flour, baking soda, and salt until fully combined. Whisking first, rather than adding these directly to the wet mixture, ensures the baking soda is evenly distributed throughout the flour. This small step prevents bitter pockets or uneven rising, which are common issues when leavening agents clump together instead of blending smoothly into the dry mixture.
Bring the Dough Together
Gradually add the dry mixture into the wet ingredients, mixing on low speed just until combined. Overmixing at this stage develops gluten, which leads to tougher, denser cookies instead of soft ones. Fold in the chocolate chips by hand using a spatula, distributing them evenly throughout the dough without additional beating. The dough should look thick, slightly sticky, and generously studded with chocolate.
Chill the Dough
Cover the dough and refrigerate for at least thirty minutes, or up to twenty-four hours for deeper flavor. Chilling firms up the butter, which prevents excessive spreading in the oven and produces a thicker, softer cookie. This step also allows the flour to hydrate fully, resulting in a richer taste and better texture once baked, so avoid skipping it even when short on time.
Scoop and Bake
Preheat the oven to 350°F and line baking sheets with parchment paper. Scoop rounded balls of dough, roughly two tablespoons each, and space them two inches apart. Bake for nine to eleven minutes, until the edges are set but the centers still look slightly underdone. This underbaked center is exactly what creates that soft, chewy texture once the cookies finish cooling.
Cool and Set
Let the cookies rest on the baking sheet for five minutes before transferring them to a wire rack. This resting period allows the residual heat to finish setting the centers without drying them out. Cooling on a rack, rather than directly on the pan, prevents the bottoms from becoming soggy or overcooked from trapped steam.
Cook Time
Total: 45 minutes
Prep: 20 minutes
Bake: 10 minutes
Servings
Makes approximately 24 cookies, depending on how generously each portion is scooped. Using a standard two-tablespoon scoop keeps the size consistent, which also helps every batch bake evenly at the same time.
This recipe is easy to scale up or down depending on the occasion. Doubling the batch works well for parties or gifting, while halving it suits smaller households without leftovers piling up.
Portion size can also be adjusted for preference. Smaller scoops yield about 36 mini cookies with shorter bake times, while larger scoops produce fewer, bakery-style cookies with a softer, thicker center.
Common Mistakes in This Recipe
The most frequent mistake is overbaking, since these cookies continue cooking on the hot pan after they leave the oven. Pulling them out too late results in a dry, crumbly texture instead of the soft center this recipe is known for.
Another common issue is skipping the chilling step. Warm dough spreads too quickly in the oven, producing thin, greasy cookies with crisp edges rather than the thick, soft shape intended here.
Overmixing the dough after adding flour is another frequent misstep. This develops too much gluten, leading to tougher cookies that lack the tender bite this recipe is designed to deliver.
Finally, measuring flour incorrectly by scooping directly from the bag often packs in too much, drying out the dough and throwing off the entire texture of the finished cookie.
Solutions to Common Mistakes
To avoid overbaking, remove cookies from the oven while the centers still look slightly soft and underdone. They will continue setting on the pan, reaching the perfect texture once fully cooled.
Always chill the dough for at least thirty minutes before baking. This firms the butter, controls spreading, and produces the thicker, softer shape that makes this recipe stand out from thinner versions.
Mix the dough only until the flour disappears into the batter. Stop as soon as no dry streaks remain, and fold in chocolate chips gently by hand instead of using the mixer.
Measure flour using the spoon-and-level method rather than scooping directly. Spoon flour into the measuring cup, then level it off with a knife for an accurate, consistent measurement every time.
Nutritional Information (approx. per serving)
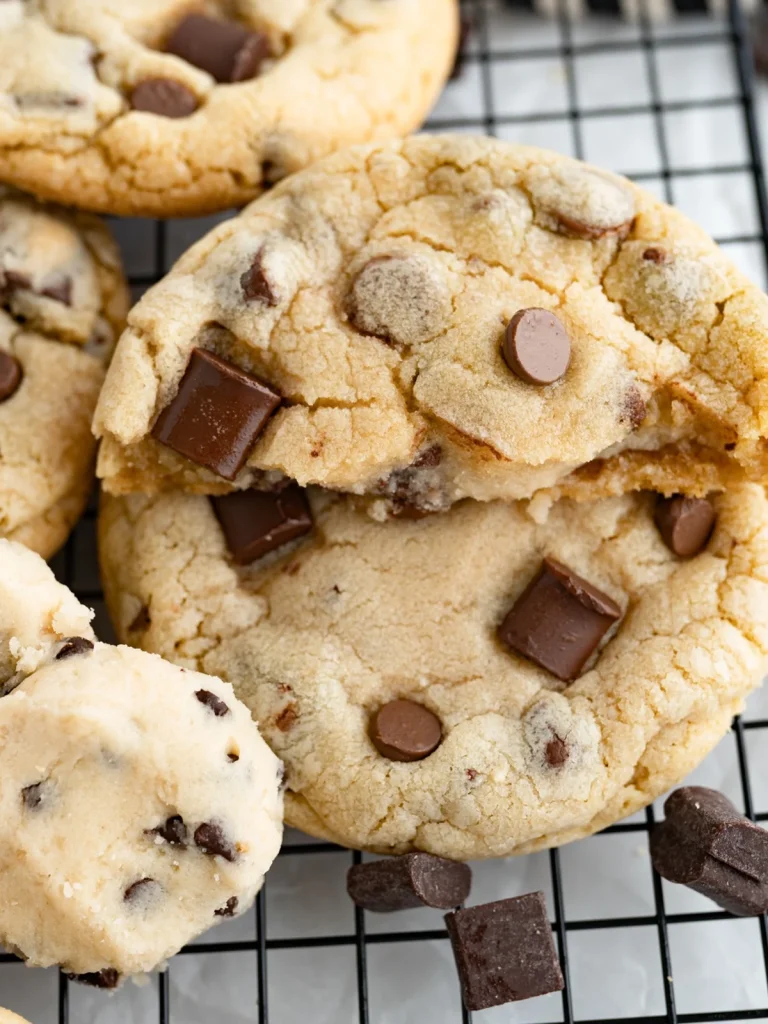
- Calories: 210
- Total Fat: 10g
- Saturated Fat: 6g
- Carbohydrates: 28g
- Sugars: 18g
- Protein: 2g
- Fiber: 1g
- Sodium: 110mg
These cookies provide a quick source of energy thanks to their combination of carbohydrates and fats, making them a satisfying treat after a meal or during an afternoon slump. The moderate protein content, while not significant, comes largely from the eggs and helps contribute to overall satiety.
Dark chocolate chips, if used instead of milk chocolate, add small amounts of antioxidants known as flavonoids, which have been studied for their potential heart-health benefits when consumed in moderation.
Homemade cookies also allow full control over ingredient quality, avoiding the preservatives, stabilizers, and excess sodium often found in store-bought or packaged alternatives sold at grocery stores.
Enjoying treats like this in reasonable portions, alongside a balanced diet, supports a healthier relationship with food rather than promoting restriction or guilt around dessert.
Storage Instructions
Store cooled cookies in an airtight container at room temperature for up to five days. Adding a slice of plain white bread to the container helps maintain softness by regulating moisture levels inside.
For longer storage, freeze baked cookies in a single layer until solid, then transfer them to a freezer-safe bag. They will keep well for up to three months without losing flavor or texture.
Cookie dough also freezes beautifully. Scoop portions onto a tray, freeze until firm, then store in a labeled bag. Bake straight from frozen, adding one to two extra minutes to the baking time.
Avoid refrigerating baked cookies, as cold temperatures tend to dry them out faster than storing them at room temperature in a properly sealed container.
Suggestions
Serve these cookies slightly warm, with the chocolate still soft, for the best possible texture and flavor experience straight out of the oven or after a quick reheat.
Pair them with a cold glass of milk or a hot cup of coffee to balance the sweetness and richness of the chocolate throughout each bite.
For a dessert upgrade, sandwich a scoop of vanilla ice cream between two cookies to create a simple, crowd-pleasing ice cream sandwich for warmer months.
Consider adding a light sprinkle of flaky sea salt on top before baking. This small touch enhances the chocolate flavor and adds a pleasant contrast to the overall sweetness.
Seasonal Relevance
These cookies work well year-round, but they shine especially during colder months when warm, comforting baked goods are in higher demand around the house.
During the holiday season, this recipe adapts easily by adding festive mix-ins like crushed peppermint or holiday-colored chocolate candies for a seasonal touch.
In warmer months, these cookies pair beautifully with cold beverages or frozen desserts, making them just as suitable for summer gatherings as winter ones.
Because the ingredients are pantry staples, this recipe remains accessible and relevant regardless of season, without relying on hard-to-find or out-of-season produce.
Final Words
This recipe reflects a method built through repeated testing, not guesswork. Every ingredient and step serves a specific purpose in achieving that soft, bakery-style texture readers are looking for.
Whether this is your first time baking chocolate chip cookies or your hundredth, the techniques outlined here should help eliminate the common frustrations that come with inconsistent results.
Baking is as much about understanding technique as it is about following instructions, and this recipe aims to teach both in a clear, approachable way.
I hope this becomes a reliable go-to recipe in your kitchen, one you return to again and again for its consistency, flavor, and comforting texture.
Frequently Asked Questions
Can I use salted butter instead of unsalted butter in this recipe?
Yes, salted butter works fine. Simply reduce the added salt in the recipe by about half to avoid an overly salty flavor, since salted butter already contains a noticeable amount on its own.
Why did my cookies turn out flat instead of thick and soft?
Flat cookies usually result from warm dough or too much butter. Chilling the dough properly and measuring butter accurately helps control spreading, keeping the cookies thicker and softer as intended.
Can this dough be made ahead of time for later use?
Absolutely. The dough can be refrigerated for up to twenty-four hours or frozen for months. This makes it convenient for prepping ahead of gatherings or baking fresh cookies on demand.
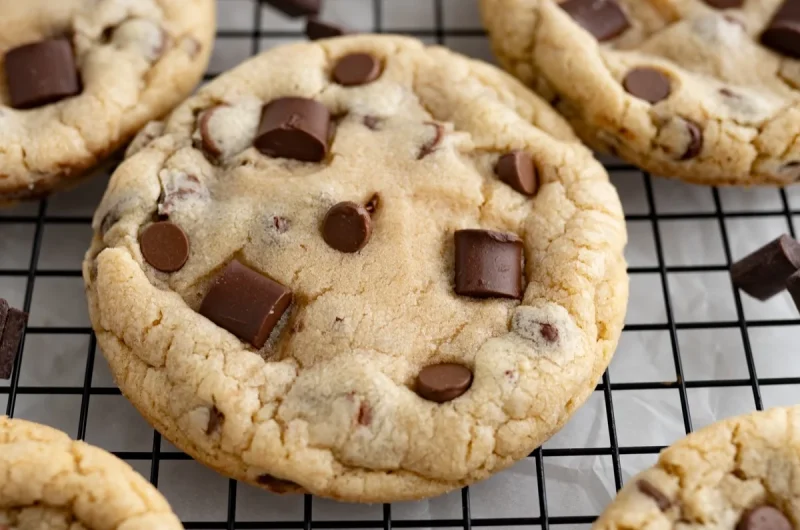
The Best Soft Chocolate Chip Cookies
24
servings20
minutes10
minutes210
kcalSoft, chewy chocolate chip cookies with golden edges and rich, gooey centers. Made with pantry staples and a simple chilling trick, these cookies stay irresistibly soft for days after baking.
Ingredients
Base Ingredients:
1 cup unsalted butter, softened
1 cup packed brown sugar
1/2 cup granulated sugar
2 large eggs
2 teaspoons vanilla extract
2 3/4 cups all-purpose flour
1 teaspoon baking soda
1/2 teaspoon salt
2 cups semi-sweet chocolate chips
Optional Add-ins:
1/2 cup chopped walnuts or pecans
1/2 cup white chocolate chips
1 teaspoon espresso powder
1/2 teaspoon cinnamon
1/4 cup dark chocolate chunks
Directions
- Beat softened butter, brown sugar, and granulated sugar until light and fluffy, about 3 minutes.
- Add eggs one at a time, beating well after each, then mix in vanilla extract.
- In a separate bowl, whisk together flour, baking soda, and salt.
- Gradually add dry ingredients to wet mixture, mixing on low speed until just combined.
- Fold in chocolate chips by hand using a spatula.
- Cover dough and refrigerate for at least 30 minutes, or up to 24 hours.
- Preheat oven to 350°F and line baking sheets with parchment paper.
- Scoop rounded balls of dough, about 2 tablespoons each, spaced 2 inches apart.
- Bake for 9 to 11 minutes, until edges are set but centers still look slightly underdone.
- Let cookies rest on the baking sheet for 5 minutes before transferring to a wire rack to cool completely.
Recipe Video
Notes
- Do not overbake — cookies continue cooking on the hot pan after removal from the oven.
- Chilling the dough is essential for controlling spread and achieving a thick, soft texture.
- Measure flour using the spoon-and-level method for accuracy.
- Store in an airtight container at room temperature for up to 5 days.
- Freeze baked cookies or raw dough for up to 3 months.
- Add flaky sea salt on top before baking for extra flavor contrast.