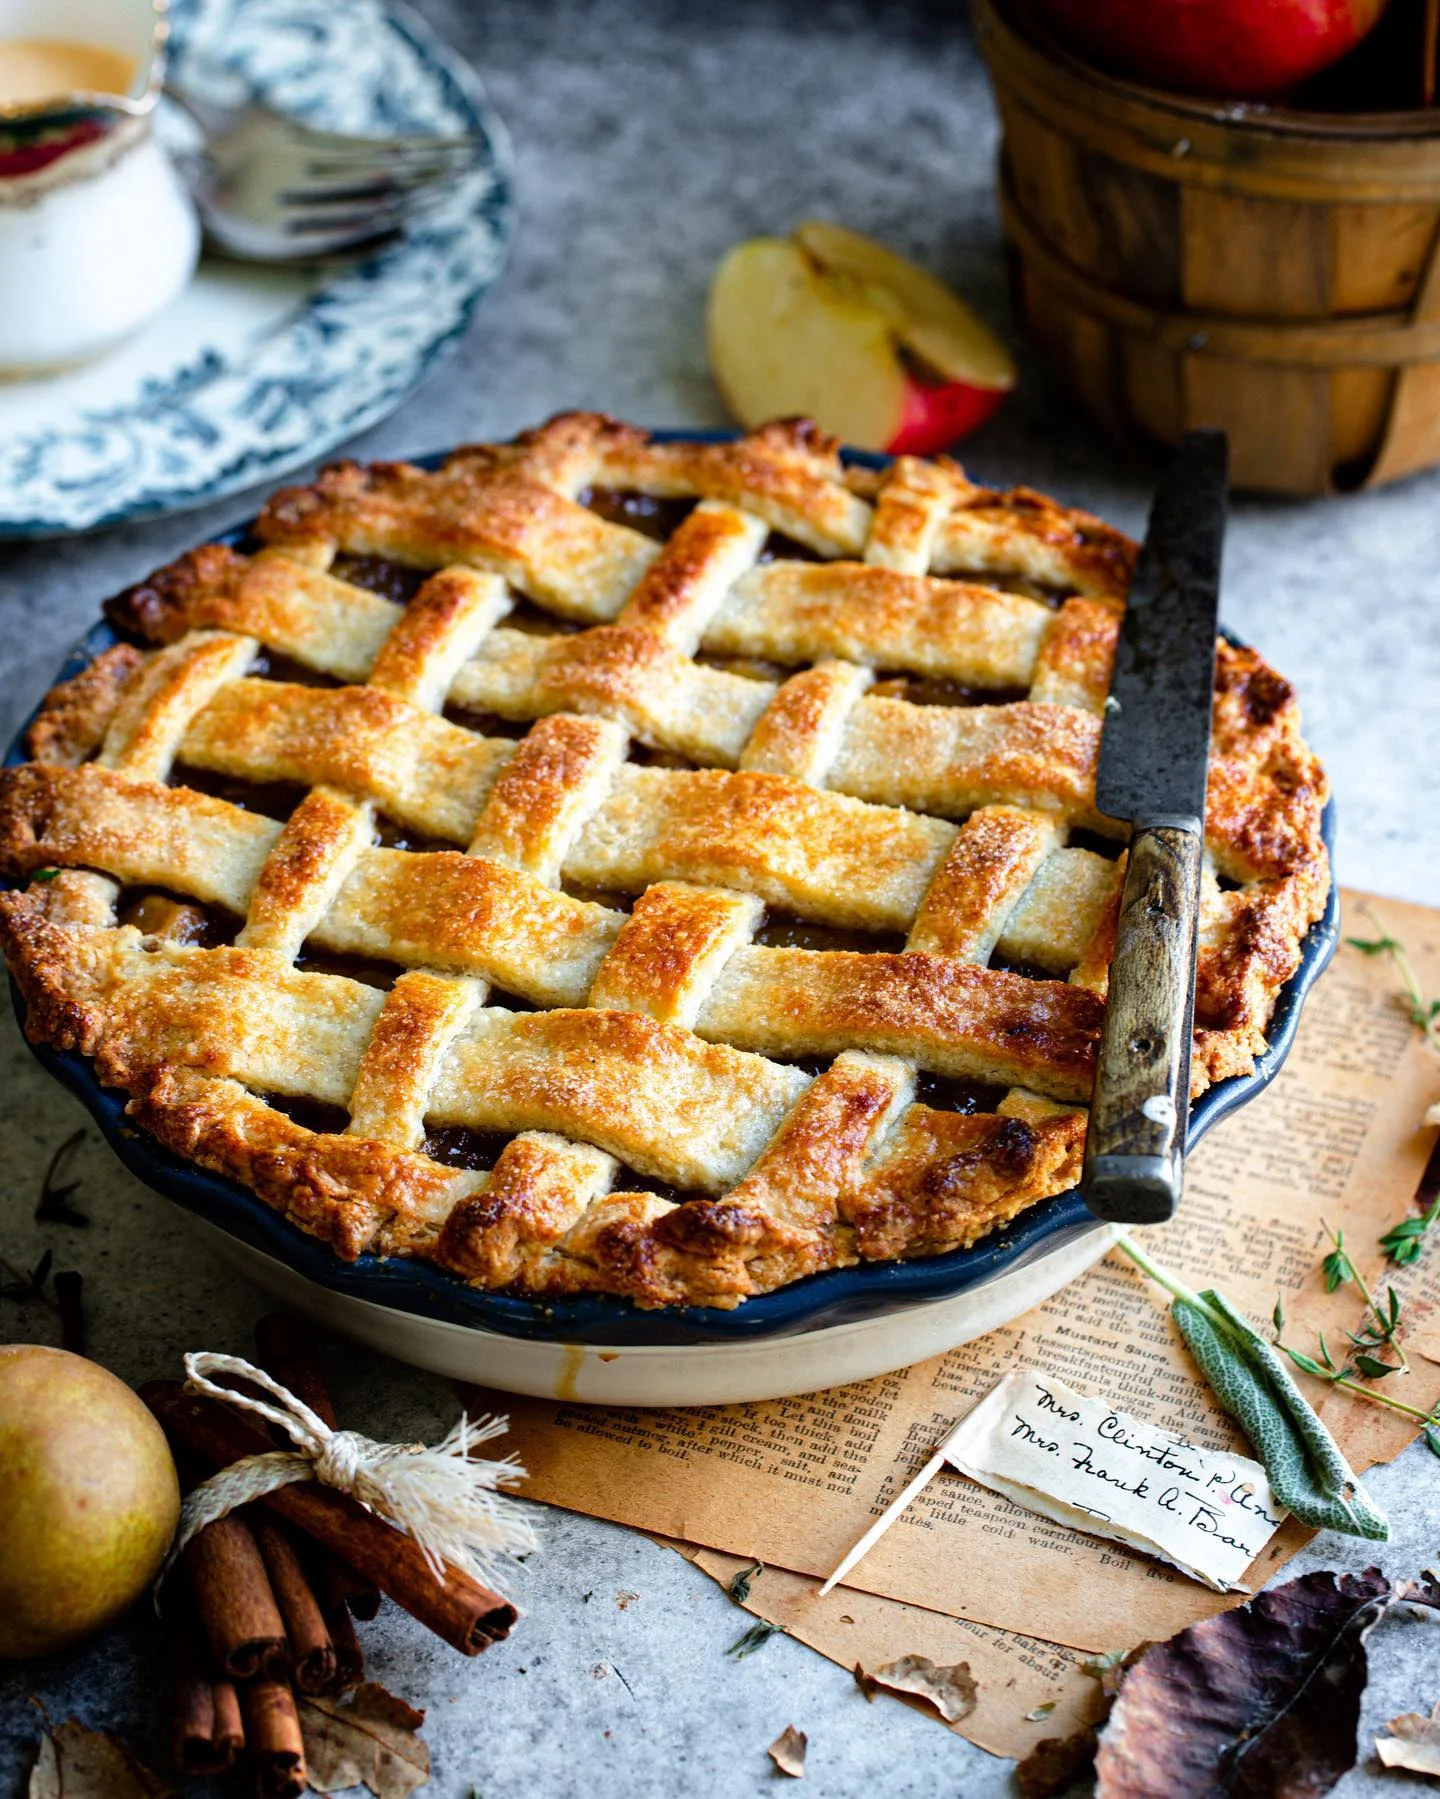
There is a reason apple pie has stayed at the top of American baking for generations. It is not nostalgia alone. It is the way a properly made crust shatters under a fork, the way cinnamon and nutmeg bloom against tart apples, and the way the whole kitchen smells like a holiday even on an ordinary Tuesday.
This recipe was built for home bakers who want bakery-quality results without guesswork. Every measurement, every resting time, and every oven temperature here has a purpose. Nothing is arbitrary, and nothing is left for you to figure out on your own.
What sets this apple pie apart is balance. The filling is neither soupy nor dry, the crust is neither soggy nor tough, and the sweetness never overpowers the natural tartness of the apples. That balance is what separates an average pie from a memorable one.
Whether you are baking for Thanksgiving, a Sunday dinner, or simply because the weather turned cool, this recipe delivers a pie worth defending with a fork. Read through the full method once before you start, then let the process do the rest.
Ingredients You’ll Need
A great apple pie starts long before the oven is preheated, it starts with ingredients that actually deserve to be in it. Skip the shortcuts here and the payoff is obvious the moment you slice into that first warm wedge.
Base Ingredients
- 2.5 cups all-purpose flour
- 1 cup unsalted butter, cold and cubed
- 1 teaspoon salt
- 1 tablespoon granulated sugar
- 6 to 8 tablespoons ice water
- 6 cups apples, peeled and sliced (Granny Smith or Honeycrisp)
- 3/4 cup granulated sugar
- 2 tablespoons all-purpose flour
- 1 teaspoon ground cinnamon
- 1/4 teaspoon ground nutmeg
- 1 tablespoon lemon juice
- 1 egg, beaten (for egg wash)
Optional Add-ins
- 1/4 cup brown sugar (for deeper caramel notes)
- 1/2 teaspoon ground cardamom
- 1 tablespoon coarse sugar (for topping)
- 2 tablespoons chopped walnuts or pecans
- 1 tablespoon bourbon or apple brandy
- 1/2 teaspoon vanilla extract
Step-by-Step Instructions
Make the Pie Dough
Combine flour, salt, and sugar in a large bowl. Add cold cubed butter and cut it in using a pastry cutter or your fingertips until the mixture resembles coarse crumbs with pea-sized butter pieces still visible. Add ice water one tablespoon at a time, mixing gently until the dough just comes together. Divide into two discs, wrap in plastic, and refrigerate for at least one hour. Cold dough is the secret to a flaky, non-shrinking crust.
Prepare the Apple Filling
Peel, core, and slice the apples into even, quarter-inch pieces so they cook uniformly. Toss them in a large bowl with sugar, flour, cinnamon, nutmeg, and lemon juice. Let the mixture rest for fifteen minutes so the apples release some juice and the flour begins to thicken it naturally. This resting step prevents a watery filling later and helps the spices distribute evenly through every slice you eventually cut.
Roll and Assemble
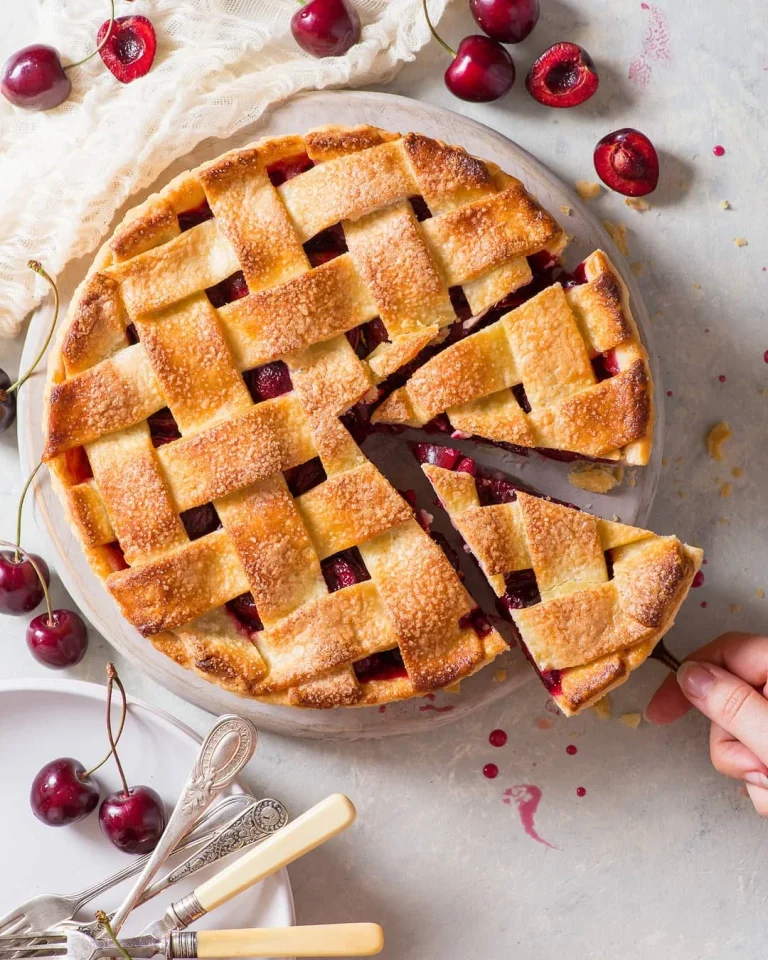
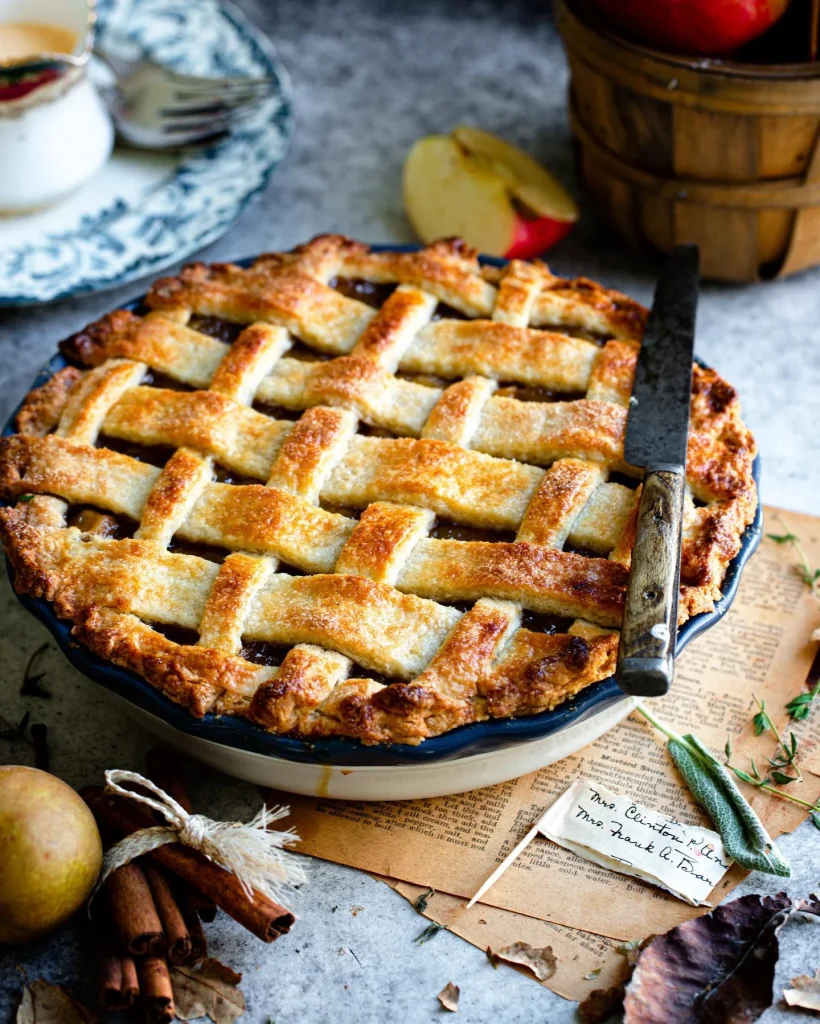
On a lightly floured surface, roll one dough disc into a twelve-inch circle and fit it into a nine-inch pie dish, letting the excess hang over the edge. Pour in the apple filling, mounding it slightly in the center. Roll out the second disc and either lay it flat with slits cut for venting, or weave it into a lattice pattern. Trim and crimp the edges firmly to seal in the juices.
Bake to Golden Perfection
Brush the top crust generously with beaten egg wash and sprinkle with coarse sugar if using. Place the pie on a baking sheet to catch any drips, then bake at 425°F for twenty minutes. Reduce the temperature to 375°F and continue baking for thirty to thirty-five minutes, until the crust is deep golden and the filling bubbles visibly through the vents. Cool completely before slicing.
Cook Time
Total
Approximately 2 hours 30 minutes, including dough chilling and cooling time.
Prep
35 minutes for dough and filling preparation.
Bake
50 minutes total baking time at two temperature stages.
Servings
This recipe makes approximately one 9-inch pie, yielding 8 generous servings or up to 10 smaller slices for a larger gathering. It is sized comfortably for a family dinner table while still leaving enough for second helpings, which, with a pie this good, tend to happen more often than not.
Each slice holds enough filling and crust to feel substantial without being overwhelming, making it a practical dessert for both weeknight treats and formal holiday spreads. The pie also slices cleanly once fully cooled, so portioning stays neat and consistent from the first cut to the last.
If you are hosting a larger crowd, this recipe doubles easily using two separate pie dishes rather than one oversized pan, which keeps the crust-to-filling ratio and bake time accurate and reliable.
Common Mistakes in This Recipe
The most frequent mistake bakers make is using warm or softened butter in the dough. Warm butter blends into the flour instead of staying in distinct pieces, which means the crust loses the steam pockets that create flakiness. The result is a dense, cracker-like crust rather than one that shatters delicately with each bite.
Another common issue is skipping the apple resting step. Bakers often mix the filling and pour it straight into the crust, which leads to excess liquid pooling during baking and a soggy bottom crust that never fully sets.
Overfilling the pie is also common, especially when bakers want to use every last apple slice. This causes the filling to overflow during baking and prevents even heat circulation inside the pie.
Finally, slicing the pie while it is still warm is a mistake almost everyone makes at least once, resulting in a filling that spills out rather than holding its shape.
Solutions to Common Mistakes
Always keep butter cold, straight from the refrigerator, and work quickly when cutting it into the flour. If your kitchen is warm, chill the flour and mixing bowl beforehand to keep the fat solid longer during preparation.
To prevent a soggy bottom, let the sugared apples rest for the full fifteen minutes and drain any excess liquid before filling the crust. Tossing the apples with flour helps absorb remaining moisture during baking.
Measure your apples by cups rather than estimating by eye, and mound the filling only slightly above the rim. This keeps the pie balanced and bakes it evenly without overflow.
Let the pie cool for a minimum of three hours, or ideally overnight, before slicing. This allows the filling to set fully, giving you clean, structured slices every time.
Nutritional Information (approx. per serving)
- Calories: 380 to 430 kcal
- Total Fat: 18g
- Saturated Fat: 10g
- Carbohydrates: 56g
- Sugar: 28g
- Protein: 4g
- Fiber: 3g
- Sodium: 210mg
Beyond its comforting taste, this apple pie offers a modest fiber boost thanks to the apples themselves, which retain much of their natural fiber even after baking. That fiber supports digestion and helps balance the dessert’s sugar content in each serving.
Apples also contribute vitamin C and antioxidants, particularly when the skins are left on thinner-skinned varieties, adding a small but meaningful nutritional advantage over many other baked desserts.
The butter-based crust, while indulgent, provides fat-soluble vitamin A in modest amounts, and using unsalted butter allows better control over the final sodium content of the dish.
Enjoyed in a reasonable portion, this pie fits comfortably into a balanced dessert rotation, especially when paired with protein-rich accompaniments like Greek yogurt or a small scoop of vanilla ice cream.
Storage Instructions
Once fully cooled, cover the pie loosely with foil or plastic wrap and store it at room temperature for up to two days. This keeps the crust from becoming overly soft while preserving freshness for immediate enjoyment.
For longer storage, refrigerate the covered pie for up to five days. Refrigeration slows spoilage of the fruit filling, though the crust may soften slightly, which is easily remedied with a quick reheat.
To freeze, wrap individual slices or the whole pie tightly in plastic wrap followed by foil, and freeze for up to three months. Thaw overnight in the refrigerator before reheating for the best texture.
Reheat slices in a 350°F oven for about ten minutes to restore crispness to the crust. Avoid microwaving, as it tends to soften the pastry and make the filling unevenly hot.
Suggestions
Serve each slice slightly warm with a scoop of vanilla ice cream for the classic pairing that never goes out of style. The contrast between warm filling and cold cream is part of what makes apple pie so satisfying.
For a more indulgent presentation, drizzle warm caramel sauce over the top just before serving, or add a dollop of lightly sweetened whipped cream for a lighter finish.
If you are serving this at a holiday gathering, consider a small cheese board alongside it, since sharp cheddar pairs surprisingly well with the cinnamon-spiced apples in this recipe.
For gifting, individually wrapped slices in parchment and twine make a thoughtful homemade present, especially during the fall and winter holiday season when homemade treats are especially appreciated.
Seasonal Relevance
Apple pie is inseparable from autumn, when apple orchards reach peak harvest and varieties like Honeycrisp and Granny Smith are at their freshest and most flavorful. This is the ideal window to bake this recipe.
It also holds a permanent place at Thanksgiving and Christmas tables, where its warm spices and golden crust complement the broader flavors of a holiday meal without competing with them.
During colder months, the oven’s warmth and the pie’s spiced aroma make it a natural comfort food, often requested for family gatherings, potlucks, and cozy weekend baking projects.
Even outside peak apple season, quality apples are available year-round in most grocery stores, meaning this pie remains a reliable dessert choice for any occasion that calls for something both familiar and impressive.
Final Words
This apple pie recipe was designed to remove the guesswork that often intimidates home bakers away from making pie crust from scratch. With cold butter, a rested filling, and the correct bake temperatures, the process becomes far more forgiving than most people expect.
What makes this recipe worth returning to is its consistency. Follow the steps as written, and the result is a reliably flaky, golden pie every single time, regardless of the occasion or season.
It is a dessert that rewards patience, particularly during the cooling stage, but that patience is what delivers clean slices and a filling that holds together beautifully on the plate.
Save this recipe, bookmark it, and return to it whenever the moment calls for something warm, homemade, and genuinely comforting. Few desserts offer that same sense of familiarity with every single bite.
Frequently Asked Questions
Can I use a store-bought pie crust instead of making one from scratch?
Yes, a quality store-bought crust works as a time-saving substitute. The texture will differ slightly from a homemade crust, but the filling and baking method remain identical, so results stay reliable and flavorful.
Why did my apple pie filling turn out runny after baking?
Excess liquid usually comes from skipping the apple resting step or using overly juicy apple varieties. Draining released liquid and ensuring proper flour coating in the filling helps the mixture set correctly during baking.
Can I prepare this pie in advance and bake it later?
Yes, assemble the pie fully, then refrigerate it unbaked for up to 24 hours, or freeze it for up to two months. Bake directly from frozen, adding roughly 15 extra minutes to the bake time.
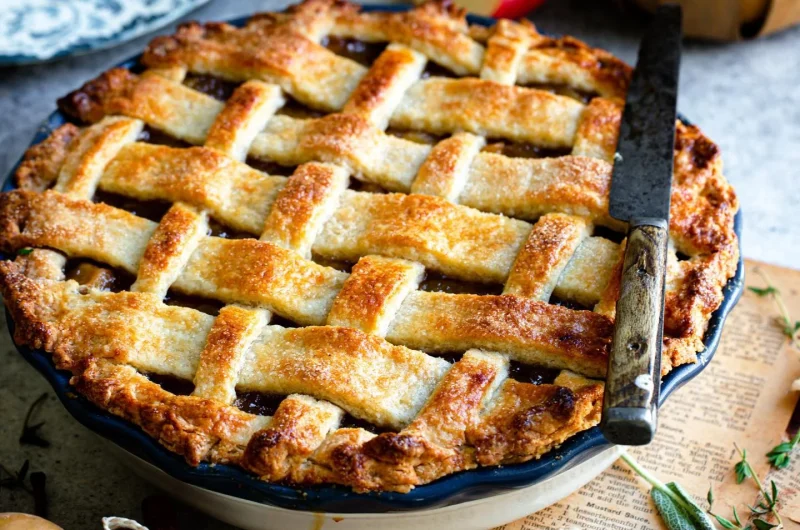
The Best Homemade Apple Pie with a Flaky Golden Crust
10
servings35
minutes50
minutes380
kcalA golden, flaky homemade apple pie filled with warm cinnamon-spiced apples tucked inside a buttery, from-scratch crust. Perfect for holidays, family dinners, or cozy weekend baking any time of year.
Ingredients
Base Ingredients:
2.5 cups all-purpose flour
1 cup unsalted butter, cold and cubed
1 teaspoon salt
1 tablespoon granulated sugar
6 to 8 tablespoons ice water
6 cups apples, peeled and sliced (Granny Smith or Honeycrisp)
3/4 cup granulated sugar
2 tablespoons all-purpose flour
1 teaspoon ground cinnamon
1/4 teaspoon ground nutmeg
1 tablespoon lemon juice
1 egg, beaten (for egg wash)
Optional Add-ins:
1/4 cup brown sugar
1/2 teaspoon ground cardamom
1 tablespoon coarse sugar (for topping)
2 tablespoons chopped walnuts or pecans
1 tablespoon bourbon or apple brandy
1/2 teaspoon vanilla extract
Directions
- Combine flour, salt, and sugar; cut in cold butter until crumbly with pea-sized pieces.
- Add ice water gradually, mixing until dough just comes together.
- Divide dough into two discs, wrap, and chill for at least 1 hour.
- Peel, core, and slice apples evenly.
- Toss apples with sugar, flour, cinnamon, nutmeg, and lemon juice; rest 15 minutes.
- Roll out one dough disc and fit into a 9-inch pie dish.
- Pour in the apple filling, mounding slightly in the center.
- Roll the second disc and place on top, or weave into a lattice.
- Trim and crimp edges to seal; brush top with egg wash.
- Bake at 425°F for 20 minutes.
- Reduce heat to 375°F and bake 30 to 35 minutes more, until golden and bubbling.
- Cool completely, at least 3 hours, before slicing.
Recipe Video
Notes
- Keep all butter and water ice-cold for the flakiest crust.
- Do not skip the apple resting step, it prevents a soggy bottom crust.
- Cool the pie fully before slicing for clean, structured pieces.
- Store covered at room temperature for up to 2 days, or refrigerate up to 5 days.
- Freeze baked or unbaked pie for up to 3 months.