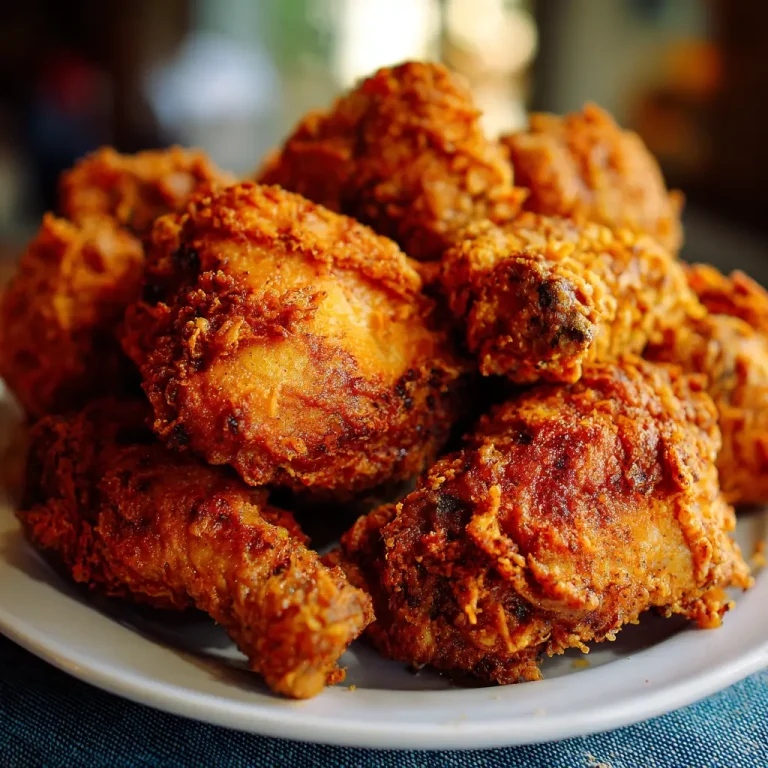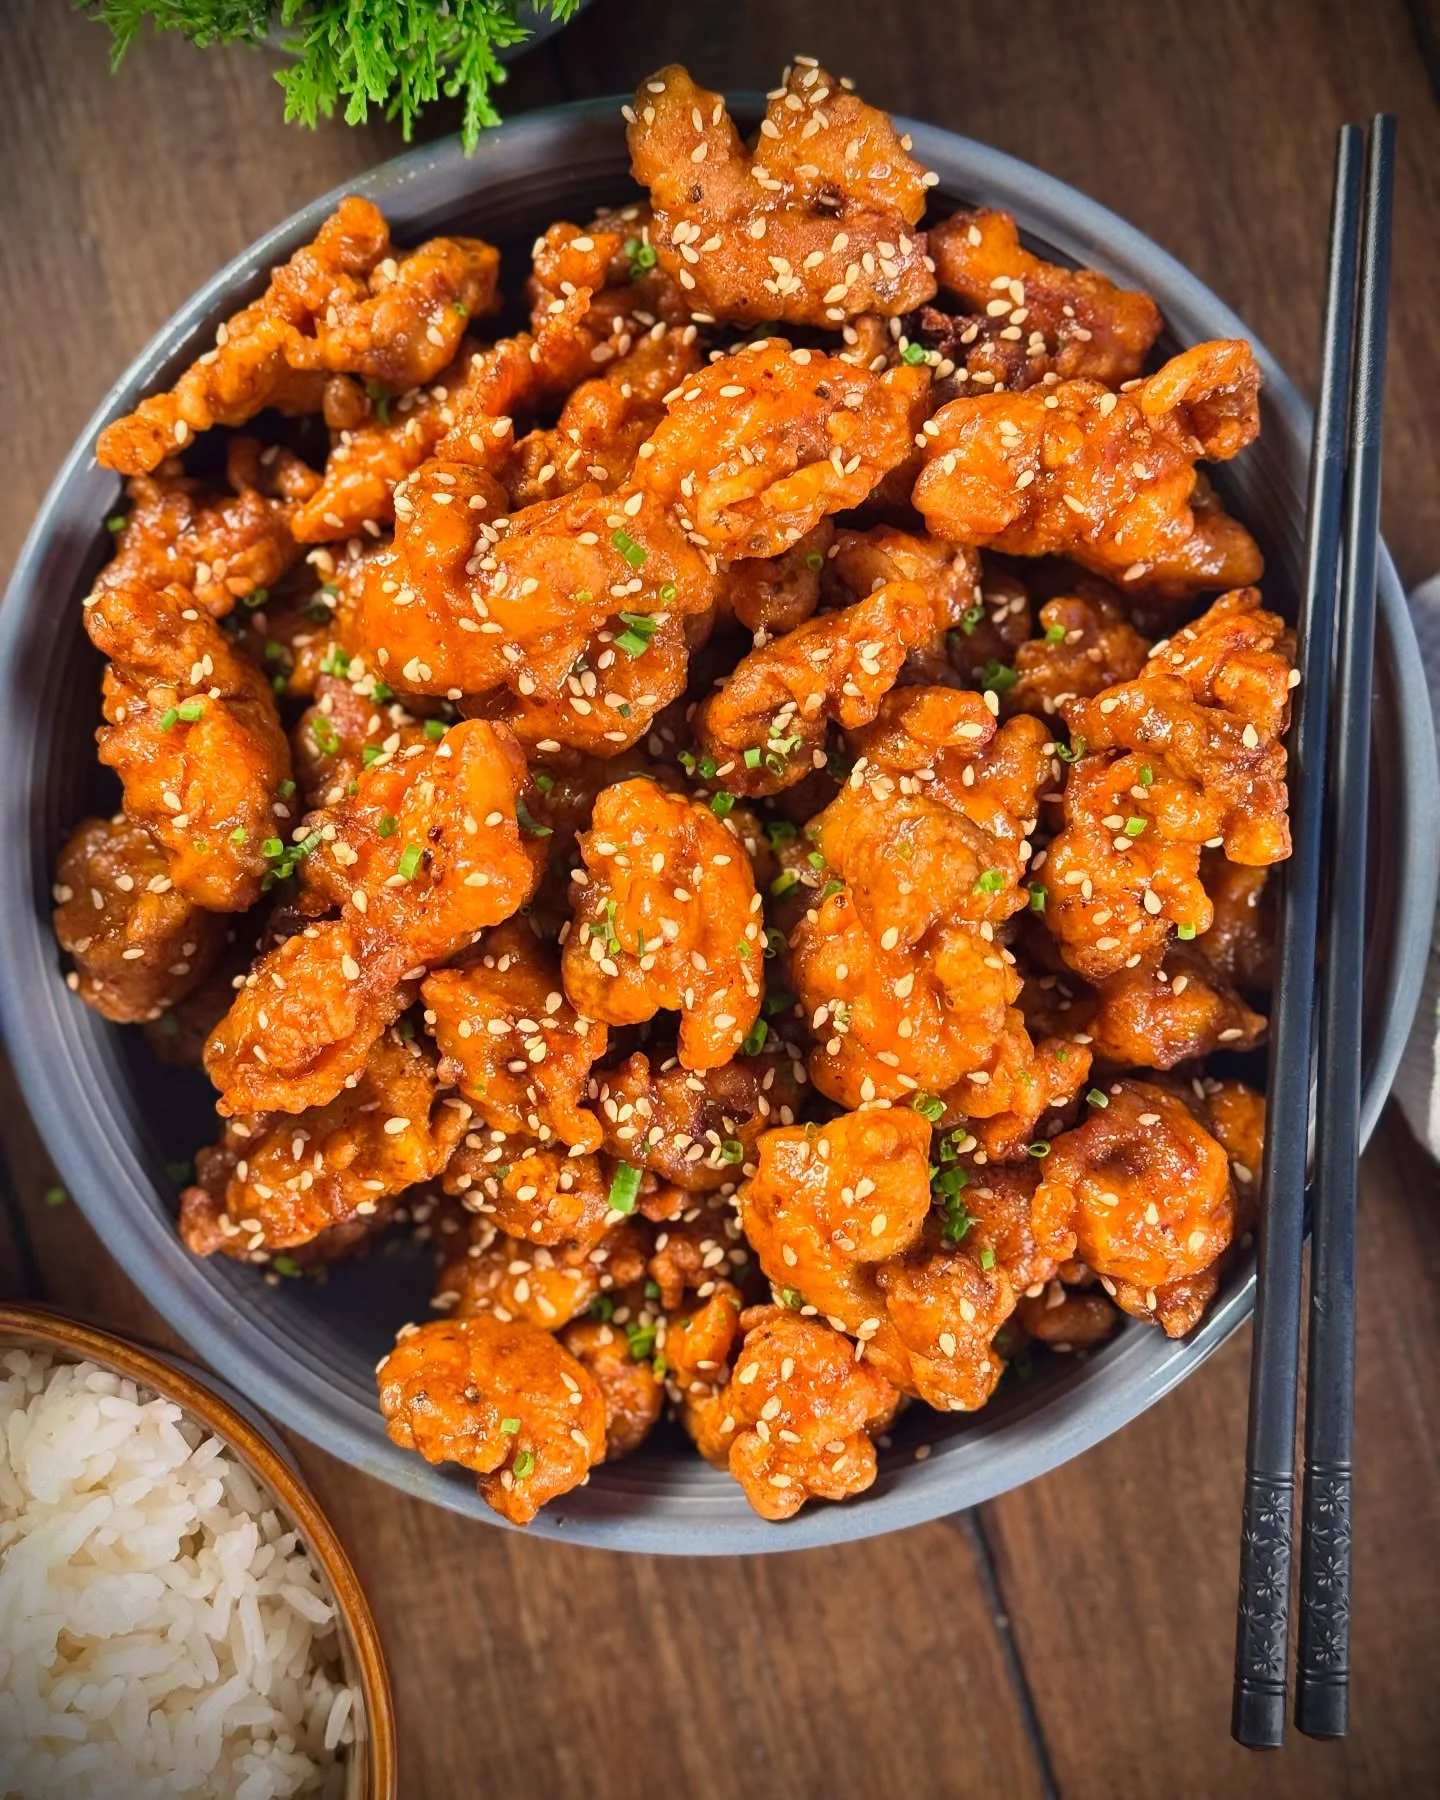
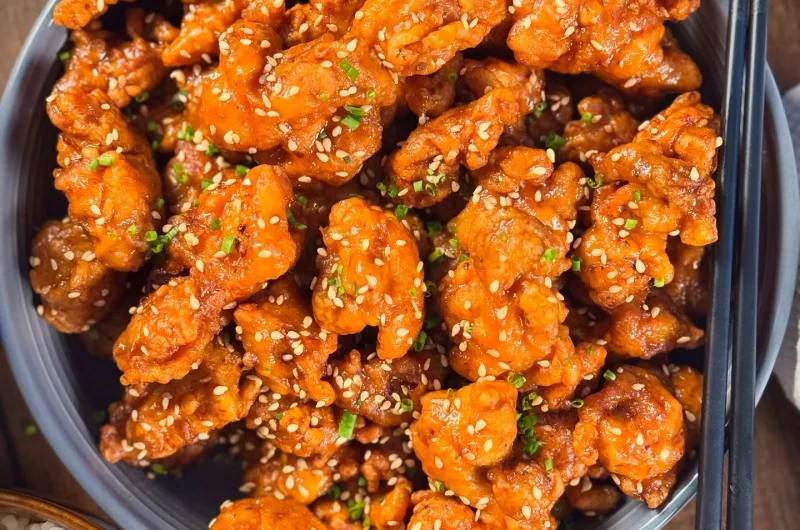
Every good orange chicken recipe starts with a promise: shatteringly crisp chicken, a sauce that clings instead of pools, and a citrus punch that actually tastes like oranges rather than orange-flavored sugar. Most takeout versions fail on at least one of these counts, usually the sauce, which tends to arrive gloopy, overly sweet, and strangely one-note.
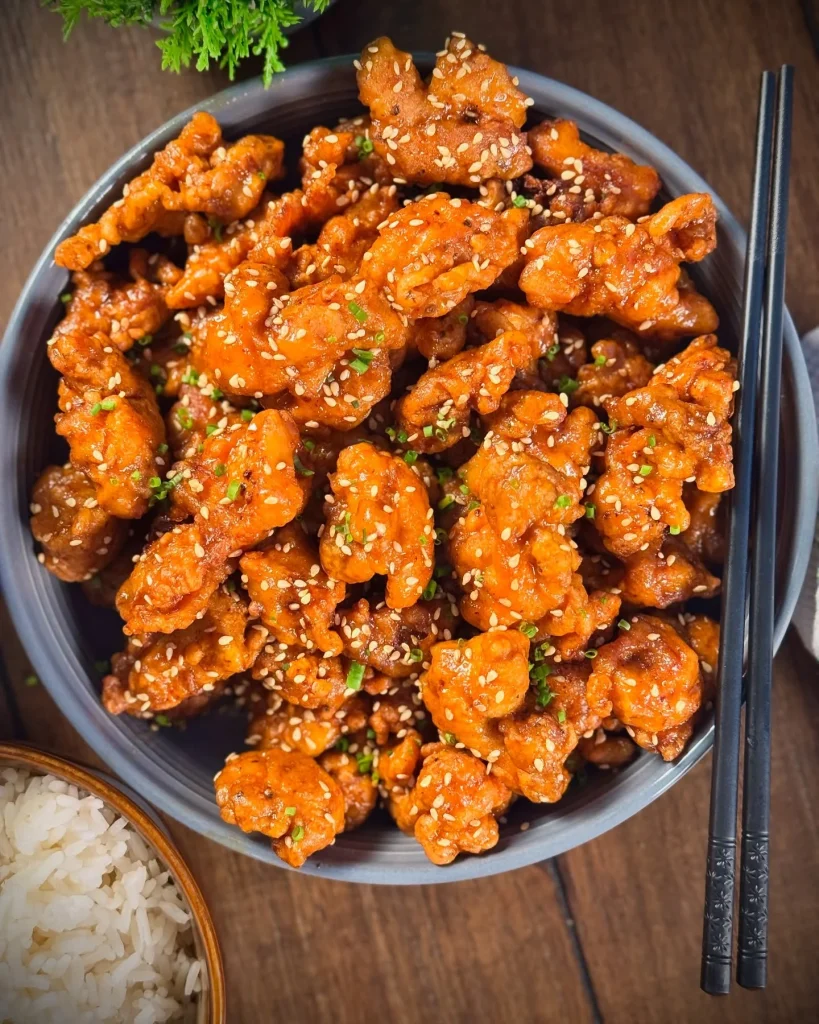
This version fixes that. The chicken gets a cornstarch coating that fries into a delicate, craggy shell, the kind that stays audibly crunchy even after it meets the sauce. The sauce itself is built from fresh orange juice and real zest, balanced with soy sauce, a touch of rice vinegar, and just enough sugar to round things out without burying the citrus.
If you’d rather skip the oil altogether, a baked version is included below, and it holds up surprisingly well. Either way, pair it with steamed broccoli and rice and you have a complete dinner in about thirty minutes, no delivery app required.
What follows is everything you need: exact quantities, a clear step-by-step method, common pitfalls, storage advice, and answers to the questions people actually ask about this dish.
Ingredients You’ll Need
Good orange chicken doesn’t hide behind a long shopping list, it wins on technique and a handful of ingredients used correctly. Here’s what earns a spot on your counter.
One of the things I love about this recipe is that it uses simple pantry ingredients. You probably already have most of them in your kitchen.
Base Ingredients
- 1.5 lbs boneless, skinless chicken thighs, cut into bite-sized pieces
- 1/2 cup cornstarch
- 2 tablespoons all-purpose flour
- 2 large eggs, beaten
- 1/4 teaspoon salt
- 1/4 teaspoon black pepper
- 1 cup vegetable oil, for frying
- 3/4 cup fresh orange juice
- 1 tablespoon orange zest
- 3 tablespoons soy sauce
- 2 tablespoons rice vinegar
- 3 tablespoons brown sugar
- 2 cloves garlic, minced
- 1 teaspoon fresh ginger, grated
- 1 tablespoon cornstarch, mixed with 2 tablespoons water
Optional Add-ins
- 1 teaspoon sesame oil, for finishing
- 1/2 teaspoon red pepper flakes, for heat
- 2 cups broccoli florets, steamed
- 1 tablespoon toasted sesame seeds, for garnish
- 2 green onions, sliced, for garnish
- 1/4 teaspoon five-spice powder, for depth
Step-by-Step Instructions
Prep and Season the Chicken
Pat the chicken pieces completely dry with paper towels; excess moisture is the enemy of a crisp coating. Season lightly with salt and pepper. Set up two shallow bowls, one with beaten eggs and one with cornstarch mixed with flour. This dry-then-wet setup gives the coating something to grip onto, which matters more than most home cooks realize when frying smaller cuts of meat like this.
Coat the Chicken Properly
Dip each piece of chicken into the egg first, letting excess drip away, then press firmly into the cornstarch mixture until fully coated. Don’t rush this step or skip pressing the coating on, since a loose coating simply falls off in the hot oil. Place coated pieces on a wire rack in a single layer for a few minutes before frying so the coating sets slightly.
Fry Until Golden and Crisp
Heat vegetable oil in a heavy skillet or wok to 350°F. Fry the chicken in small batches, avoiding overcrowding, for 3 to 4 minutes per batch until deeply golden and firm to the touch. Transfer to a wire rack, not paper towels, so steam escapes and the crust stays crisp. Let the oil return to temperature between batches for consistent results.
Build the Orange Sauce
In a saucepan over medium heat, combine orange juice, zest, soy sauce, rice vinegar, brown sugar, garlic, and ginger. Bring to a gentle simmer, stirring occasionally, until the sugar dissolves and the mixture smells fragrant, about 2 minutes. This base is where the real flavor of orange chicken lives, so taste it here and adjust sweetness or acidity before moving forward.
Thicken the Sauce
Stir the cornstarch slurry once more to recombine, then pour it into the simmering sauce while whisking continuously. Continue cooking for 60 to 90 seconds until the sauce turns glossy and coats the back of a spoon. Pull it off the heat immediately once thickened, since an overcooked slurry can turn starchy or dull the sauce’s color.
Toss and Serve
Add the crispy chicken to the sauce and toss gently but quickly, just enough to coat every piece without softening the crust too much. Serve immediately over steamed rice with broccoli alongside, finishing with sesame seeds and sliced green onions. If you’re using the baked version, toss the baked chicken in sauce the same way right before plating.
Cook Time
Total: 35 minutes
Prep: 15 minutes
Bake: 20 minutes (baked version only; fried version takes about 12 minutes total cook time)
Servings
This recipe makes approximately 4 generous servings, which works well as a weeknight dinner for a small family or two adults with leftovers for lunch the next day. Each serving includes a satisfying portion of chicken alongside rice and broccoli, landing it firmly in main-course territory rather than a light side dish.
If you’re cooking for a crowd or meal-prepping for the week, the recipe scales cleanly. Doubling the chicken and sauce quantities works without adjusting cook times significantly, since frying happens in batches anyway.
For smaller households, leftovers reheat well enough that halving the recipe isn’t necessary unless freezer space is tight. Either way, portion sizes here are built around real appetites, not restaurant-style small plates.
Common Mistakes in This Recipe
The most frequent mistake is overcrowding the pan while frying, which drops oil temperature fast and leaves you with soggy, pale chicken instead of a crisp shell. A close second is skipping the dry-then-coat sequence, so the cornstarch never fully adheres and slides off the moment it touches sauce.
Another common issue is simmering the sauce too long before adding the slurry, which reduces it too far and makes it taste sharply acidic or overly salty rather than balanced.
Many cooks also add the chicken to the sauce too early and let it sit, which steams the crust and undoes all the work of frying it properly in the first place.
Finally, using bottled orange juice instead of fresh often results in a flat, one-dimensional sauce that lacks the bright citrus edge this dish depends on.
Solutions to Common Mistakes
Fry in small batches of 5 to 6 pieces at a time, giving the oil time to recover its temperature between rounds rather than dumping in everything at once.
Always dip in egg first, then press firmly into the cornstarch mixture, and let coated pieces rest briefly on a rack before frying so the coating has time to set properly.
Pull the sauce off the heat as soon as it visibly thickens after adding the slurry, usually within 90 seconds, rather than letting it reduce further on the stove.
Toss chicken and sauce together right before serving, not minutes ahead, and use fresh orange juice and zest rather than bottled juice for a noticeably brighter, more balanced final flavor.
Nutritional Information (approx. per serving)
- Calories: 420
- Protein: 27g
- Carbohydrates: 34g
- Fat: 19g
- Sugar: 14g
- Sodium: 640mg
- Fiber: 2g
Chicken thighs bring a solid dose of protein and iron to this dish, which helps keep the meal satisfying rather than the kind of takeout that leaves you hungry an hour later. Using fresh orange juice and zest instead of a bottled sweet-and-sour sauce also means you’re getting real vitamin C and less processed sugar overall.
Pairing the chicken with steamed broccoli adds fiber, folate, and a genuine dose of vegetables to a dish that’s often served without any at all. That single addition shifts the entire plate from indulgent to reasonably balanced.
Frying in a light cornstarch coating, rather than a heavy batter, keeps the fat content lower than most restaurant versions while still delivering the crunch people actually want from orange chicken.
Choosing the baked variation cuts fat further still, making this a dish that flexes easily depending on how indulgent or lean you want dinner to be that night.
Storage Instructions
Store leftover orange chicken and sauce separately whenever possible, in airtight containers in the refrigerator for up to 3 days. Keeping them apart preserves whatever crispness remains in the chicken instead of letting it sit soaking in sauce overnight.
If you’ve already combined everything, it’s still perfectly safe to store together, just expect a softer texture on reheating rather than a crisp one.
Reheat chicken in a hot oven or air fryer at 400°F for 6 to 8 minutes to bring back some crunch, since microwaving tends to leave the coating rubbery and limp.
This dish isn’t an ideal freezer candidate once sauced, as the coating breaks down noticeably after thawing, though plain fried chicken pieces alone freeze reasonably well for up to a month.
Suggestions
Serve this over jasmine rice for a classic pairing, or swap in cauliflower rice if you’re looking to lighten the meal without losing the sauce-soaking function rice provides here.
Steamed or roasted broccoli is the traditional side, but snap peas, bok choy, or a quick cucumber salad all work well if you want more variety on the plate.
For extra heat, stir a spoonful of chili garlic sauce directly into the orange sauce while it simmers, which adds warmth without overwhelming the citrus notes already present.
If you’re feeding a crowd, this recipe doubles easily and holds up well on a buffet-style table, especially if sauce is added just before serving rather than in advance.
Seasonal Relevance
Orange chicken has a natural home in the colder months, when citrus fruit is genuinely in season and oranges taste noticeably better than they do in midsummer. Winter is really the ideal window for this dish.
It also works as a bright, punchy contrast during the darker months, when heavier, richer meals dominate most dinner tables and something citrus-forward feels like a welcome change of pace.
That said, nothing about this recipe is strictly seasonal in a limiting way, and it holds up fine year-round using standard grocery store oranges without any real drop in quality.
Around Lunar New Year in particular, orange-based dishes carry symbolic significance tied to good fortune, making this a fitting centerpiece for celebratory meals during that period.
Final Words
This orange chicken recipe earns its place as a genuine weeknight staple rather than an occasional novelty, precisely because it doesn’t demand restaurant equipment or rare ingredients to get right.
The technique matters more than the ingredient list here, and once the frying and sauce-timing clicks, it’s a dish you’ll be able to make from memory within a few attempts.
It’s also forgiving enough to adjust: leaner protein, baked instead of fried, extra vegetables, more heat, all of these swaps work without breaking the dish’s core identity.
Make it once exactly as written, then start adjusting it to fit your own kitchen and taste, because that’s really where a good recipe becomes a permanent one.
Frequently Asked Questions
Can I use chicken breast instead of thighs?
Yes, chicken breast works fine, though it can dry out faster during frying. Cut pieces slightly larger than you would for thighs, and reduce fry time by about a minute to avoid overcooking the leaner meat.
Why did my sauce turn out too thin?
This usually means the cornstarch slurry wasn’t fully dissolved before adding it, or it didn’t simmer long enough afterward. Whisk the slurry thoroughly and give the sauce a full 60 to 90 seconds on heat.
Can I make this dish gluten-free?
Yes, substitute tamari or a certified gluten-free soy sauce, and confirm your cornstarch and flour blend are gluten-free as well. The rest of the ingredients in this recipe are naturally gluten-free already.
Crispy Orange Chicken That’s Better Than Takeout
4
servings15
minutes20
minutes420
kcalCrispy cornstarch-coated chicken tossed in a glossy fresh orange sauce with soy, ginger, and garlic. A 30-minute homemade upgrade on takeout orange chicken, served with rice and broccoli.
Ingredients
1.5 lbs boneless, skinless chicken thighs, cut into bite-sized pieces
1/2 cup cornstarch
2 tablespoons all-purpose flour
2 large eggs, beaten
1/4 teaspoon salt
1/4 teaspoon black pepper
1 cup vegetable oil, for frying
3/4 cup fresh orange juice
1 tablespoon orange zest
3 tablespoons soy sauce
2 tablespoons rice vinegar
3 tablespoons brown sugar
2 cloves garlic, minced
1 teaspoon fresh ginger, grated
1 tablespoon cornstarch, mixed with 2 tablespoons water
1 teaspoon sesame oil, for finishing (optional)
1/2 teaspoon red pepper flakes (optional)
2 cups broccoli florets, steamed (optional)
1 tablespoon toasted sesame seeds, for garnish (optional)
2 green onions, sliced, for garnish (optional)
1/4 teaspoon five-spice powder (optional)
Directions
- Pat chicken pieces dry and season lightly with salt and pepper.
- Set up two bowls: one with beaten eggs, one with cornstarch and flour combined.
- Dip each piece in egg, then press firmly into the cornstarch mixture.
- Rest coated chicken on a wire rack for a few minutes before frying.
- Heat vegetable oil to 350°F and fry chicken in small batches, 3–4 minutes per batch, until golden.
- Transfer fried chicken to a wire rack to keep the coating crisp.
- In a saucepan, combine orange juice, zest, soy sauce, rice vinegar, brown sugar, garlic, and ginger.
- Simmer for 2 minutes until fragrant and sugar dissolves.
- Whisk in the cornstarch slurry and cook 60–90 seconds until glossy and thickened.
- Toss crispy chicken in the sauce until evenly coated.
- Serve immediately over steamed rice with broccoli, garnished with sesame seeds and green onions.
Recipe Video
Notes
- Use fresh orange juice and zest for the brightest flavor — bottled juice makes the sauce taste flat.
- Don’t overcrowd the pan while frying, or the oil temperature will drop and the coating will turn soggy.
- Toss the chicken in sauce right before serving to preserve maximum crispness.
- For a lighter version, bake the coated chicken at 400°F for about 20 minutes instead of frying.
- Store chicken and sauce separately for up to 3 days to keep leftovers crisp on reheating.